

Finding a leak in your favorite boat can ruin a great weekend. You might think your paddling days are over. But do not worry just yet. Learning how to repair a hole in a kayak is entirely possible for any DIY beginner.
Taking this project on yourself will save you a massive amount of money. Boat repair shops charge high hourly rates for simple fixes. You can easily do this work in your own garage or driveway.
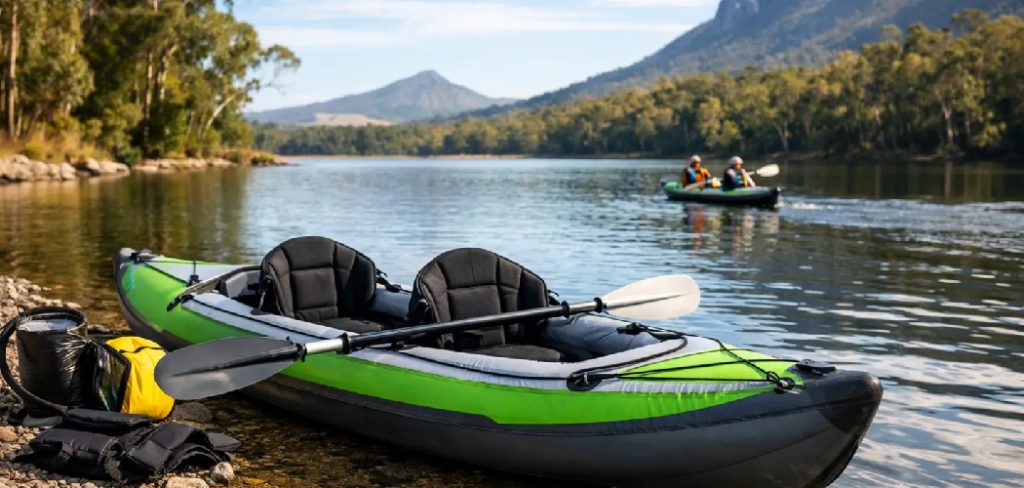
You only need a few basic tools and a bit of patience. We will walk through the entire process together. Soon, you will have your boat watertight and ready for the next adventure.
What Causes This Problem?
Kayaks take a serious beating out in the wild. Even the most careful paddlers encounter hidden dangers. Here are the most common reasons you might end up with a hole:
- Sharp rocks and submerged logs: Scraping over hidden river hazards easily gouges plastic hulls.
- Dragging the boat: Pulling your boat across concrete, gravel, or asphalt wears down the plastic fast.
- Improper transport: Strapping the boat down too tight on a roof rack can crack the hull.
- UV degradation: Leaving your boat in direct sunlight makes the plastic brittle and prone to cracking.
- Oyster beds and barnacles: In saltwater environments, these sharp shells can slice right through fiberglass.
- Freezing temperatures: Water trapped inside small cracks can freeze, expand, and create large holes.
Tools & Materials Needed
Before we start, gather all your supplies. Having everything within reach makes the repair go smoothly. Here is what you will need for a standard high-density polyethylene (HDPE) plastic hull repair.
Safety Gear
Always protect yourself first. Grab a pair of thick leather gloves to protect your hands from heat. You will also need safety goggles. Finally, wear a respirator mask to avoid inhaling melted plastic fumes.
Cleaning Supplies
You need a clean surface for the repair to hold. Bring a bucket of warm soapy water and a sponge. You also need rubbing alcohol (isopropyl alcohol) and some clean microfiber rags.
Repair Tools
The main tool you need is a heat gun or a plastic welding iron. A standard soldering iron works well for small holes. You also need medium-grit sandpaper (around 80-grit) and fine-grit sandpaper (220-grit).
Patching Materials
You need replacement plastic to fill the hole. Look for HDPE plastic welding rods. Alternatively, you can cut a patch from a plastic bucket if it has the number “2” recycling symbol on it. You will also need a metal spoon or putty knife for smoothing.
Step-by-Step Guide on How to Repair a Hole in a Kayak
Fixing a plastic hull requires a process called plastic welding. It sounds intimidating, but it is actually very simple. Follow these steps carefully to ensure a permanent, watertight seal.
Step 1: Clean the Damaged Area
Start by washing the area around the hole with soapy water. Scrub away all dirt, algae, and river grime. Rinse it completely with clean water and let it dry.
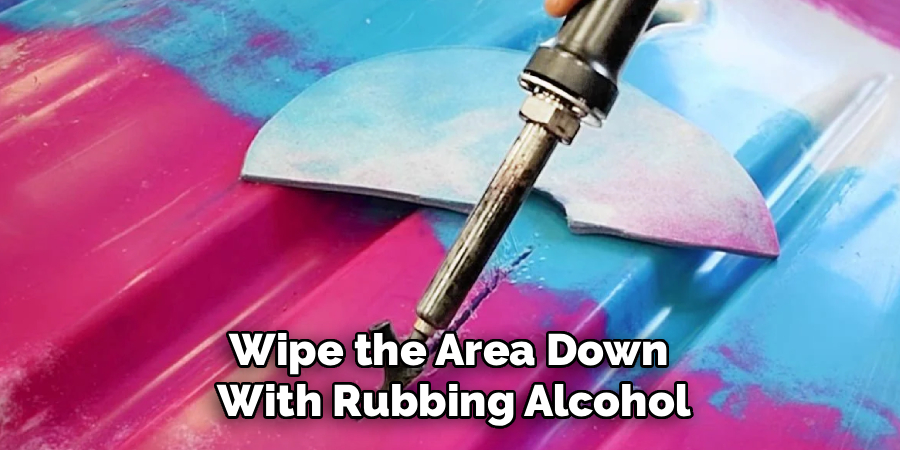
Once dry, wipe the area down with rubbing alcohol. This removes any invisible oils or wax. The new plastic will not stick if the surface is greasy. Let the alcohol evaporate completely.
Step 2: Shape the Hole
This step seems backward, but it is crucial. Use a utility knife to trim away any jagged or loose plastic around the hole. You want clean, smooth edges.
If you are dealing with a crack, drill a tiny hole at each end of the crack. This technique is called “stop-drilling.” It prevents the crack from spreading further down the hull while you work.
Step 3: Sand the Edges
Take your 80-grit sandpaper and rough up the plastic around the hole. Sand an area about two inches wider than the damage itself. The scratches give the melted plastic something to grip.
Wipe away all the plastic dust with a clean rag. You can use one more swipe of rubbing alcohol just to be safe.
Step 4: Preheat the Hull
Turn on your heat gun to a medium setting. Hold it about three inches away from the kayak hull. Move it in small circles around the damaged area.
You want to warm up the surrounding plastic so it accepts the new patch material. Do not hold the heat gun in one spot too long. The plastic should look slightly glossy but should not bubble or smoke.
Step 5: Melt the Patching Plastic
Now it is time to fill the gap. Take your HDPE welding rod or scrap plastic. Hold it directly over the hole. Use your heat gun or plastic welding iron to melt the tip of the rod.
Let the melted plastic drip directly into the hole. If you are using a welding iron, press the melting rod firmly into the edges of the original hole.
Step 6: Blend and Smooth
As the new plastic fills the hole, you need to blend it. Take your metal spoon or putty knife and heat it slightly with the heat gun.
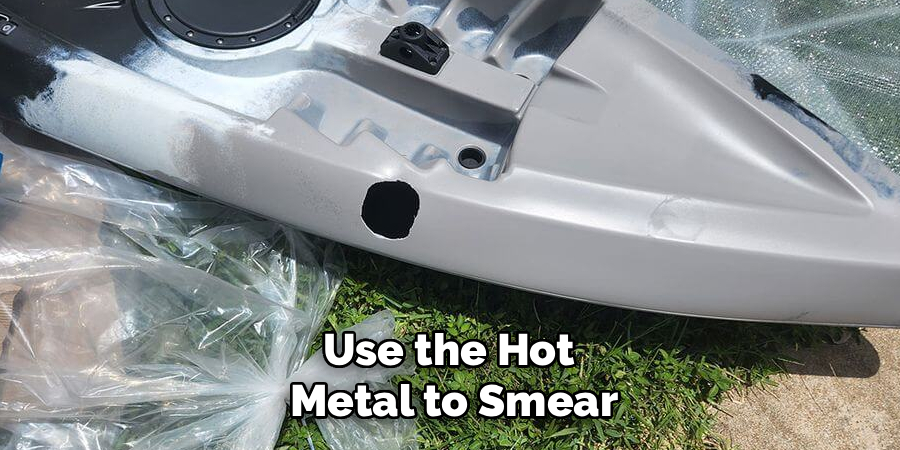
Use the hot metal to smear and press the melted plastic into the hull. You want to weave the new plastic and the old plastic together. Work quickly before the material cools and hardens.
Step 7: Add a Second Layer
For larger holes, one pass is rarely enough. Once the first layer is mostly flat, melt a little more plastic over the top.
Smooth this second layer out wider than the original hole. This creates a overlapping patch that reinforces the weak spot. Make sure the edges taper down smoothly into the original hull.
Step 8: Let It Cure Completely
Do not rush the cooling process. Let the patched area sit at room temperature for at least an hour. Never pour cold water on it to speed up the cooling.
Rapid cooling causes the plastic to shrink too fast. This can create new micro-cracks around your fresh patch. Just step away and let the air do the work.
Step 9: Sand the Final Patch
Once the plastic is completely cold and hard, grab your sandpapers. Start with the 80-grit paper to knock down any high spots or ugly lumps.
Switch to the 220-grit sandpaper to smooth out the finish. You want the hull to be as slick as possible so it glides through the water.
Step 10: Perform a Water Test
Never take a newly repaired boat straight to the river. Fill the patched section of your boat with a few inches of water from a garden hose.
Look closely under the hull for any drips or moisture. If it stays totally dry for twenty minutes, you did it right. Your repair is complete and ready for action.
Safety Warnings
Working with high heat and melting plastics carries a few risks. Always work in a well-ventilated area, preferably outdoors or in an open garage. Melting HDPE releases fumes that can irritate your lungs.
Never leave a heat gun or welding iron unattended while plugged in. They get hot enough to easily start a fire. Rest them on a metal stand or concrete floor when not actively using them.
Keep your leather gloves on during the entire melting process. Melted plastic sticks to skin instantly and causes severe burns. If you drop a piece of hot plastic, let it cool before picking it up.
When to Call a Professional
Not every hull damage is a simple DIY project. You need to know your limits to keep yourself safe on the water. Small punctures, gouges, and cracks under six inches are perfect for DIY fixes.
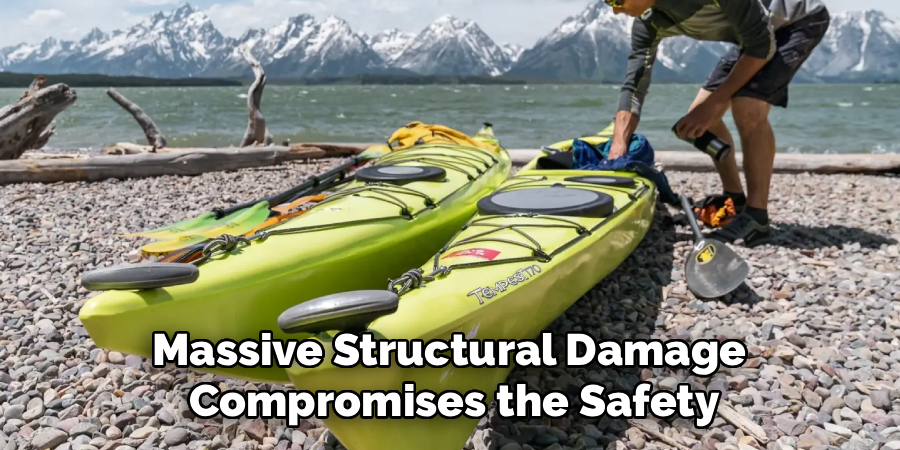
However, if the hole is larger than a tennis ball, you need professional help. Massive structural damage compromises the safety of the entire vessel.
You should also call a pro if the damage is located directly under the seat. This area bears your entire body weight and requires expert reinforcement. Composite and fiberglass kayaks with major structural crushing also require professional fiberglass fabrication.
Cost Estimate
Taking your boat to a marine repair shop gets expensive fast. Most professionals charge between $75 and $120 per hour for labor alone. A standard hole repair will usually cost you between $150 and $300 at a shop.
Doing it yourself is incredibly budget-friendly. If you already own a heat gun or soldering iron, the materials cost almost nothing. A pack of HDPE welding rods costs about $10 to $15.
Even if you have to buy a cheap heat gun, sandpaper, and plastic, your total cost will sit right around $40. You save hundreds of dollars and learn a valuable new skill in the process.
FAQs About How to Repair a Hole in a Kayak
Can I use Flex Seal or duct tape to fix a kayak hole?
No, tape and spray sealants are only temporary emergency fixes. They will peel off quickly when exposed to water friction and hull flexing. You need to permanently weld the plastic for a safe repair.
Does epoxy work on plastic kayaks?
Standard epoxy and fiberglass resins do not stick well to HDPE plastic. The plastic expands and contracts, causing the stiff epoxy to pop right off. Always use matching plastic to weld a plastic hull.
How long does a plastic weld repair last?
A properly executed plastic weld will last the lifetime of the boat. Because you are melting the same materials together, the patch becomes part of the original hull. It is a permanent fix.
What kind of plastic are most kayaks made from?
Most modern recreational and fishing kayaks are made from High-Density Polyethylene (HDPE). You can usually find a recycle stamp with a number “2” molded somewhere on the hull to confirm.
Can I use a hair dryer instead of a heat gun?
A standard hair dryer does not get hot enough to melt HDPE plastic. You absolutely need a dedicated heat gun or a plastic welding iron to achieve the necessary temperatures.
Conclusion
Finding a leak does not mean your favorite boat belongs in the trash. Knowing how to repair a hole in a kayak gives you the power to rescue your gear. It is a straightforward weekend project that requires minimal investment.
By following the simple melting and smoothing steps, you create a watertight seal that lasts for years. You save hundreds of dollars by avoiding the repair shop. Most importantly, you gain the confidence to handle your own gear maintenance.
Grab your tools, patch up that hull, and get back to paddling. Have you successfully patched your boat using this method? Leave a comment below and share your best DIY repair tips with our community!