

Smelling that distinct rotten egg odor in your home is an alarming experience for any homeowner. A damaged gas line is a serious issue that demands immediate attention.
Many people assume that any gas-related issue requires an expensive emergency visit from a plumber. That is not always the case for minor, accessible appliance connections. Learning how to repair a gas leak safely on a small surface fitting can save you hundreds of dollars.
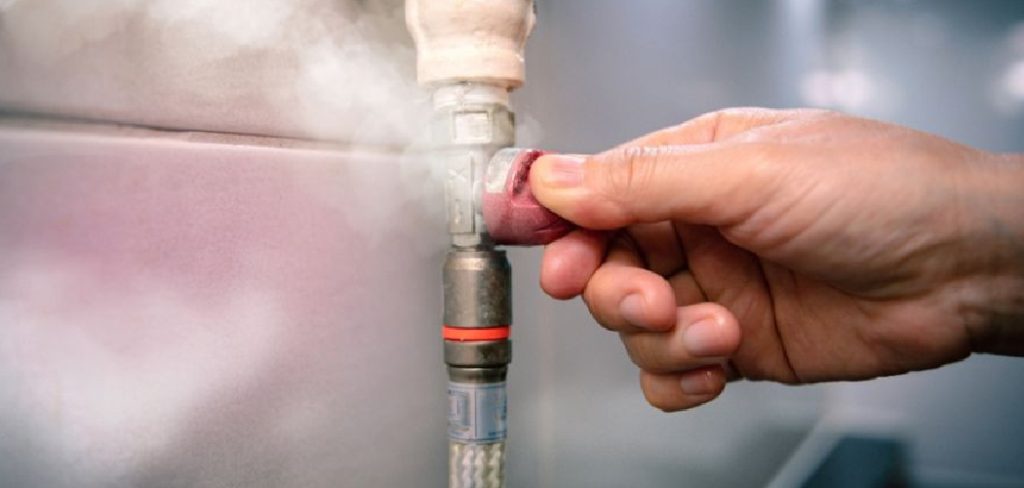
Taking care of minor home repairs yourself is incredibly rewarding. You keep more money in your pocket while building valuable skills for the future.
We will walk through everything you need to know to tackle this fix safely and confidently. With the right tools and a careful approach, you can handle minor fitting adjustments like a pro.
What Causes a Gas Leak in Your Home?
Before you fix a problem, it helps to understand why it happened in the first place. Gas pipes are generally durable, but they are not immune to wear and tear over time.
Here are five common culprits behind those troubling rotten egg smells:
- Loose Fittings: Natural vibrations from nearby appliances can slowly loosen pipe connections over the years.
- Worn-Out Seals: The compound used to seal pipe threads degrades and dries out after decades of use.
- Appliance Movement: Sliding a gas stove or dryer out for cleaning can stress and bend the flexible supply line.
- Corrosion: Older steel pipes can rust, especially in damp basements, creating tiny pinhole leaks.
- Poor Initial Installation: If the previous homeowner did not tighten things properly, leaks will eventually develop.
Tools and Materials Needed for the Job
Preparation is your best friend when working with natural gas or propane. You do not want to stop halfway through the job to run to the hardware store.
Gather these specific items before you even think about touching a wrench.
- Two Adjustable Pipe Wrenches: You need two to hold one pipe steady while turning the other.
- Gas Line Pipe Thread Sealant: This is a specialized paste designed specifically for gas connections.
- Yellow Teflon Tape: Standard white plumber’s tape is for water; you must use the thicker yellow tape rated for gas.
- Liquid Dish Soap and Water: You will mix these to perform a reliable soapy water test.
- A Small Spray Bottle or Sponge: This helps apply the soap mixture to the pipes.
- Clean Rags: You need these to wipe down dirty, greasy threads before applying new sealant.
- A Bright Flashlight: Ensure it is a battery-operated, non-sparking light to see in dark corners safely.
Crucial Safety Warnings Before You Start
We need to have a serious neighborly chat about safety before proceeding. Natural gas is highly combustible, and you must respect it at all times.
Never attempt to fix a massive leak or an underground pipe on your own. If you hear a loud hissing sound or feel dizzy, leave the house immediately and call the gas company.
Do not flip any electrical switches, unplug appliances, or use your cell phone near the suspected area. Even a tiny static spark can ignite concentrated gas in an enclosed space.
Always keep doors and windows wide open while working to ensure constant fresh air circulation. If you ever feel overwhelmed or unsure, step back and call a professional.
Step-by-Step Guide: How to Repair a Gas Leak Safely
Fixing a minor connection issue is a straightforward process when you break it down into manageable actions. Follow these steps carefully, taking your time with each one.
Rushing through pipe work is the easiest way to make a dangerous mistake. Grab your tools, put on your safety glasses, and let us get to work.
Step 1: Turn Off the Main Gas Supply
Your absolute first move is to stop the flow of fuel into your home. Locate your gas meter, which is usually on the side of your house or in the basement.
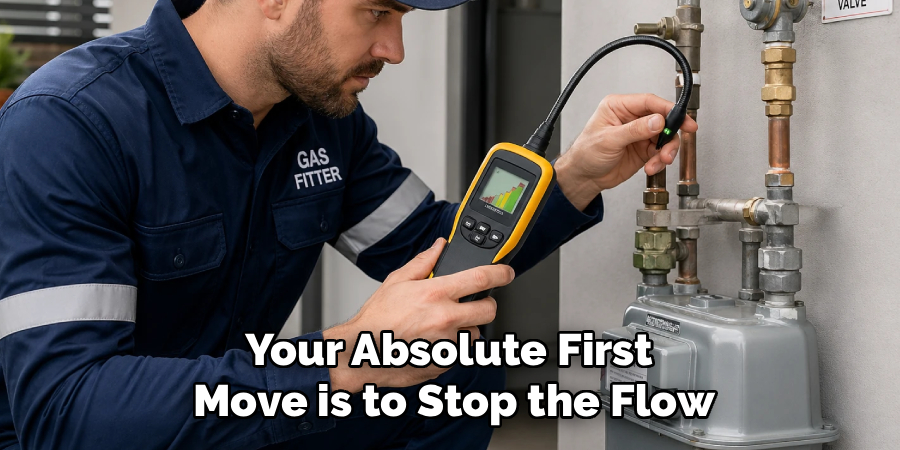
Find the main shut-off valve located on the pipe running into the meter.
Use an adjustable wrench to turn the valve a quarter turn. The valve is completely closed when the handle sits perfectly perpendicular to the pipe.
Step 2: Ventilate the Area Completely
Once the fuel supply is secure, you need to clear the lingering fumes from your home. Open every door and window in the immediate vicinity of the work area.
Allow the space to air out for at least fifteen minutes before bringing your tools inside.
Do not use electric box fans to blow the air around, as the motor could create a spark. Let natural cross-ventilation do the heavy lifting for you.
Step 3: Locate the Exact Source
You cannot fix a problem until you know exactly where it is located. This is where your homemade leak detector comes into play.
Mix a few squirts of liquid dish soap with water in your spray bottle.
Spray this mixture generously over the suspected pipe joints, fittings, and valves. Wait a moment and watch closely for active bubbles forming and growing on the metal.
The spot where the bubbles rapidly expand is the exact location of your faulty connection.
Step 4: Disconnect the Faulty Fitting
Now that you know the target, it is time to take the connection apart. Grab both of your pipe wrenches for this step.
Place one wrench on the stationary pipe to hold it firmly in place. Use the second wrench to grip the loose fitting or flexible line connector.
Turn the second wrench counter-clockwise to loosen and remove the fitting completely. Using two wrenches prevents you from accidentally twisting and breaking the pipe hidden inside the wall.
Step 5: Clean the Threads Thoroughly
A new seal will never hold if it is applied over old, crusty debris. Inspect the metal threads on both sides of the open connection.
Use a stiff wire brush to scrub away old tape, dried pipe dope, and rust.
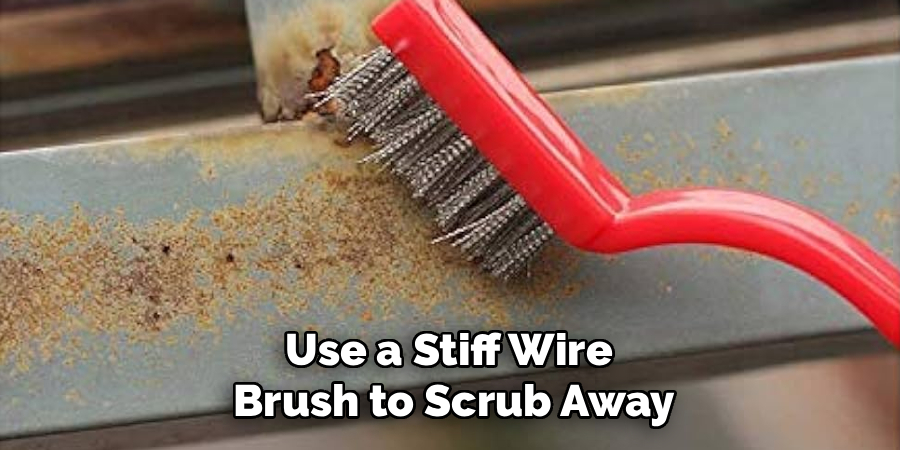
Wipe the threads down with a clean, dry rag until the bare metal shines. The cleaner the threads are, the tighter and safer your new connection will be.
Step 6: Apply the Proper Sealant
This step is critical for ensuring a long-lasting, leak-proof barrier. You can use either yellow gas-rated Teflon tape or a specialized liquid paste.
If using yellow tape, wrap it tightly around the male threads in a clockwise direction. Apply three to four full wraps, snapping the end off cleanly.
If using gas line pipe thread sealant, brush a smooth, even coat directly onto the male threads. Make sure the paste fills the grooves entirely without globbing over the edge.
Many seasoned professionals actually use a wrap of tape followed by a thin layer of sealant for ultimate security.
Step 7: Reconnect and Tighten the Fittings
Carefully line up the two pieces of pipe to avoid crossing the metal threads. Thread the fitting on by hand for the first few turns to ensure it is seated straight.
Grab your two wrenches again, positioning them just as you did in step four.
Tighten the fitting clockwise until it feels completely snug and secure. Do not over-tighten the joint, as extreme pressure can actually crack the brass or steel fittings.
Step 8: Turn the Gas Back On Slowly
With the pipe fully reassembled, it is time to restore fuel to your home. Head back outside to your main utility meter.
Use your wrench to slowly turn the valve back parallel with the incoming pipe.
Turning it slowly prevents a massive surge of pressure from slamming into your home’s appliances. Once the valve is open, head back inside to your workspace.
Step 9: Perform a Final Leak Test
Your repair is not finished until you prove that the fix actually worked. We need to repeat the same diagnostic process from earlier.
Spray your soapy water test mixture heavily over the newly tightened joint.
Watch the area intensely for at least three minutes. If you see zero bubbles forming, your repair was a complete success.
If you see even a single bubble growing, shut the system down and redo the connection.
Recognizing the Limits: When to Call a Professional
DIY projects are fantastic, but recognizing your own limits is a sign of a smart homeowner. Not every plumbing situation is suitable for a weekend warrior to tackle.
If your soapy water test reveals bubbles on a pipe buried behind drywall, stop immediately. Opening walls and rerouting main lines requires building permits and licensed expertise.
Similarly, if you ever feel physically dizzy or if the rotten egg smell is overwhelming, evacuate.
Professional plumbers have specialized gas-sniffing equipment and pressure gauges. Paying for their expertise is entirely worth it when the safety of your family is on the line.
Understanding the Costs: DIY vs. Professional Repair
One of the best parts about learning how to repair a gas leak is the financial savings. The materials required for a minor fitting fix are incredibly cheap.
A roll of yellow Teflon tape and a small jar of pipe dope will cost you under $20 at the hardware store. If you already own a pair of adjustable wrenches, your total investment is minimal.
Hiring a licensed plumber, on the other hand, comes with significant labor fees. Most professionals charge a dispatch fee just to show up at your front door.
A basic surface-level fitting repair by a pro will typically cost between $150 and $300. By doing the work carefully yourself, you keep those funds firmly in your bank account.
Frequently Asked Questions About Gas Leak Repairs
Tackling this kind of project usually brings up a lot of questions for first-time repairers. Here are the most common concerns homeowners have about dealing with fuel lines.
What does a gas leak actually smell like?
Utility companies add a harmless chemical called mercaptan to natural gas. This chemical gives the normally odorless fuel a distinct, heavy smell of sulfur or rotten eggs. If you smell this scent, you need to investigate the source immediately.
Can I use white plumber’s tape on gas lines?
No, you must never use standard white Teflon tape on fuel lines. White tape is designed for water pipes and will degrade when exposed to natural gas. You must always use the thicker, denser yellow tape specifically rated for combustible fuels.
How tight should I make the pipe fittings?
Fittings should be tightened firmly with two wrenches until they are very snug. However, you should not use all your body weight to crank them down. Over-tightening can strip the threads or crack the metal housing, creating a worse problem.
Will turning off the main valve extinguish my pilot lights?
Yes, closing the main utility valve cuts off fuel to the entire house. Once your repair is finished and the fuel is restored, you will need to relight your pilot lights. Check your water heater, furnace, and older stoves to ensure their pilots are burning safely.
Is a tiny, slow leak dangerous?
Yes, even a microscopic leak is incredibly dangerous in an enclosed space. Gas accumulates over time, turning a small trickle into a major explosion hazard. Every single leak, no matter how small, must be repaired immediately.
Conclusion: Wrapping Up How to Repair a Gas Leak
Taking care of your home requires patience, a willingness to learn, and a healthy respect for safety. We have covered a lot of ground today, from identifying the smell of rotten eggs to executing a flawless soapy water test.
By following these careful steps, you can confidently handle minor connection issues behind your stove or dryer. Remember to always use the proper yellow tape and pipe dope to ensure a lasting seal.
Understanding how to repair a gas leak empowers you to maintain your home without relying entirely on expensive contractors. You have the knowledge to protect your property and keep your family safe.
If you found this DIY repair guide helpful, please share it with your fellow homeowners. Bookmark our site for more practical, neighborly advice on fixing things around your house!