

You grab your trusty jack, pump the handle, and nothing happens. Or worse, it lifts your car halfway and slowly sinks back down.
When your equipment fails, it brings your whole weekend project to a screeching halt. Anyone who works on their own car faces this annoying problem eventually.
But do not throw that heavy piece of steel away just yet. Learning how to repair a floor jack is easier than you might think.
Fixing it yourself saves you a ton of money. A bottle of hydraulic fluid and a simple seal replacement kit cost a fraction of what a brand-new jack does.
Plus, there is a serious sense of pride in fixing your own tools. If you can turn a wrench on your car, you can handle this project.
Let us dive in and get your shop equipment lifting safely again.
What Causes This Problem?
Floor jacks are tough, but their internal parts wear out over time. Heavy use, dirt, and age all take their toll.
Before we start tearing things apart, it helps to know why things went wrong. Here are the most common culprits.
- Low Hydraulic Fluid: If the fluid level drops too low, the pump cannot build enough pressure.
- Air Trapped in the System: Air bubbles get stuck inside the cylinder, making the lifting action feel spongy or weak.
- Worn or Damaged O-Rings: Rubber seals dry out, crack, and let fluid leak past them.
- A Loose Release Valve: If the valve does not seat perfectly, pressure escapes back into the reservoir.
- Contaminated Oil: Dirt and metal shavings turn good fluid into a gritty sludge that destroys internal parts.
Tools & Materials Needed
Preparation is the secret to a smooth, headache-free repair. You do not need a massive tool chest for this job.
Gather these basic items before you start draining any oil. Having everything within reach keeps your workspace clean and organized.
- A set of standard and metric wrenches
- A flathead and Phillips screwdriver set
- Needle-nose pliers
- A rubber mallet
- Clean shop rags or heavy-duty paper towels
- A drain pan to catch old oil
- A can of brake cleaner or degreaser
- A universal floor jack seal replacement kit (match your specific model if possible)
- A fresh bottle of premium hydraulic fluid (never use brake fluid or motor oil)
Step-by-Step Fix Guide: How to Repair a Floor Jack
Ready to get your hands a little dirty? We will break this down into simple, manageable pieces.
Take your time, keep your parts organized, and work on a clean, flat surface.
Step 1: Clean the Exterior
Dirt is the natural enemy of hydraulic systems. You do not want grime falling inside the cylinder when you open it up.
Spray the entire unit down with degreaser. Wipe away all the thick grease, dirt, and debris.
Pay special attention to the area around the fill plug and the release valve. A clean exterior makes spotting future leaks much easier.
Step 2: Drain the Old Fluid
Locate the fill plug on the main cylinder body. It is usually a small rubber plug or a metal screw on the side of the oil reservoir.
Remove the plug carefully. Place your drain pan underneath the jack.
Turn the jack on its side and let the old oil drain out completely. This might take a few minutes, so be patient.
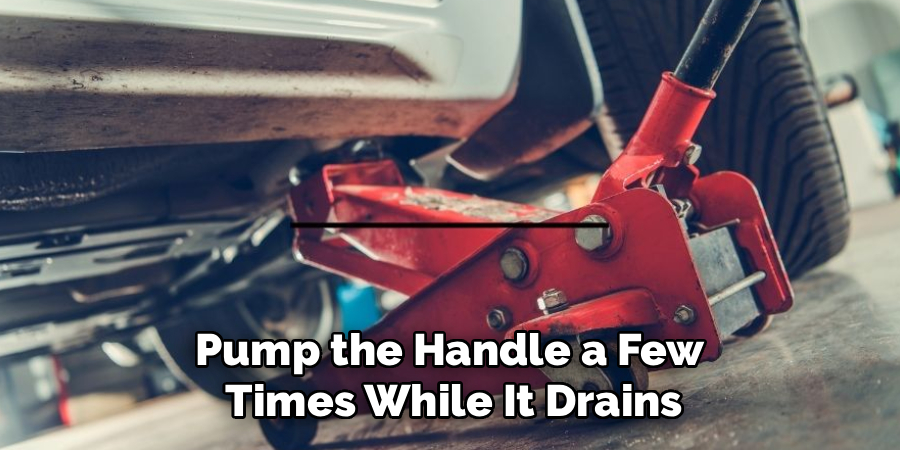
Pump the handle a few times while it drains. This forces out any stubborn fluid hiding in the pump piston.
Step 3: Remove the Release Valve
The release valve controls the flow of pressure. When it fails, your jack will not hold weight.
Use your wrench to loosen and remove the valve assembly. Turn it counterclockwise until it pops out.
Inspect the metal threads for any signs of stripping or damage. Look closely at the small rubber O-ring sitting at the base of the valve.
Step 4: Perform a Seal Replacement on the Valve
If that tiny O-ring looks flat, cracked, or torn, it is time for a seal replacement.
Use a small pick or flathead screwdriver to gently pry the old seal off. Be careful not to scratch the metal seating surface.
Slide a matching new O-ring from your kit onto the valve. Coat the new seal with a drop of fresh hydraulic fluid before installing it.
Step 5: Remove the Pump Piston
Next, look at the small piston connected to the handle mechanism. This is what pushes fluid into the main cylinder.
Remove the cotter pins or retaining bolts holding the handle socket in place. Lift the socket out of the way.
Pull the pump piston straight up and out of its bore. It might require a little wiggle, but it should slide free.
Step 6: Replace the Piston Seals
Just like the release valve, this piston relies on heavy-duty rubber to build pressure.
Remove the old, worn seals from the bottom of the piston. Clean the bare metal with a quick spray of brake cleaner.
Install your new seals carefully. Ensure they sit flat in their grooves without twisting.
Lubricate the newly installed seals with clean oil. Slide the piston back into its bore, pressing down firmly.
Step 7: Refill the Hydraulic Fluid
Now that your seals are fresh, it is time to give the system its lifeblood back.
Stand the jack upright on a level surface. Insert a small funnel into the fill hole.
Slowly pour in your fresh hydraulic fluid. Stop pouring when the fluid sits just below the edge of the fill hole.
Do not overfill it. The system needs a small air pocket at the top to function correctly.
Step 8: Bleed the Air from the System
This is a critical step. If you skip this, your jack will still feel weak and spongy.
Open the release valve completely by turning the handle counterclockwise.
Pump the handle rapidly 10 to 15 times. You might hear hissing sounds as trapped air bubbles escape through the fill hole.
Close the release valve tightly. Pump the handle again to see if the lifting arm rises smoothly to the top.
Step 9: Top Off and Seal
If the arm lifts perfectly, lower it back down completely. Check the fluid level one last time.
Add a tiny bit more oil if the level dropped during the bleeding process.
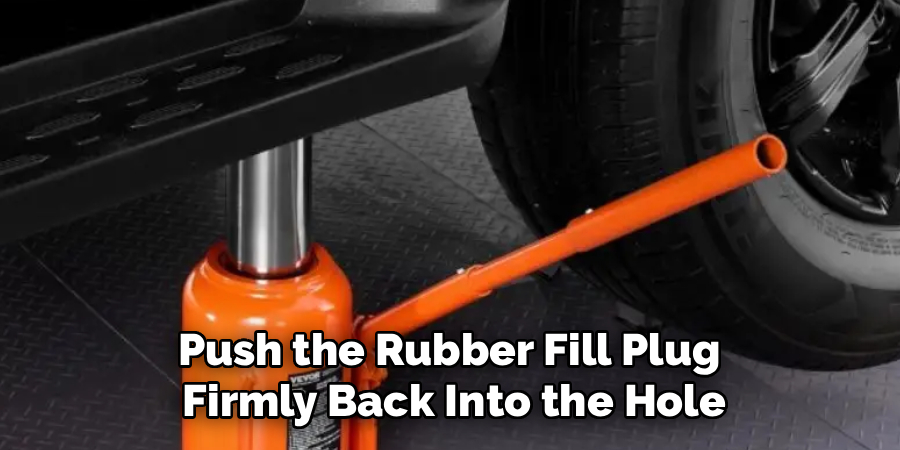
Push the rubber fill plug firmly back into the hole. Wipe down any spilled oil with your shop rags.
Test the jack under a light load to ensure it holds pressure safely. You have successfully finished the repair!
Safety Warnings
Hydraulic tools handle massive amounts of weight. You must respect the forces at play to stay safe.
Never use brake fluid, transmission fluid, or motor oil as a substitute. These liquids will destroy the internal rubber seals almost immediately.
Always use jack stands when working under a vehicle. A floor jack is a lifting device, not a holding device.
Do not over-tighten the release valve. Cranking it down too hard can strip the delicate brass threads and ruin the unit.
If you notice deep rust or structural cracks in the steel frame, stop immediately. No amount of new oil can fix a compromised steel frame.
When to Call a Professional
DIY repairs are incredibly rewarding, but you need to know your limits. Sometimes, a piece of equipment is beyond a simple driveway fix.
If the main lifting ram is deeply scored or bent, the entire unit is compromised. A bent ram will never hold a seal, no matter what you do.
If you replace all the seals and bleed the system, but it still slowly drops under weight, you have internal metal wear.
Professional hydraulic repair shops have the machining tools to fix deep internal damage.
However, shop labor rates are high. If you own a budget-friendly jack, paying a pro to fix it often costs more than buying a new one.
Save professional repairs for high-end, heavy-duty commercial equipment.
Cost Estimate: DIY vs. Pro
Money talks when it comes to tool maintenance. Let us look at the numbers.
Doing this repair yourself is extremely budget-friendly. A quart of good quality hydraulic oil costs about $10.
A universal seal kit will run you between $15 and $30, depending on the brand. That brings your total DIY cost to around $25 to $40.
Taking it to a professional hydraulic repair shop is a different story. Shops typically charge $80 to $120 per hour for labor alone.
Add in their markup on parts, and a professional rebuild easily costs $150 to $250.
Unless your jack retails for over $500, the DIY route is the only one that makes financial sense.
Frequently Asked Questions
Can I use power steering fluid in my jack?
No, you should never use power steering fluid. It has different additives that will swell and destroy the internal rubber components. Always stick to proper jack oil.
Why is my floor jack leaking oil from the main cylinder?
A leak around the main ram means the large internal wiper seal has failed. You will need to perform a complete seal replacement to stop the fluid from escaping.
How often should I change the fluid?
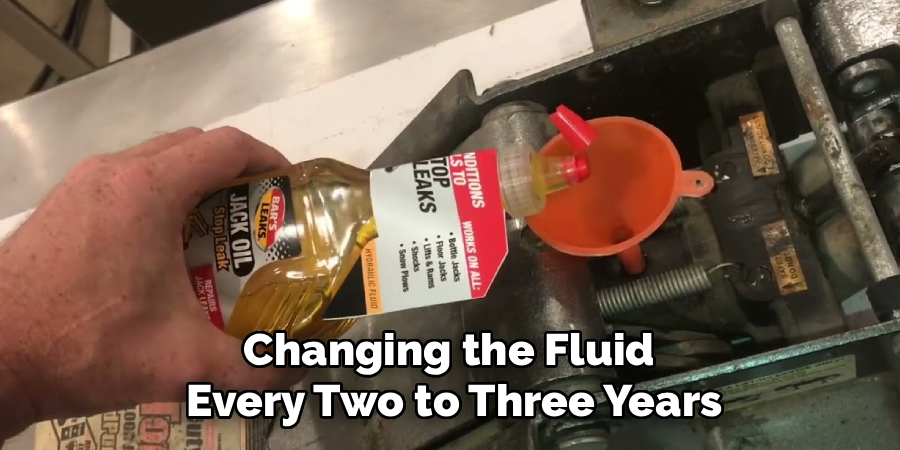
For a home garage, changing the fluid every two to three years is plenty. If you use it daily in a commercial shop, change it annually to prevent sludge buildup.
Why does my jack lift halfway and then stop?
This usually means you are simply low on oil. When the pump runs out of liquid to push, the arm stops rising. Refill it and bleed the air out.
How do I know if my release valve is bad?
If your jack lifts fine but slowly creeps back down to the floor, the valve is the top suspect. A worn tip or a bad O-ring lets pressure sneak backward.
Conclusion
Dealing with broken shop equipment is frustrating, but it does not have to ruin your week.
Now you know exactly how to repair a floor jack with just a few basic tools. You understand the inner workings of the pump, the importance of fresh hydraulic fluid, and the right way to handle a seal replacement.
By taking an hour out of your day, you just saved yourself hundreds of dollars. You also kept a heavy piece of steel out of the local landfill.
Keep your tools clean, maintain your fluid levels, and your jack will lift safely for years to come.
Do you have other tools sitting broken in the corner of your garage? Check out our other DIY repair guides and keep saving money on your home workshop projects today!