

A leaky roof can quickly ruin your weekend plans. Water stains on the ceiling usually mean trouble is brewing above. If you store valuable tools or vehicles inside, you need a watertight space.
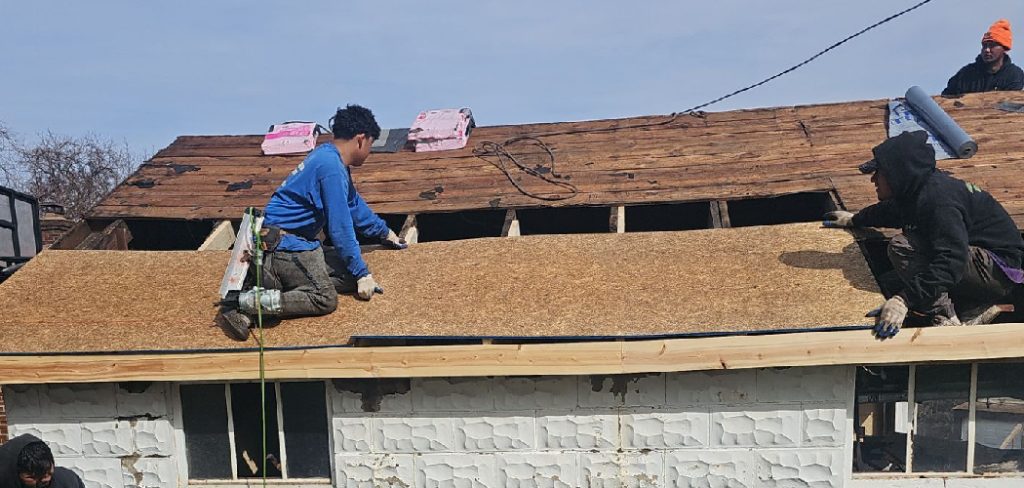
You might think you need to call a costly contractor immediately. But learning how to repair a flat garage roof yourself is highly rewarding. It is easier than you might expect.
Tackling this project on a Saturday morning saves you hundreds of dollars in labor costs. You also gain the confidence to handle future home maintenance tasks.
We are going to walk through this together. Grab your work gloves and let’s get that roof sealed up tight.
What Causes Flat Garage Roof Leaks?
Before fixing the damage, we need to understand why it happened. Flat roofs are notorious for holding water if they lack proper drainage.
Over time, the elements break down the roofing materials. Here are the most common culprits behind your leaks:
- Ponding Water: Flat roofs are rarely perfectly flat. Low spots collect standing water, which slowly eats away at the membrane.
- Sun Damage: Ultraviolet rays from the sun bake the roofing material daily. This constant exposure causes the roof to blister, crack, and turn brittle.
- Debris Buildup: Leaves and branches block drainage systems. Wet debris rots and breaks down the protective top layer of your roof.
- Age and Wear: Most flat roofing materials last between 10 and 20 years. Once they pass their prime, seams naturally begin to separate.
- Temperature Swings: Materials expand in the heat and contract in the cold. This constant shifting creates small tears in the roof’s surface.
Essential Tools and Materials You Need
Proper preparation makes the actual repair work a breeze. You do not want to climb up and down the ladder to grab missing items.
Gather these tools before you start. Most are available at your local hardware store.
Tools for the Job:
- A sturdy extension ladder
- Stiff-bristled push broom
- Utility knife with fresh blades
- Metal putty knife or trowel
- Paint roller and extension pole
- Heavy-duty trash bags
- Tape measure
Materials for the Repair:
- Roofing cement (flashing cement)
- Fiberglass mesh tape or roofing fabric
- Liquid rubber roof coating or elastomeric sealant
- Clean rags or heavy-duty paper towels
- A mild degreaser or cleaning solution
- Work gloves and safety glasses
Step-by-Step Guide: How to Repair a Flat Garage Roof
Now we get to the fun part. Fixing the roof requires patience, but the steps are incredibly straightforward.
Follow this sequence to ensure your patch holds up against the next big rainstorm.
Step 1: Clear the Roof of All Debris
You cannot patch a roof covered in wet pine needles. Use your push broom to sweep the entire surface.
Pay special attention to the corners and drainage areas. Bag up all the leaves, dirt, and branches.
Step 2: Wash the Damaged Area
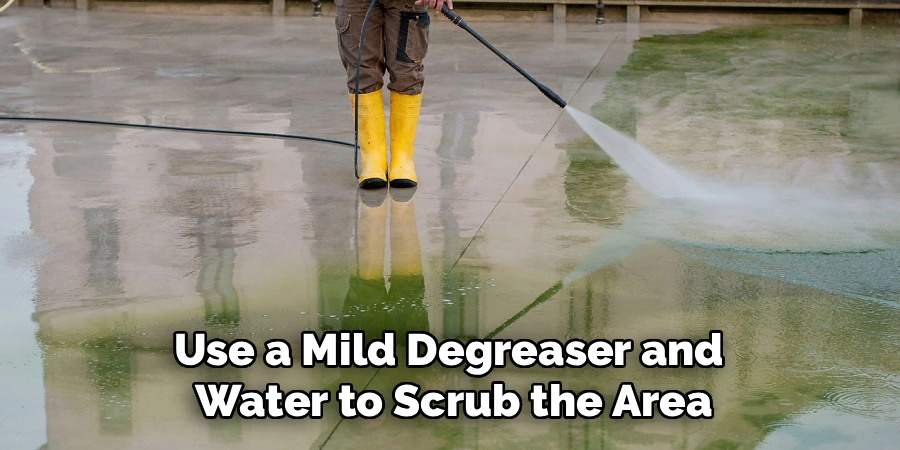
Your patching materials will not stick to a dirty surface. Use a mild degreaser and water to scrub the area around the leak.
Wipe it down thoroughly with clean rags. Ensure you remove all loose gravel, mud, and grime.
Step 3: Let the Surface Dry Completely
Trapping moisture under a new patch guarantees a future leak. You must let the area dry entirely before proceeding.
If you are in a rush, use a leaf blower to speed up the process. Better yet, let the sun bake it dry for a few hours.
Step 4: Slice Open the Blister
If you are dealing with a bubbled area, you must release the trapped air or water. Take your utility knife and cut a straight line down the center of the blister.
Do not cut into the healthy roofing material beneath it. Press down on the edges to force out any hidden moisture.
Step 5: Apply the Roofing Cement
Scoop up a generous amount of roofing cement with your putty knife. Push it deep inside the cut you just made.
Press the flaps of the blister down flat into the wet cement. Smooth more cement over the top, extending a few inches past the damage.
Step 6: Embed the Fiberglass Mesh
Cut a piece of fiberglass mesh tape slightly larger than the patched crack. Press it firmly into the wet layer of roofing cement.
This mesh acts like rebar in concrete. It gives your patch structural strength so it will not split again.
Step 7: Apply the Top Coat of Cement
Cover the mesh with another thick layer of roofing cement. Use your trowel to feather the edges out smoothly.
You want a gentle slope so water flows right over the patch. Let this cement cure according to the manufacturer’s instructions.
Step 8: Seal with Liquid Roof Coating
Once the patch dries, you want to add an extra layer of protection. Roll a coat of liquid rubber or elastomeric sealant over the repaired section.
For the best results, consider coating the entire garage roof. This extends the life of the whole structure significantly.
Crucial Safety Warnings for Roof Repairs
Working at heights always carries risks. Your safety is much more important than a dry garage.
Always ensure your ladder is on stable, level ground. Have a friend or family member hold the base while you climb.
Never walk on a flat roof if it is wet or frosty. The surface becomes incredibly slippery and dangerous.
Watch out for soft spots as you walk around. If the wood decking beneath feels spongy, step back immediately to avoid falling through.
Finally, wear shoes with heavy rubber soles for maximum grip. Avoid wearing loose clothing that could snag on the ladder.
When You Should Call a Professional Roofer
DIY repairs are fantastic for small blisters, minor cracks, and localized leaks. But sometimes, a roof is too far gone.
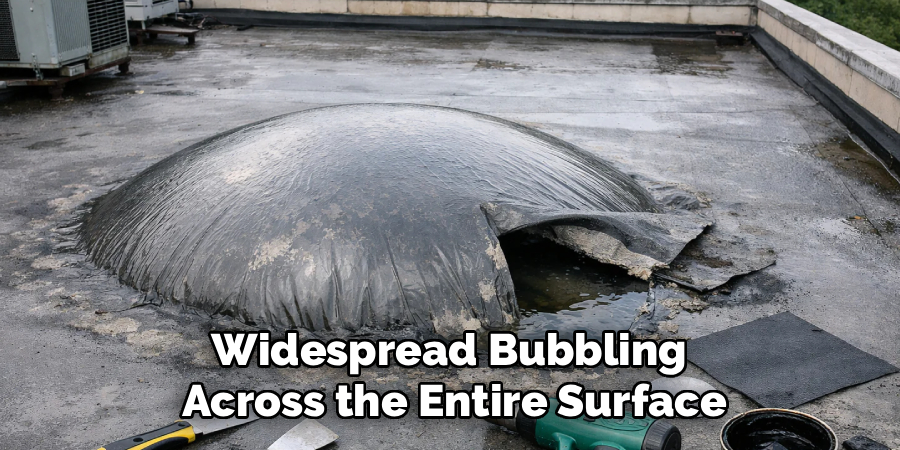
If you notice widespread bubbling across the entire surface, it is time to call a pro. This usually indicates that water has saturated the insulation underneath.
Spongy, rotting wood decking requires structural repair. A simple patch will not fix compromised rafters or plywood.
If your roof is over 20 years old, patching is just delaying the inevitable. A professional replacement is the smartest long-term investment.
Cost Estimate: DIY vs. Professional Repair
Budgeting is a huge part of home ownership. Let’s look at the financial benefits of doing this yourself.
A DIY repair for a standard flat roof leak is very affordable. A gallon of roofing cement, mesh, and basic tools will run you about $50 to $100.
If you decide to coat the entire roof with liquid rubber, add another $150 to $250.
Hiring a professional roofer tells a different story. Contractors usually charge a minimum call-out fee just to show up.
A basic professional patch job usually starts around $300 to $500. If they need to replace sections of the membrane, costs quickly soar above $1,000.
By spending a few hours on a Saturday, you keep that extra cash right in your pocket.
Frequently Asked Questions About Flat Roofs
You might still have a few questions before climbing the ladder. Here are the most common queries we get from homeowners.
Can you put a new flat roof over an old one?
Yes, building codes often allow a second layer of roofing. However, you must ensure the underlying structure can handle the extra weight.
How do you find the exact source of a flat roof leak?
Finding a leak is tricky because water travels along joists. Look for dark water stains, blistering on the surface, or cracks near flashing and vents.
What is the best sealant for a flat garage roof?
Liquid rubber and elastomeric coatings are excellent choices. They expand and contract with temperature changes, making them highly durable.
Does standing water ruin a flat roof?
Yes, ponding water breaks down roofing materials much faster than normal wear. You should sweep off standing water if it stays longer than 48 hours.
How to repair a flat garage roof in the winter?
Winter repairs are tough because cement will not cure in freezing temperatures. You should use a specially formulated wet-patch roofing cement for temporary emergency winter fixes.
Conclusion
Taking care of your property does not have to be intimidating. You now know exactly how to repair a flat garage roof.
By gathering the right tools and following these simple steps, you can stop leaks in their tracks. You will save money and protect the valuable items stored below.
Remember to prioritize safety, take your time, and let the materials dry properly. A well-applied patch can buy your roof several more years of life.
Are you ready to tackle more home improvement projects? Check out our other DIY guides for practical, beginner-friendly tips to fix up your home!