

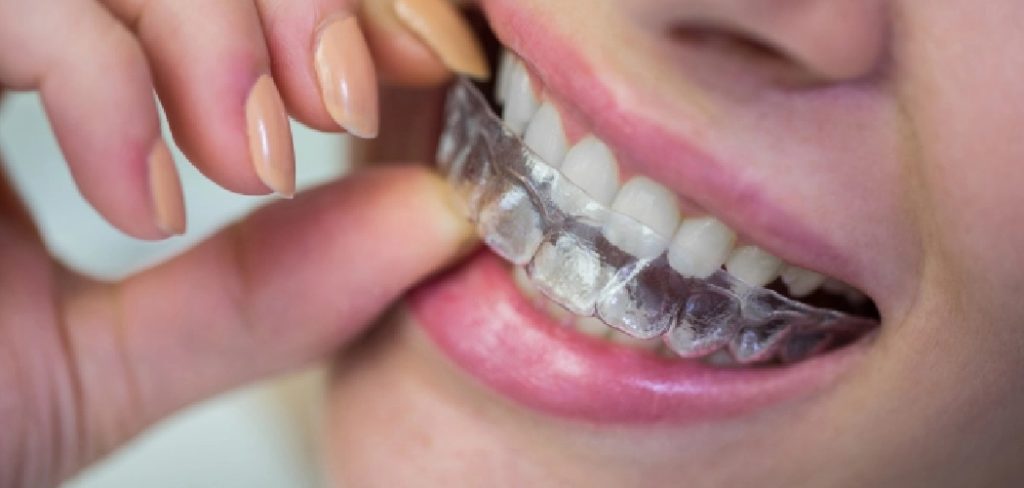
Are you staring at a cracked plastic tray or a snapped wire, wondering what to do next? Figuring out how to repair broken retainer issues at home can feel a bit overwhelming at first. You might be worried about your teeth shifting.
You also might be dreading the hefty bill from the orthodontist. For homeowners, renters, and DIY enthusiasts used to fixing things around the house, a broken dental appliance is just another puzzle to solve.
While orthodontic gear is delicate, there are temporary DIY solutions to keep you safe and comfortable. Fixing it yourself in the short term saves money and buys you time before you see a technician or orthodontist.
In this guide, we will walk you through safe, effective steps to handle a cracked or broken retainer. We will cover the tools you need, the safety warnings you must heed, and exactly when to call in the professionals.
Understanding the Need to Fix Your Retainer
When a retainer breaks, the clock starts ticking. Your teeth are always eager to shift back to their old, crooked positions.
Learning how to repair broken retainer damage temporarily can prevent painful cuts in your mouth. It also ensures you don’t lose the progress you made with braces.
Keep in mind that DIY fixes for dental appliances are mostly temporary. However, knowing how to stabilize the break is a crucial skill for any practical problem-solver.
Why DIY Saves You Immediate Stress
When you fix a sharp edge yourself, you avoid emergency after-hours dental fees. You can sleep comfortably without a jagged piece of plastic poking your gums.
You take control of the situation. Like any good home repair, it is all about assessing the damage and applying the right temporary fix.
What Causes This Problem?
Before you can fix the issue, it helps to know why it happened. Retainers are tough, but they are not indestructible.
Here are the most common reasons your retainer might have snapped or cracked:
- Improper Removal: Pulling it out from one side creates stress fractures in the plastic over time.
- Heat Exposure: Washing it in boiling water or leaving it in a hot car warps and weakens the material.
- Teeth Grinding: Clenching or grinding your teeth at night puts immense pressure on thin plastic.
- Careless Storage: Wrapping it in a napkin, tossing it in a pocket, or stepping on a loose retainer.
- Natural Wear and Tear: Over time, the materials naturally degrade, dry out, and become brittle.
- Pet Damage: Dogs love the smell of the materials and will quickly chew them to pieces.
Tools & Materials Needed
Just like fixing a leaky pipe, gathering the right supplies is step one. Never use standard household hardware supplies for this job.
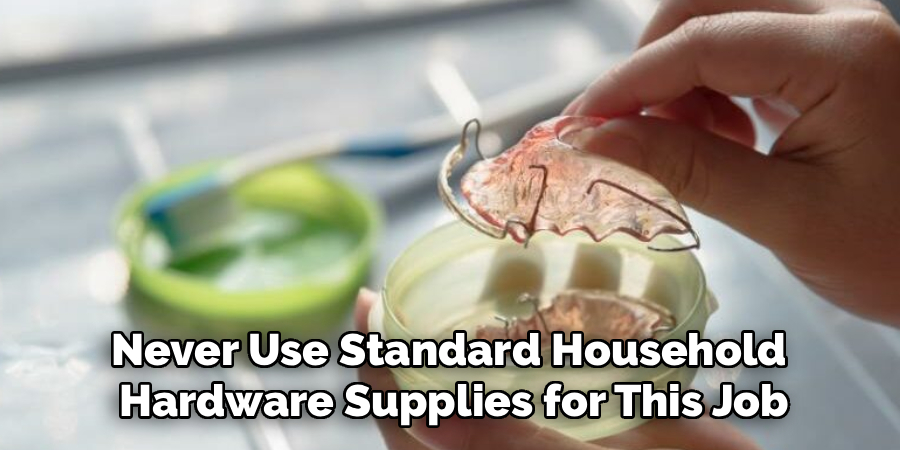
Here is exactly what you need to safely handle a broken retainer repair at home:
- Orthodontic Dental Wax: Essential for covering sharp wires or jagged plastic edges.
- Dental-Safe Repair Kit: Available at most pharmacies, containing non-toxic binding agents.
- Clean Cotton Swabs (Q-Tips): For drying the area and applying materials precisely.
- Fine-Grit Emery Board: A clean, unused nail file to gently smooth out minor plastic chips.
- Rubbing Alcohol: For sterilizing your tools before they go near your mouth.
- Good Lighting and a Mirror: To clearly see the damage and apply the fix accurately.
What NOT to Use (Crucial!)
Never use Super Glue, Gorilla Glue, or epoxy. These contain highly toxic chemicals that are not meant for human consumption.
They also break down in saliva, creating a chalky, poisonous mess in your mouth. Stick strictly to dental-grade products.
Step-by-Step Fix Guide: How to Repair Broken Retainer
Ready to tackle the problem? Whether you have a clear plastic tray (Essix) or a wire and acrylic model (Hawley), follow these beginner-friendly steps.
Take your time, ensure your hands are thoroughly washed, and work in a well-lit area.
Step 1: Inspect and Clean the Retainer
First, examine the damage closely. Is it a hairline crack, a completely snapped wire, or a piece of missing plastic?
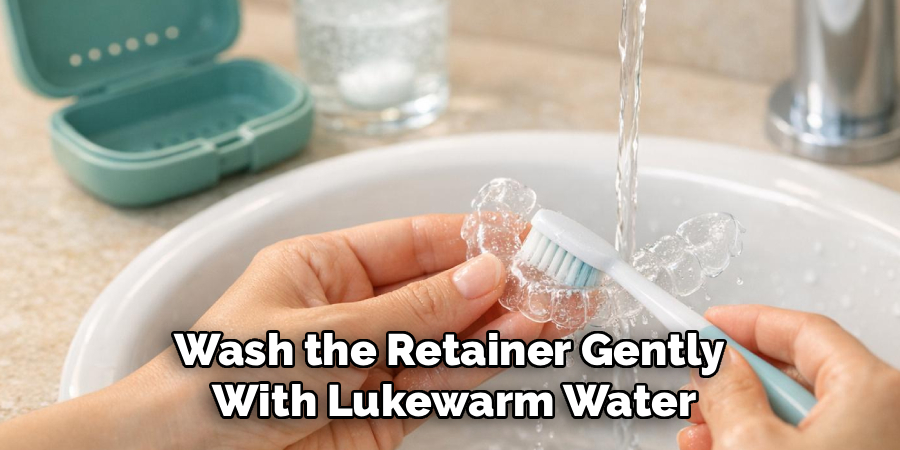
Wash the retainer gently with lukewarm water and a soft toothbrush. Do not use toothpaste, as it can be abrasive. Dry it completely with a clean paper towel.
Step 2: Smooth Out Minor Chips (For Plastic Retainers)
If the break resulted in a small, sharp edge that cuts your cheek, you can smooth it. Take your brand-new, sterilized emery board.
Gently file the sharp edge using light, downward strokes. Stop frequently to check the smoothness with your finger. Do not file away too much material.
Step 3: Apply Orthodontic Wax for Protection
If there is a crack in the plastic or a snapped wire, dental wax is your best friend. Pinch off a pea-sized amount of orthodontic wax.
Roll it between your fingers until it becomes warm and pliable. Press it firmly over the sharp wire or the cracked plastic seam.
This acts as a soft bumper, protecting your tongue and gums from lacerations. You will need to reapply this wax after eating or brushing your teeth.
Step 4: Use a Dental-Safe Repair Kit (For Clean Breaks)
If your plastic retainer is cleanly snapped in two, you can use a temporary dental repair kit. Read the instructions on the kit carefully.
Mix the dental adhesive exactly as directed. Use a clean cotton swab to apply a very thin layer to the broken edges.
Press the pieces together and hold them firmly for the specified time. Wipe away any excess adhesive immediately before it hardens.
Step 5: Test the Fit Carefully
Once the temporary fix is applied and dry, place the retainer in your mouth gently. Do not bite it into place.
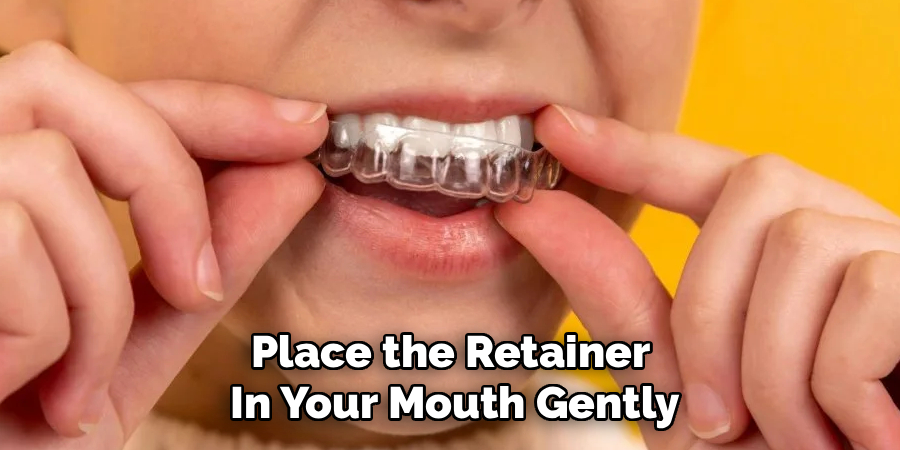
If it feels incredibly tight, uneven, or causes pain, remove it immediately. An improperly seated retainer will actively shift your teeth out of alignment.
If the fit is secure and the sharp edges are covered, you have successfully stabilized the situation.
Safety Warnings: Read Before You Fix
DIY projects are incredibly rewarding, but oral health requires strict boundaries. There are severe risks if you mishandle this repair.
Toxicity Danger: We cannot stress this enough. Industrial adhesives, super glues, and craft epoxies are toxic. They can cause severe allergic reactions, chemical burns on your gums, and systemic illness if swallowed.
Choking Hazard: If your temporary fix fails while you are sleeping, a small piece of plastic or wire could dislodge. This poses a very serious choking risk. If the retainer is crumbling, do not wear it to bed.
Permanent Tooth Movement: Your teeth are highly sensitive to pressure. If you glue a retainer back together at the wrong angle, it becomes a rogue orthodontic device. It will actively push your teeth out of place, ruining years of expensive treatment.
Infection Risk: Jagged wires can create deep cuts inside your cheeks. These cuts easily become infected by the bacteria naturally present in your mouth. Always prioritize covering sharp edges.
When to Call a Professional
Knowing your DIY limits is the mark of a smart homeowner. While temporary patches are great, they are not permanent solutions.
You need to call your orthodontist or dentist immediately if:
- The retainer is broken into more than two pieces.
- A piece of the plastic or wire is missing entirely.
- The repaired retainer feels tight, painful, or does not sit flush against your teeth.
- You swallowed a piece of the broken hardware.
- The temporary dental wax or glue is not holding the pieces securely.
An orthodontist has specialized tools and non-toxic, industrial-grade dental acrylics. They can weld wires and recast plastics perfectly to your mouth’s shape.
Often, a badly broken retainer simply needs to be replaced. Delaying this call can lead to your teeth shifting, which requires a whole new set of braces to fix.
Cost Estimate: DIY Fix vs. Professional Repair
Part of being a savvy DIYer is calculating the return on investment. Let’s break down the costs associated with this repair.
The DIY Cost:
Handling a temporary fix at home is incredibly cheap. Orthodontic wax costs between $3 and $5 at a local pharmacy.
A temporary dental repair or bonding kit usually runs between $10 and $25. A new emery board is about $2. Total DIY cost: $15 to $32.
The Professional Cost:
Professional repair or replacement is significantly more expensive, but it guarantees safety. If the orthodontist can repair the existing appliance, it might cost between $50 and $100.
If the retainer is damaged beyond repair, you will need a replacement. A new clear plastic retainer (Essix) usually costs $150 to $300 per arch. A new wire retainer (Hawley) can cost $200 to $500.
While the professional route is pricier, fixing it incorrectly at home could cost you thousands in new braces.
FAQs About Fixing Broken Dental Gear
Can I use super glue to fix my retainer?
No, absolutely not. Super glue is toxic, breaks down in the moist environment of your mouth, and can cause chemical burns to your gums. Always use dental-safe adhesives.
How do you fix a broken wire on a retainer?
You cannot safely solder or glue a snapped wire at home. The best temporary fix is to roll a small ball of orthodontic wax and press it over the sharp end of the wire to protect your cheek until you see a dentist.
Will a cracked clear retainer still work?
If it is a small hairline crack and the retainer still holds its shape securely, it may still keep your teeth in place. However, the crack will eventually widen. You should seek a replacement soon.
How to repair broken retainer plastic at home?
For minor chips, gently smooth the edge with an emery board. For a clean break, use a pharmacy-bought dental repair kit. Follow the package instructions carefully, but remember this is only a temporary patch.
Does insurance cover a broken retainer?
It depends on your specific dental insurance plan. Some plans cover one replacement per year, while others consider it an out-of-pocket cosmetic expense. Call your provider to check your coverage limits.
Conclusion
Dealing with damaged orthodontic hardware is frustrating, but you don’t have to panic. Learning how to repair broken retainer damage temporarily puts you back in the driver’s seat.
By using safe materials like dental wax and avoiding toxic household glues, you can protect your mouth from sharp edges. Remember, the goal of this DIY fix is temporary stabilization, not a permanent reconstruction.
Keep your mouth safe, assess the damage logically, and don’t hesitate to lean on a professional when the job exceeds safe home repair limits.
Have you recently dealt with a snapped wire or cracked plastic? Share this guide with fellow DIY enthusiasts and homeowners to help them stay prepared for unexpected repairs!