

Your furnace runs, but no warm air reaches your rooms. The blower motor is the likely culprit. This part pushes heated air through your ducts, and when it fails, your whole heating system stalls. The good news? You can often fix it yourself without calling a technician.
Learning how to repair furnace blower motor issues saves you money and gets your home warm again fast. Most problems come down to a worn capacitor, a clogged blower wheel, or loose wiring. None of these require advanced skills.
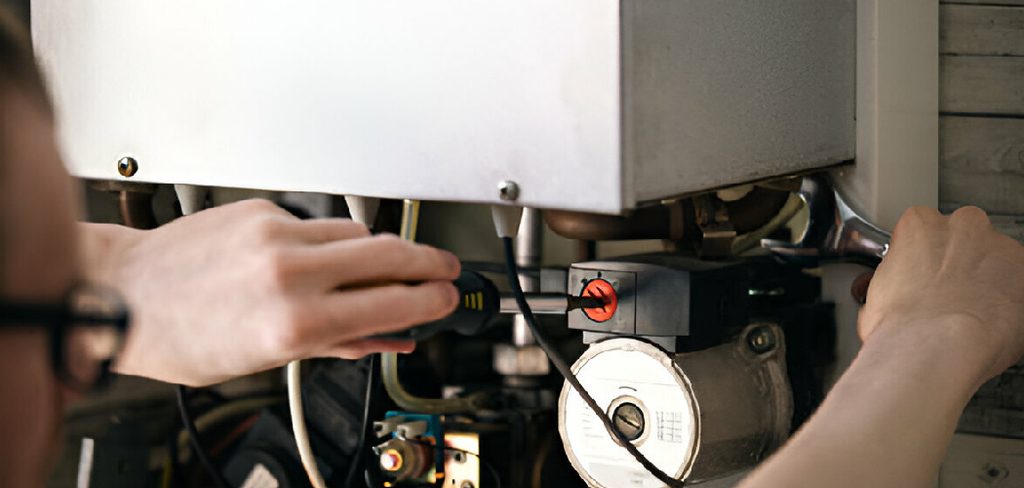
This guide walks you through the entire process step by step, from shutting off power safely to testing your repaired motor, so you can handle the job with confidence.
Why Repairing Your Furnace Blower Motor Matters
A dead blower motor means no airflow. No airflow means cold rooms, even when your furnace fires up perfectly. You lose comfort, and you risk overheating the heat exchanger.
Fixing it yourself cuts the cost. A professional service call runs $150 to $450 in labor alone. Doing the work yourself drops that to the price of parts, often under $80.
You also gain control. When you understand how your HVAC motor works, you spot warning signs early. Strange noises, weak airflow, or burning smells stop becoming emergencies and start becoming quick fixes.
Repairing the motor extends the life of your heating system too. A neglected blower strains other components. Fix it now, and you protect the whole unit from costly damage later.
Tools and Materials You’ll Need
Gather everything before you start. Stopping mid-job to find a tool wastes time and lets your patience run thin.
- Screwdrivers – Phillips and flathead for panels and brackets
- Nut driver or socket set – removes blower housing bolts
- Multimeter – tests the capacitor and motor windings
- Replacement capacitor – matched to your motor’s microfarad rating
- Insulated gloves – protect against residual electrical charge
- Shop vacuum – clears dust from the blower wheel and housing
- Work light – furnace cabinets are dark and tight
- Lubricating oil – non-detergent, for motors with oil ports
- Wire brush – cleans corroded terminals
- Replacement motor (optional) – keep one on hand if your unit is older and parts are scarce
A labeled phone photo of your wiring before disconnecting anything saves you confusion later.
Step-by-Step Guide on How to Repair Furnace Blower Motor
Step 1 – Cut the Power Completely
Safety comes first. Flip the furnace switch to off, then shut the breaker that feeds the unit. Don’t trust one switch alone.
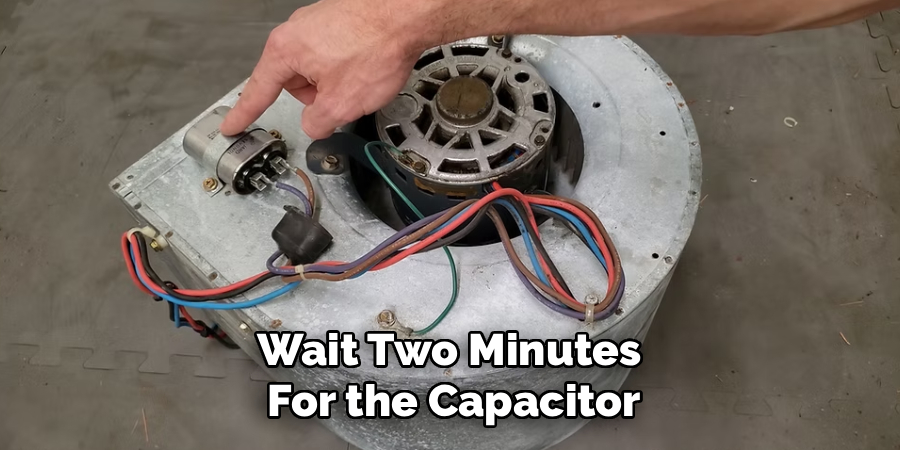
Open the furnace access panel and look for the small power switch inside the cabinet. Set it to off as well. Wait two minutes for the capacitor to discharge any stored charge.
Touch the metal cabinet with the back of your hand to confirm no current hums through it. The interior should feel still and cool. This habit prevents shocks that can throw you off a ladder or worse. Skipping this step is how most home repairs turn dangerous, so give it the attention it deserves before you reach inside.
Step 2 – Access the Blower Assembly
Remove the lower access panel. Most slide up and out or unscrew with a few bolts. Set the screws in a small dish so they don’t roll under the unit.
Inside, you’ll see the blower assembly tucked at the bottom. It looks like a metal cage with a fan wheel inside. Shine your work light across it. You’ll likely notice a thick blanket of dust coating the housing.
Take a photo of the wiring layout now. Snap the capacitor connections and motor leads clearly. This single picture makes reassembly painless. The cramped space and tangled wires confuse even careful people, so document before you disturb anything.
Step 3 – Inspect the Capacitor
The capacitor is a small cylindrical or oval can wired to the motor. It stores the jolt your motor needs to start spinning. A failed capacitor is the most common reason a blower hums but won’t turn.
Look for swelling, leaks, or a bulging top. A healthy capacitor sits flat and sealed. A bad one bulges like a dented soda can.
Set your multimeter to capacitance mode. Touch the probes to the terminals and read the value. Compare it to the rating printed on the side. If the reading falls more than 10 percent below spec, replace it. This quick test often solves the problem before you touch the motor itself.
Step 4 – Replace the Faulty Capacitor
Note exactly which wire connects to each terminal. Your earlier photo helps here. Pull the connectors off gently with needle-nose pliers, never by yanking the wires.
Mount the new capacitor in the same bracket. Match the microfarad and voltage ratings precisely. A mismatched part burns out fast or damages the motor.
Reconnect each wire to its original terminal. Push the connectors until they click firmly into place. Loose connections cause arcing and intermittent failures that drive you crazy later.
Double-check your work against the photo. When everything matches, you’ve handled the most likely fix to repair furnace blower motor trouble. Many homeowners stop right here because this single part solves the issue.
Step 5 – Clean the Blower Wheel and Housing
Even a good motor struggles under heavy dust. Caked grime on the blower wheel throws it off balance and chokes your airflow.
Unbolt the blower assembly and slide it out. It may take a firm tug. Set it on a clean surface where you can work.
Run your shop vacuum over the wheel and housing. For stubborn buildup, brush each fan blade clean. You’ll feel the difference in weight as the dust comes free. The metal should look bright again, not gray.
A balanced, clean wheel spins quietly and moves far more air. This step alone can fix the rattling noise and weak heat you’ve been fighting all winter.
Step 6 – Check the Motor and Bearings
Spin the motor shaft by hand. It should turn smoothly with light resistance. Grinding, grinding noise, or a frozen shaft points to worn bearings.
Listen closely. A faint, even whir is normal. A screech or rough scrape means trouble inside.
If your motor has oil ports, add a few drops of non-detergent oil to each. This quiets squeaks and extends bearing life. Wipe away any excess so it doesn’t attract dust.
Use your multimeter to check the windings for continuity. No reading means an open winding and a dead motor. At that point, you’ll swap the whole unit rather than nurse a failing part. Knowing the difference saves you from chasing a fix that won’t hold.
Step 7 – Reinstall the Blower Assembly
Slide the cleaned assembly back into its slot. Line up the mounting holes and start each bolt by hand to avoid cross-threading.
Tighten the bolts in a crisscross pattern. This seats the housing evenly and stops vibration that loosens everything over time.
Reconnect the wiring exactly as your photo shows. Snug each connector firmly. Tug lightly to confirm none slip off.
Check the fan belt if your model uses one. A cracked or loose belt slips and squeals. Press it midway between the pulleys; it should give about half an inch. Replace it if it feels brittle. A solid reinstall now means your effort to repair furnace blower motor problems actually lasts through the season.
Step 8 – Restore Power and Test
Replace the access panel before you restore power. Running the blower with the cabinet open pulls in debris and skews the airflow.
Flip the interior switch on, then the breaker, then the main furnace switch. Set your thermostat to call for heat.
Listen and feel. The motor should start without hesitation and ramp up smoothly. Hold your hand over a vent. Warm, steady air confirms the repair worked.
Watch for a few minutes. The blower should run quietly with no burning smell or rattle. If it hums but won’t spin, recheck the capacitor connections. A clean start and strong airflow mean you’ve done the job right and earned a warm house.
Critical Mistakes When Repairing a Furnace Blower Motor
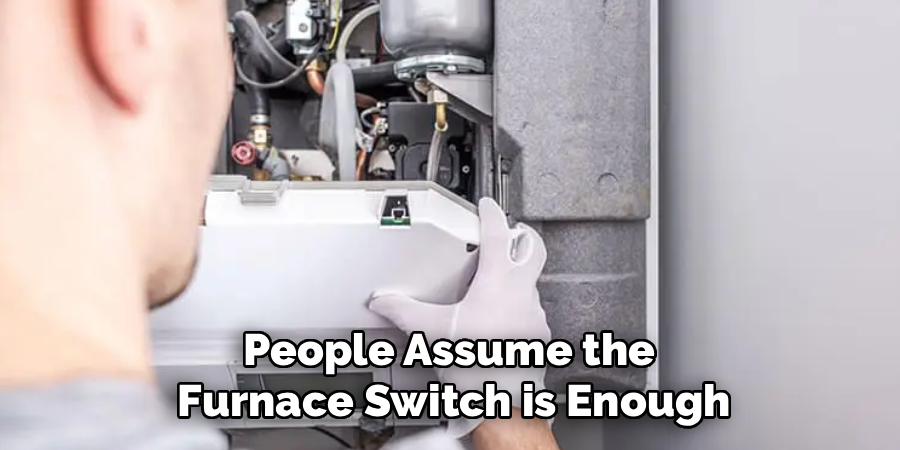
The biggest mistake is working with the power on. People assume the furnace switch is enough and reach inside a live unit. The capacitor holds a charge even after shutdown, and that stored energy delivers a painful, sometimes dangerous shock. Always kill the breaker and wait for the capacitor to discharge before touching anything.
Another common error is installing a mismatched capacitor. The microfarad and voltage ratings must match the original exactly. A close-enough guess burns out the new part within days or, worse, fries the motor windings. Read the printed specs and buy the precise replacement.
Many people also forget to photograph the wiring before disconnecting it. The terminals look identical, and a reversed connection causes the motor to run backward or not at all. One clear photo prevents an hour of frustrated guessing.
Skipping the cleaning step ranks high too. A grimy blower wheel throws off balance, strains the HVAC motor, and chokes your airflow. You replace the part but still get weak heat.
Finally, over-tightening bolts cracks the housing and warps the fan cage. Snug is enough.
Expert Tips
Test the capacitor first, every time. It’s the cheapest part and the most common failure point. You’ll fix the majority of blower problems for under $20 without ever pulling the motor.
Keep your spare capacitor matched to your exact model. When the blower dies on the coldest night, you won’t wait days for shipping.
Clean the blower wheel once a year. Schedule it with your filter changes. A clean wheel moves more air, runs quieter, and protects the motor from strain.
Label your wires with masking tape before disconnecting. Even with a photo, tape removes all doubt.
Finally, listen to your furnace through the season. A new squeal or rattle warns you early. Catch it then, and you turn a major repair into a five-minute fix.
Frequently Asked Questions
How do I know if my blower motor or capacitor is the problem?
Listen when the furnace calls for heat. A motor that hums but won’t spin usually points to a failed capacitor. A motor that’s completely silent or makes grinding noises points to the motor itself. Test the capacitor with a multimeter first, since it’s cheaper and fails more often. If the capacitor reads within spec, suspect the motor.
Can I run my furnace with a bad blower motor?
No. Running the furnace without a working blower lets heat build up inside the heat exchanger. That overheating can crack the exchanger, create a fire risk, and trigger your safety limit switch to shut everything down. Turn the system off until you complete the repair. A dead blower means cold air at best and serious damage at worst.
How much does it cost to replace a furnace blower motor yourself?
Doing it yourself costs far less than hiring a pro. Expect these typical ranges:
- Capacitor: $10 to $25
- Replacement HVAC motor: $50 to $200
- Professional labor (avoided): $150 to $450
Most homeowners spend under $80 in parts when only the capacitor or cleaning is needed.
How often should I clean my blower wheel?
Clean the blower wheel once a year, ideally before heating season starts. Dust builds up on each fan blade, unbalances the wheel, and chokes your airflow. A yearly cleaning keeps the motor running smoothly, reduces noise, and prevents strain. Pair it with your annual filter swap so you never forget. Homes with pets or heavy dust may need it twice a year.
Do all blower motors use a fan belt?
No. Newer furnaces use direct-drive motors where the blower wheel mounts straight onto the motor shaft, with no belt at all. Older units use a belt-drive system with a fan belt connecting the motor to the blower. If yours has a belt, check it for cracks and proper tension. A slipping belt causes squealing and weak airflow.
Conclusion
A failed blower doesn’t have to mean a cold house and an expensive service call. Most problems trace back to three things: a worn capacitor, a dusty blower wheel, or tired bearings. You now know how to spot each one and fix it.
Start by cutting power completely. Test the capacitor first, since it solves most cases for the price of a pizza. Clean the wheel, check the bearings, and reassemble carefully with your wiring photo as a guide. Then restore power and feel the warm air return.
The skills you’ve gained here go beyond one fix. You understand your heating system better, you spot trouble early, and you keep more money in your pocket every season.
Take your time, respect the electricity, and trust the steps. When you repair furnace blower motor problems yourself, you turn a stressful breakdown into a job well done. Grab your tools, follow the guide, and get your home warm again today.