

Do you have a loose brick wiggling around on your front porch? Maybe you have noticed some crumbling mortar along your entryway.
Damaged masonry looks bad and creates a serious tripping hazard for your family and guests. Left alone, small cracks quickly turn into massive structural failures.
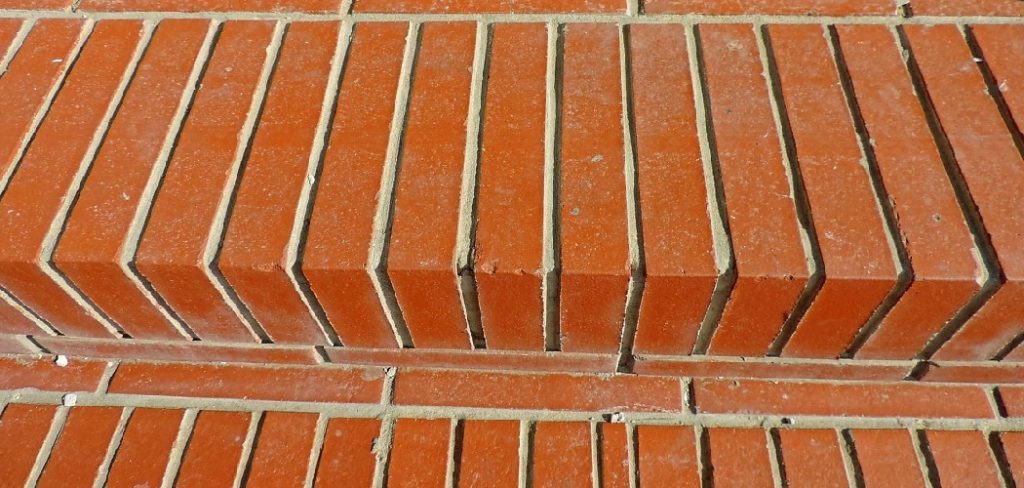
The good news is that you do not need to be a master mason to fix this issue. Learning how to repair brick steps is entirely possible for the average homeowner.
Taking the DIY route saves you hundreds of dollars in labor costs. You get the satisfaction of fixing your own home while protecting your property value.
In this guide, we will walk you through exactly how to restore your entryway. You will learn the causes of the damage, the tools you need, and the simple steps to make everything secure again.
What Causes This Problem?
Before you fix your stairs, it helps to understand why the damage happened in the first place. Brick and mortar are incredibly durable materials.
However, they are not invincible. Over time, environmental factors break down the bonds holding everything together.
Here are the most common culprits behind damaged masonry:
- Freeze-Thaw Cycles: Water seeps into tiny cracks in the mortar. When the temperature drops, that water freezes, expands, and blows the mortar apart.
- Water Pooling: If your stairs lack proper drainage, standing water constantly weakens the joints.
- Harsh De-Icing Salts: Using heavy rock salt during winter eats away at mortar and causes bricks to flake or spall.
- House Settling: As the ground shifts beneath your home, the rigid stairs cannot flex. This shifting leads to long, zigzagging cracks.
- Age and Wear: Normal foot traffic simply wears down the materials over decades.
Tools & Materials Needed
Preparation is the secret to any successful home repair project. Gathering the right gear before you start saves you massive headaches later.
You likely have a few of these items in your garage already. Everything else is easily found at your local hardware store.
Here is what you need to gather:
- Pre-mixed mortar: Look for a Type N mortar mix, which is ideal for exterior, above-grade brickwork.
- Replacement bricks: If any of your current bricks are cracked in half, buy matching replacements.
- Cold chisel and masonry hammer: Essential for chipping away the old, damaged joints.
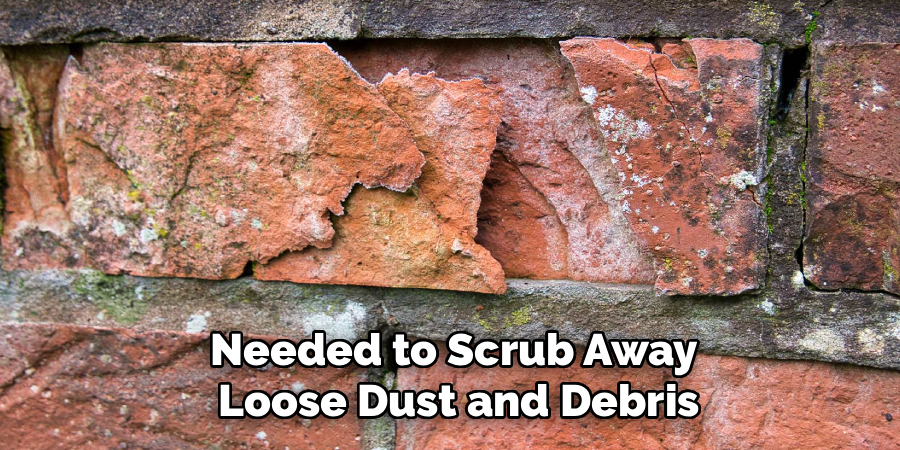
- Wire brush: Needed to scrub away loose dust and debris.
- Trowels: You need a pointing trowel for applying mortar and a brick trowel for mixing.
- Jointing tool: This gives the wet mortar that smooth, professional indented finish.
- Stiff bristle brush: Used for final clean-up.
- Bucket and water: For mixing the new compound.
- Heavy-duty sponge: Keeps the bricks damp during the process.
Step-by-Step Fix Guide
Now that you have your tools ready, it is time to get your hands dirty. Pick a day with mild weather.
Do not attempt this repair if it is freezing outside or raining heavily. Extreme heat can also dry out your mixture too fast.
Follow these beginner-friendly steps to fix your stairs.
Step 1: Clean and Prep the Area
You cannot bond new materials to a dirty surface. Start by sweeping the entire staircase thoroughly to remove loose dirt.
Inspect every single brick on your stairs. Wiggle them with your hands to see which ones are loose.
Mark any unstable pieces with a piece of chalk. This ensures you do not miss any problem areas once you start working.
Read More: How to Repair Home Foundation Cracks.
Step 2: Remove Old and Crumbling Mortar
Put on your safety glasses and grab your cold chisel and hammer. You need to carve out the damaged mortar around the loose bricks.
Place the chisel against the crumbling joint and tap it firmly. Work slowly to avoid damaging the surrounding good bricks.
You want to remove at least three-quarters of an inch of the old mortar. This gives the new mixture enough room to grip securely.
Step 3: Scrub the Joints Clean
Once the large chunks are removed, grab your wire brush. Vigorously scrub the empty joints to remove the remaining dust.
If dust stays in the cracks, your new mixture will stick to the dust instead of the brick. This causes the repair to fail quickly.
After brushing, use a shop vacuum or a leaf blower to clear away the fine powder.

Step 4: Mix Your New Mortar
Pour your dry mix into a clean bucket or wheelbarrow. Add water slowly, following the manufacturer’s directions on the bag.
Mix it thoroughly with your large trowel. You are looking for a specific consistency here.
It should feel like thick peanut butter. If it slides right off your trowel, it is too wet. If it crumbles, it is too dry.
Read More: How to Repair Water Damaged Drywall.
Step 5: Dampen the Workspace
This is a crucial step that many beginners skip. Use your heavy-duty sponge to wet the old bricks and the empty joints.
Dry bricks act like sponges. If you apply fresh mortar to dry bricks, they will suck all the moisture out of your mix.
This causes the mixture to crack and fail. Keep the area damp, but avoid leaving standing puddles of water.
Step 6: Apply Mortar and Reset Loose Bricks
Load a generous amount of your fresh mix onto your pointing trowel. Push it deep into the empty joints you cleared out earlier.
If you completely removed a brick, spread a thick layer of mortar on the base. Press the brick firmly back into place.
Tap it gently with the handle of your trowel to level it. Ensure it sits flush with the surrounding stairs.
Step 7: Fill the Surrounding Gaps
Once the brick is seated, pack more mortar into the vertical gaps around it. Press the trowel inward to remove any air pockets.
You want the joints slightly overfilled at this stage. Do not worry about it looking messy right now.
Scrape away the massive globs of excess, but leave the joints fully packed. Let it sit for about 15 to 20 minutes.
Step 8: Tool the Joints for a Clean Finish
When the mortar is “thumb-print hard” (firm but still leaves a print when pressed), grab your jointing tool.
Run the jointer smoothly along the new seams. This compresses the material, making it waterproof and giving it that classic concave look.
Match the style of the existing joints on your stairs. This ensures your repair blends in seamlessly with the old work.
Read More: How to Repair Concrete Block Wall Damage.
Step 9: Cure and Clean the Brickwork
Let the repair dry for another 30 minutes. Take your stiff bristle brush and lightly sweep diagonally across the joints.
This removes the tiny, crumbly bits left over from the jointing tool. Do not press hard, or you will ruin the smooth finish.
Cover the repaired area with a plastic tarp for a few days to let it cure slowly. Keep foot traffic off the stairs during this time.
Safety Warnings
Working with masonry requires some basic safety precautions. Protecting yourself is just as important as fixing the stairs.
Always wear safety goggles when chiseling old joints. Flying chips of hardened concrete can easily damage your eyes.
Wear heavy duty work gloves. Bricks are highly abrasive and will quickly tear up your bare hands.
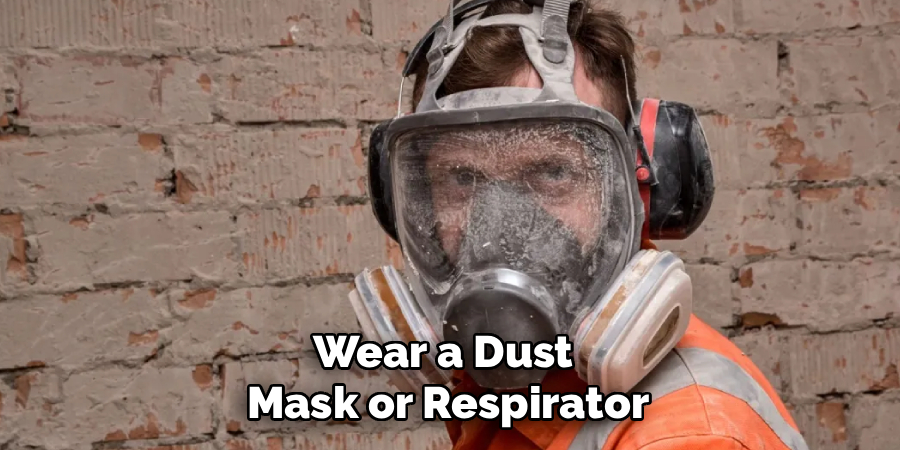
Finally, wear a dust mask or respirator. Breathing in silica dust from dry concrete mixes is hazardous to your lungs.
When to Call a Professional
While learning how to repair brick steps is a great DIY skill, some jobs require an expert.
If the entire staircase is leaning or sinking into the ground, you have a major foundation issue. Surface patching will not fix a sinking porch.
If more than half the bricks are completely shattered, a total rebuild might be necessary. This requires massive lifting and advanced structural knowledge.
When in doubt, it never hurts to get a free consultation from a local mason. Know your physical limits and time constraints.
Cost Estimate
Repairing things yourself is incredibly cost-effective. A bag of pre-mixed mortar costs around ten to fifteen dollars.
Even if you have to buy a trowel, a chisel, and a wire brush, your total DIY cost stays under fifty dollars.
Hiring a professional mason tells a very different story. Due to travel time and minimum labor fees, even small repairs cost money.
A professional will typically charge between three hundred and six hundred dollars for basic step patching. Doing it yourself keeps that cash in your wallet.
FAQs About How to Repair Brick Steps
We hear plenty of questions from homeowners tackling this project. Here are some quick answers to help you along.
Can I use concrete instead of mortar?
No, do not use concrete. Concrete is too rigid and contains large gravel. Mortar is softer, allowing the stairs to flex slightly without shattering the bricks.
How long does the repair take to dry?
It feels hard to the touch within 24 hours. However, it takes about 28 days for the mix to fully cure and reach maximum strength.
Do I need to seal the bricks after fixing them?
Yes, sealing is highly recommended. Wait at least 30 days for the new joints to cure, then apply a breathable siloxane sealer to block water damage.
Can I fix this during the winter?
It is highly discouraged. Freezing temperatures stop the chemical curing process. If you must do an emergency winter fix, you need specialized heating tents and cold-weather additives.
Conclusion
Tackling home maintenance does not have to be intimidating. Figuring out how to repair brick steps is a highly rewarding weekend project.
By removing the old debris, mixing the right materials, and taking your time, you can restore your entryway perfectly. You are improving your home’s curb appeal and making your property much safer.
Remember to work safely and keep the joints damp before applying your fresh mix. Your stairs will look as good as new in no time.
Ready to cross another project off your list? Grab your trowel, head to the hardware store, and start fixing those steps today!