

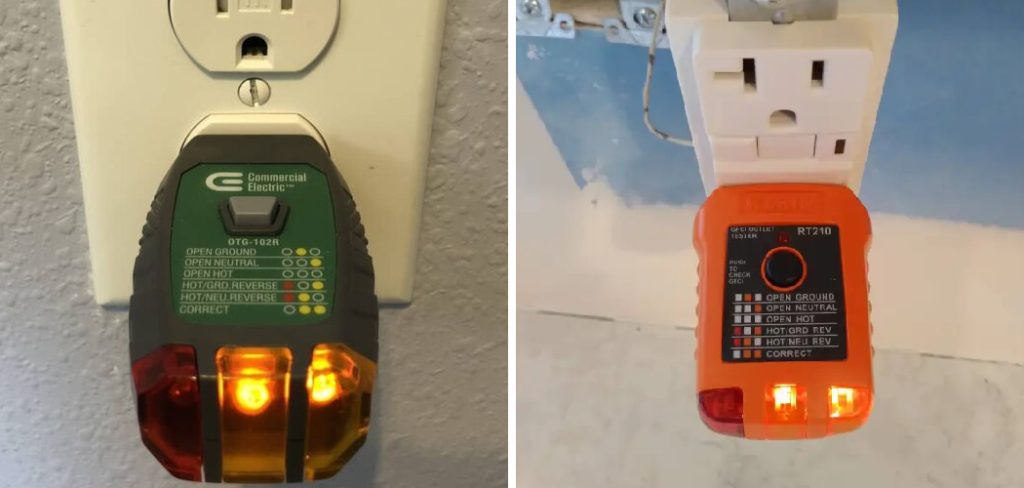
Are you staring at your outlet tester and seeing that stubborn “open ground” reading? Don’t worry, you are definitely not alone. Many homeowners and renters face this exact issue when upgrading their homes or fixing old outlets. Learning how to repair an open ground is easier than you might think.
Fixing it yourself can save you hundreds of dollars in electrician fees. It also gives you the confidence to handle basic home maintenance safely. This guide will walk you through the process safely, easily, and without any confusing jargon. Let us grab some basic tools and get that outlet safely grounded!
Understanding the Problem: What Is an Open Ground?
An open ground means your electrical outlet does not have a safe path to send stray electrical currents into the earth. Normally, the ground wire protects you and your appliances. If a surge happens, the ground wire catches the rogue electricity.
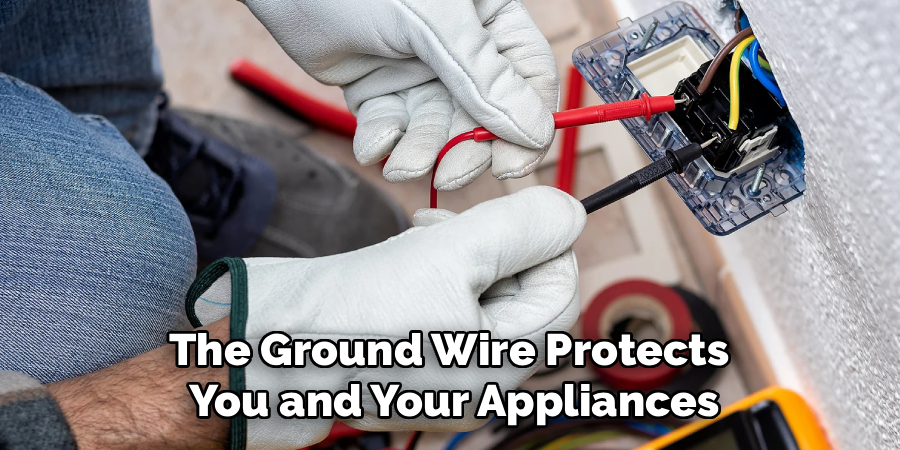
Without this wire connected properly, a power surge could damage your expensive electronics. Worse, it could give you a dangerous shock.
What Causes This Problem?
Before we jump into how to repair an open ground, we need to know why it happens. Usually, the fix is right behind the outlet cover.
Here are the most common culprits:
- Disconnected Wires: The bare copper ground wire simply popped loose from the green grounding screw.
- Old Two-Prong Upgrades: Someone installed a three-prong outlet but never connected a ground wire.
- Cut Wires: A previous homeowner accidentally snipped the ground wire too short inside the electrical box.
- Loose Connections: The wire nut holding your grounding pigtails together has fallen off.
- Faulty Receptacles: The outlet itself is broken internally and no longer recognizes the ground connection.
Tools & Materials Needed
You do not need a fancy contractor van to fix this. You just need a few basic hand tools.
Gather these items before you start:
- Non-contact voltage tester (an absolute must for safety)
- Plug-in receptacle tester (to check your work later)
- Phillips and flathead screwdrivers
- Wire strippers and cutters
- Needle-nose pliers
- Grounding pigtails (short green wires with a pre-attached screw)
- Wire nuts
- A replacement outlet (just in case the old one is broken)
Step-by-Step Fix Guide
Ready to get to work? Follow these simple steps. Take your time, and do not rush.
Step 1: Turn Off the Power
This is the most critical step. Go to your main breaker panel. Find the switch that controls the room you are working in. Flip it to the “off” position. If you are not sure which breaker it is, turn off the main power to the whole house.
Step 2: Test for Power
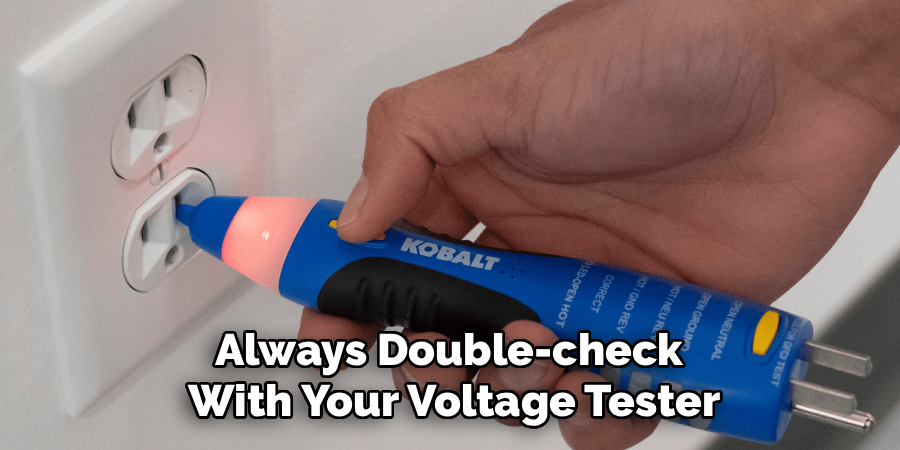
Never trust a label on a breaker box. We must verify the power is actually off. Take your non-contact voltage tester and wave it near the outlet slots. If it beeps or lights up red, the power is still on. Do not proceed until the tester is completely silent.
Read More: How to Repair Pond Liner.
Step 3: Remove the Faceplate and Outlet
Take your flathead screwdriver and remove the small screw in the center of the plastic cover. Set the cover aside. Now, use your Phillips screwdriver to remove the top and bottom screws holding the outlet.

Gently pull the outlet away from the wall. Pull it just enough so you can see the wires behind it.
Step 4: Inspect the Wiring
Look closely at the back of the outlet. You should see black wires (hot) and white wires (neutral). Now, look for a bare copper wire or a green insulated wire. This is your ground wire. Is it connected to the green screw on the bottom of the outlet? If it is dangling loose, you found your problem!
Step 5: How to Repair an Open Ground
If the wire simply came loose, your job is easy. Use your needle-nose pliers to make a small hook at the end of the copper wire. Loop the hook clockwise around the green grounding screw on the outlet. Tighten the screw down firmly.
What if the wire is too short? You will need a grounding pigtail. Twist the pigtail to the short ground wire using a wire nut. Then, attach the other end of the pigtail to the green screw.
Step 6: What if There Is No Ground Wire?
Sometimes, you open the box and there is no bare copper wire at all. Look to see if the electrical box itself is made of metal. If your house uses metal conduit, the box itself is the ground.
In this case, attach a green grounding pigtail directly to the back of the metal box using a grounding screw. Connect the other end to your outlet.
Step 7: Put Everything Back Together
Carefully push the wires back into the electrical box. Make sure they fold neatly like an accordion. Screw the outlet back into the wall box. Ensure it sits flush and straight.
Replace the plastic faceplate and tighten the center screw. Do not over-tighten, or the plastic might crack.
Step 8: Turn the Power On and Test
Walk back to your breaker panel and flip the power back on. Plug your receptacle tester into the outlet. You want to see two bright lights indicating “Correct Wiring.” If you see that, you successfully fixed the open ground!
Safety Warnings
Electricity demands your respect. Always follow these crucial safety tips. Never assume the power is off. Always double-check with your voltage tester.
Wear rubber-soled shoes while working on electrical projects. If you see burnt wires, melted plastic, or smell a fishy odor, stop immediately. Do not touch any wires if your hands are wet or if you are standing on a damp floor.
When to Call a Professional
DIY is great, but knowing your limits is even better. You should call a licensed electrician if your home has old knob-and-tube wiring. This wiring lacks a ground path completely.
If you open the box and find crumbling insulation or scorched wires, call a pro. If fixing the ground at the outlet does not change your tester’s reading, the issue might be at your main breaker panel. Leave panel work to the experts.
Cost Estimate: DIY vs. Professional
Doing this yourself is incredibly budget-friendly. A pack of grounding pigtails and some wire nuts will cost you under $10 at the hardware store. A new outlet is around $2 to $5.
If you hire a professional, be prepared to pay a service call fee. Electricians usually charge between $150 and $300 to diagnose and fix a single ungrounded outlet.
Frequently Asked Questions
What happens if I ignore an open ground?
Ignoring it puts your electronics at risk of surge damage. It also increases the risk of accidental electrical shock if an appliance malfunctions.
Can I just use a 3-prong adapter?
Those grey adapters only work safely if the center screw on the outlet plate is actually grounded. Otherwise, they offer zero protection.
Is an open ground dangerous?
Yes, it can be. While appliances might still turn on, there is no safety net if a short circuit occurs.
Can I install a GFCI to fix an open ground?
Yes! Installing a GFCI outlet is a legal and safe alternative when no ground wire exists. It will protect against shocks, though it still will not protect electronics from surges.
Do I need a permit for how to repair an open ground?
Generally, swapping an outlet or reconnecting a loose wire does not require a permit. However, always check your local building codes to be sure.
Conclusion
Figuring out how to repair an open ground might seem intimidating at first. However, as you can see, it is a very manageable afternoon project.
By turning off the power, checking your connections, and securing the ground wire, you make your home safer. You also save a nice chunk of change in the process!
Remember, take your time, use your voltage tester, and never guess with electricity. Ready to tackle more easy home improvements? Check out our other DIY guides to keep your house in top shape!