

Cracks in your pool deck are more than an eyesore. They trap dirt, catch bare feet, and spread fast once water gets inside. Left alone, a hairline split turns into a trip hazard and an expensive slab replacement. The good news? You can fix most of them yourself in an afternoon.
You don’t need to be a contractor to handle this job. With the right products and a steady hand, how to repair concrete pool deck cracks and bring back a smooth, safe surface. The materials cost a fraction of a professional callout, and the work is satisfying.
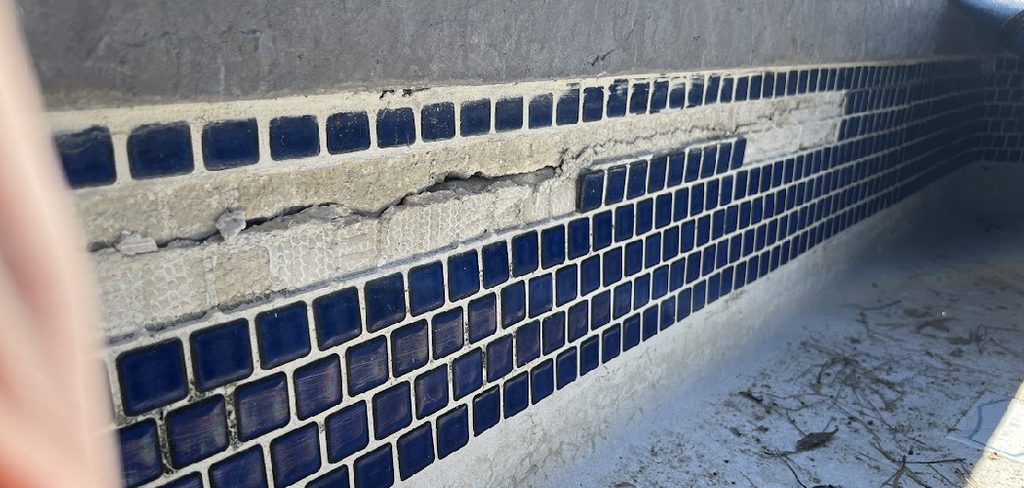
This guide walks you through every step, from cleaning the crack to sealing the finished patch, so you can tackle the repair with confidence.
Why Fixing Pool Deck Cracks Yourself Is Worth It
Small cracks rarely stay small. Water seeps in, freezes, expands, and pries the concrete apart. Each season makes the damage worse. Fixing the crack early stops that cycle and protects the slab underneath.
Doing it yourself saves real money. A pro charges a premium for minor patchwork, while a tube of crack filler and a bag of patching compound cost very little. You also control the timeline. No waiting for a booking. No taking time off work.
There’s a safety payoff too. A clean, level deck means no stubbed toes and no slips near the water. You also boost your home’s curb appeal. A tidy pool area looks cared for, and that matters when guests visit or buyers tour the property.
Tools and Materials You’ll Need
Gather everything before you start. Stopping mid-job to find a tool lets your materials dry out.
- Wire brush — scrubs loose debris from inside the crack
- Cold chisel and hammer — widens narrow cracks for better filler grip
- Shop vacuum — clears dust so the patch bonds tightly
- Concrete crack filler — seals hairline and medium cracks
- Concrete patching compound — rebuilds wider or deeper damage
- Putty knife or trowel — presses material in and smooths the surface
- Concrete sealer — locks out water and protects the repair
- Garden hose — rinses the area clean before drying
- Safety glasses and gloves — shields your eyes and hands from grit
- Caulk gun(optional) — speeds up applying tube-style fillers evenly
Pick products rated for outdoor and pool environments. They resist UV, chlorine, and constant moisture far better than indoor formulas.
Step-by-Step Guide to Repairing Concrete Pool Deck Cracks
Step 1 – Inspect and Measure the Damage
Start by walking the whole deck. Look for every crack, not just the obvious one. Run your finger along each split and note how wide and deep it runs.
Hairline cracks under a quarter inch need only filler. Wider gaps call for patching compound. If you see cracks that shift, lift, or run across the entire slab, the problem may be the foundation underneath. That’s a job for a pro.
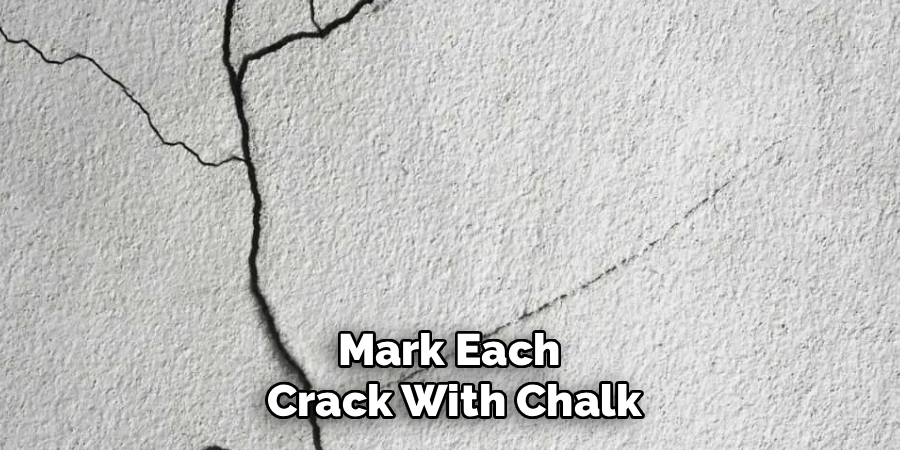
Mark each crack with chalk so you don’t miss one. Press near the edges and feel for movement. Stable concrete stays firm; crumbling edges signal deeper trouble. Knowing exactly what you’re dealing with helps you choose the right product and avoid wasting material on the wrong fix.
Step 2 – Clean Out the Crack
A clean crack holds filler. A dirty one rejects it. Grab your wire brush and scrub hard along the full length of each crack. You’ll hear loose grit fall away and feel the edges roughen up.
Sweep out the bigger debris by hand or with a stiff broom. Then switch to your shop vacuum and pull every speck of dust from inside the gap. Dust acts like a barrier and stops the new material from gripping the old concrete.
Finish with a rinse from the garden hose to flush out fine particles. The water should run clear when you’re done. A spotless crack is the single biggest factor in a patch that lasts.
Step 3 – Widen Narrow Cracks
Thin cracks pose a hidden problem. They’re often too tight for filler to reach the bottom, so the patch sits shallow and pops out later. The fix is to widen them slightly.
Take your cold chisel and hammer. Hold the chisel at a low angle and tap along the crack to create a small V-shaped groove. You want the bottom wider than the top, which locks the filler in place like a key.
Work slowly and wear your safety glasses. Concrete chips fly fast and sharp. Go for a groove about a quarter inch wide. Vacuum out the fresh dust when you finish, because every cleaning step counts toward a strong bond.
Step 4 – Dampen the Surface
Dry concrete drinks moisture from fresh patching compound. That robs the mix of the water it needs to cure, leaving you with a weak, crumbly repair.
Lightly mist the crack and the surrounding area with your garden hose. You want the surface damp, not flooded. Wipe away any standing puddles with a rag. The concrete should look dark and moist but not glisten with pooled water.
This quick step makes a real difference. Damp concrete lets the new material cure at the right pace and bond firmly to the old slab. Skip it on hot, dry days and your patch may shrink and pull away within weeks. Take the extra minute now and save yourself a redo later.
Step 5 – Apply Crack Filler
For hairline and medium cracks, filler does the job. Load a tube into your caulk gun or squeeze it straight from the bottle. Start at one end and move steadily along the crack, pressing the nozzle into the gap.
Fill the crack slightly above the surface. The material settles as it cures, so a small overfill levels out nicely. Listen for the steady release and watch the filler sink into the groove rather than sitting on top.
Smooth it immediately with your putty knife held at a slight angle. Work the surface flush with the deck. Wipe excess off the edges before it skins over. This is the core moment when you repair concrete pool deck cracks, so take your time and keep the line clean.
Step 6 – Patch Wider Gaps
Bigger cracks need more muscle. Mix your patching compound to a thick, peanut-butter texture. Stir until no dry pockets remain and the color stays even throughout.
Scoop a generous amount onto your trowel and press it firmly into the crack. Push down to force out air and fill the gap from the bottom up. Air pockets weaken the repair and cause it to crack again.
Build the material slightly proud of the surface, then drag your trowel across to level it. Feather the edges so the patch blends into the surrounding deck. For deep cracks, apply in two layers and let the first set before adding the second. Patience here gives you a repair that handles foot traffic and weather for years.
Step 7 – Smooth and Blend
A patch that stands out catches the eye and the toe. Now’s the time to make it disappear. While the material is still workable, run your trowel or putty knife flat across the surface.
Match the texture of your existing deck. If the concrete is broom-finished, drag a damp broom lightly over the fresh patch to mimic the lines. For a smooth deck, polish the surface with even strokes until it sits flush.
Wipe away any compound that strayed onto clean concrete. A wet sponge handles smears before they harden. Step back and check from a few angles. The repair should sit level and feel seamless under bare feet. Good blending is what separates a DIY fix from a professional-looking finish.
Step 8 – Cure and Seal
Curing takes patience, and rushing ruins everything. Keep foot traffic, pets, and pool splashes off the patch for the full time listed on your product label, usually 24 to 48 hours.
In hot sun, mist the patch lightly once or twice a day. Slow, even curing builds maximum strength. Cover the area with plastic sheeting if rain threatens.
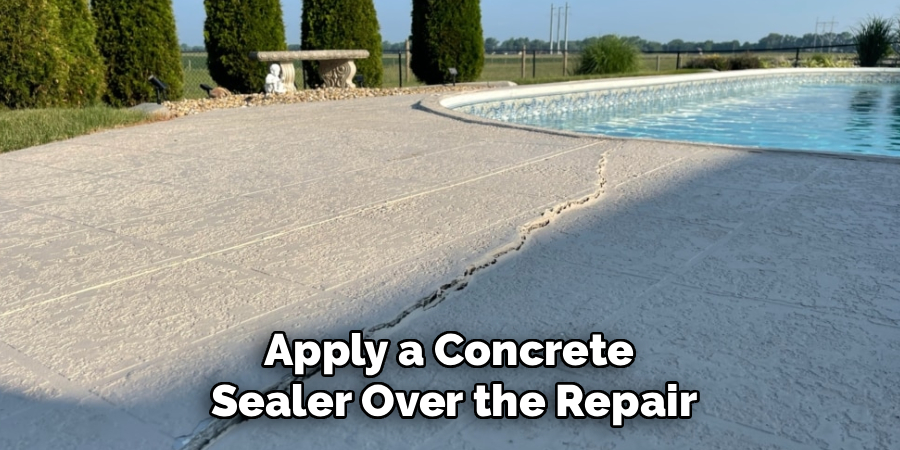
Once cured, apply a concrete sealer over the repair and the surrounding deck. The sealer locks out water, chlorine, and UV damage, the three forces that attack pool decks hardest. Roll or brush it on in thin, even coats. A sealed surface repels moisture and keeps your fix solid for years, protecting all the effort you just put in.
Critical Mistakes to Avoid When Repairing Pool Deck Cracks
The most common mistake is skipping the cleaning step. People squeeze filler into a dusty crack and wonder why it pops out a month later. Loose grit blocks the bond every single time. Always brush, vacuum, and rinse before you apply anything.
Another frequent error is using the wrong product. Indoor fillers can’t handle chlorine, constant moisture, and harsh sun. They crack, yellow, and fail fast. Choose products rated for outdoor pool environments, even if they cost a little more.
Many DIYers also ignore the curing time. Walking on a fresh patch or letting pool water splash it before it sets destroys the repair from the inside. Respect the full cure window listed on the label, even when you’re eager to use the deck.
Overfilling without smoothing creates raised lumps that crack and catch feet. Press the material in, then level it immediately while it’s workable.
Finally, people forget to seal. An unsealed patch absorbs water and breaks down within a season. Sealing is not optional. It’s the step that makes your repair last.
Expert Tips
Work in mild weather. Aim for temperatures between 50 and 85 degrees with no rain in the forecast. Extreme heat dries the material too fast, and cold slows curing to a crawl.
Buy a little more product than you think you need. Running out mid-patch forces you to stop, and a half-finished repair rarely blends well.
Color-match your filler to the deck. Many products come in shades, and a close match hides the repair far better than a stark gray line.
Reseal the entire deck every two to three years, not just the patches. A fresh coat blocks new cracks before they start. Prevention costs less than repair, and a sealed deck resists the freeze-thaw cycle that causes most damage in the first place.
Frequently Asked Questions
How long does a pool deck crack repair last?
A properly done repair lasts five to ten years or more. Longevity depends on three things:
- Surface prep — a clean, widened crack bonds best
- Product quality — outdoor pool-rated materials resist chlorine and UV
- Sealing — a sealed patch repels water and lasts far longer
Skip any of these and the repair fails sooner. Do all three and you’ll get years of solid performance.
Can I fix cracks while the pool is full?
Yes, you can repair surface cracks with the pool full. The deck repair doesn’t touch the pool water. Just keep splashes off the fresh patch during curing. Drape plastic sheeting over the area if swimmers are nearby. For cracks near the waterline or inside the pool shell itself, lower the water level first for a clean, dry work area.
What’s the difference between filler and patching compound?
Filler suits thin cracks under a quarter inch. It flows into tight gaps and seals hairline splits fast. Patching compound is thicker and rebuilds wider, deeper damage. You trowel it in and shape it like mortar. Use filler for surface lines and compound for structural gaps. Matching the product to the crack size gives you the strongest, longest-lasting result.
Do I really need to seal after repairing?
Sealing is not optional. An unsealed patch soaks up water, chlorine, and UV, then breaks down within a single season. Sealer forms a protective barrier that locks moisture out and shields the repair from sun damage. It also blends the patch with the rest of the deck. Roll on two thin coats and you protect every hour of work you just invested.
When should I call a professional instead?
Call a pro when cracks signal structural problems. Watch for these warning signs:
- Cracks wider than half an inch that keep growing
- Uneven slabs where one side sits higher than the other
- Cracks running across the entire deck in a straight line
These point to foundation or soil issues that DIY patching won’t fix. A specialist diagnoses the root cause and prevents bigger damage.
Conclusion
Cracks don’t have to win. With clean prep, the right materials, and a little patience, you can restore a safe, smooth pool deck without paying for a contractor. The job comes down to a clear sequence: inspect, clean, fill or patch, smooth, cure, and seal. Follow that order and your results will hold up against sun, water, and foot traffic for years.
Remember the steps that matter most. Clean the crack completely. Choose outdoor pool-rated products. Respect the full curing time. Seal the finished repair. These four habits separate a patch that lasts from one that fails by next summer.
You now have everything you need to repair concrete pool deck cracks with confidence. Start with the smallest crack to build your technique, then work your way across the deck. Each repair gets easier and faster.
Grab your tools, pick a mild day, and get to work. A safer, better-looking pool deck is just one afternoon away.