

That sudden crack when you sit down. The unsettling wobble. The corner that sags lower than the rest. A broken couch frame can turn your favorite spot into a frustrating hazard, and replacing the whole piece feels like overkill when the cushions and fabric are still in great shape. The good news? Learning how to repair broken couch frame damage is far easier than most people expect, and you probably already own half the tools you need.

Most frame failures happen at the joints, corners, or wooden support rails, and these spots respond well to simple fixes. With a little patience and the right approach, you can bring your couch back to life in an afternoon. This guide walks you through every step so you can fix the damage confidently and save yourself a costly furniture bill.
Why Repairing a Broken Couch Frame Is Worth Learning
Couches are expensive, and tossing one out over a single cracked rail wastes both money and a perfectly comfortable piece of furniture. When you handle the repair yourself, you skip the delivery fees, the showroom markups, and the hassle of hunting for a replacement that fits your space just right.
There’s also a real sense of pride in fixing something with your own hands. You learn how your furniture is built, you sharpen practical skills, and you gain the confidence to tackle other repairs down the road. Beyond the savings, you keep a usable item out of the landfill, which is a small but meaningful win for the environment. Once you understand the basics, you’ll spot future problems early and stop small cracks from becoming bigger, costlier disasters.
Tools and Materials You’ll Need
Before you start, gather everything in one place so you’re not running back and forth mid-project. Here’s what gets the job done:
- Wood glue (a strong carpenter’s glue works best for joints)
- Wood screws in a few lengths, plus matching washers
- Corner braces or metal mending plates for reinforcement
- A power drill with bits and a screwdriver attachment
- A clamp or two to hold pieces tight while glue dries
- Sandpaper (medium grit) to smooth rough edges
- A staple remover and staple gun for lifting and reattaching fabric
- A flashlight to inspect tight, dark spaces under the frame
- Wood filler for cracks and small gaps
- Optional: a moisture meter to check for hidden water damage before you commit to gluing
Having quality supplies on hand makes the whole process smoother and your repair far more durable.
Step-by-Step Guide on How to Repair Broken Couch Frame
Step 1 – Empty and Flip the Couch
Start by removing every cushion, pillow, and loose throw so you have a clear workspace. Set them aside in a clean area where they won’t gather dust. Next, gently tip the couch onto its back or side, depending on where the damage sits.
You’ll want a soft surface underneath, like a blanket or a rug, to protect both the floor and the upholstery. Take a moment to listen and feel for movement as you handle it. Often you’ll hear a faint creak or feel a slight give right where the frame has failed.
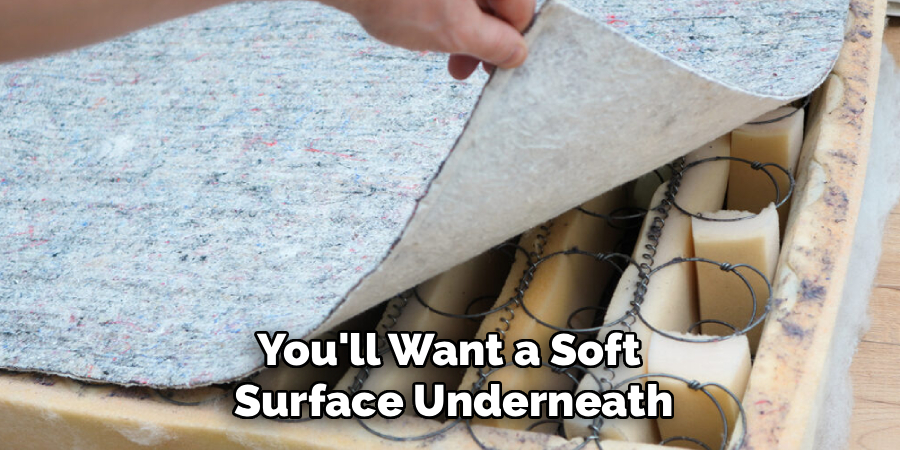
This first look gives you a sense of how serious the damage really is. Knowing how to repair broken couch frame issues starts with seeing the whole picture clearly.
Step 2 – Locate the Exact Break
Grab your flashlight and shine it along the underside, paying close attention to the corners, support rails, and leg joints. These spots carry the most weight and tend to fail first. Press gently on different sections and watch for any wood that shifts, splits, or pulls away from its neighbor.
Run your fingers along the rails. A cracked joint often feels rough or splintered, and you might notice a thin dark line where the wood has separated. Sometimes the staples holding the fabric have popped loose, hinting at stress underneath.
Mark each problem area with a pencil or a piece of tape. Identifying every weak point now saves you from flipping the couch over again later.
Step 3 – Remove Fabric and Staples in the Way
If the damaged area hides behind the upholstery, you’ll need to peel back just enough fabric to reach it. Use your staple remover to gently lift the metal staples, working slowly so you don’t tear the material. Keep the staples in a small cup so they don’t scatter across your floor.
Fold the loosened fabric back and pin or clip it out of your way. Try to expose only what you must. The less you disturb, the easier the reassembly later.
You’ll likely smell that faint musty scent of old foam and wood as you open things up. That’s normal. Wipe away any dust so your glue and screws bond to clean, solid surfaces.
Step 4 – Clean and Dry-Fit the Broken Pieces
Before any glue touches the wood, push the broken pieces back together to see how they line up. This dry fit shows you whether the crack closes cleanly or whether splinters are blocking a tight seam. Brush away sawdust, old glue flakes, and grime with a dry cloth.
If the wood feels damp or spongy, stop and let it dry fully, since glue won’t hold on moist surfaces. A moisture meter helps here if you have one.
Hold the pieces in position and imagine the finished repair. Getting this alignment right now means your couch will sit level and feel solid once everything sets. Rushing this step almost always leads to a crooked, weak fix.
Step 5 – Apply Wood Glue to the Crack
Squeeze a generous bead of wood glue directly into the crack or joint, then use a small brush or even a scrap of cardboard to spread it evenly across both surfaces. You want full coverage, not just a dab in the center.
Press the pieces firmly together. You should see a thin line of glue squeeze out along the seam, which tells you there’s enough adhesive inside. Wipe that excess away with a damp rag before it hardens, since dried glue is tough to sand later.
The glue feels tacky within minutes but needs hours to reach full strength. Resist the urge to test it early, because patience here makes all the difference.
Step 6 – Clamp and Reinforce the Joint
With the glue in place, position your clamps across the repaired joint and tighten them until the seam pulls snug. Don’t crank them so hard that the wood bows or the glue squeezes out completely. A firm, steady pressure is all you need.
Leave the clamps on for the full drying time listed on your glue bottle, usually somewhere between two and twenty-four hours. Walk away and let it work.
Once dry, add a metal corner brace or mending plate over the joint for extra muscle. Drill pilot holes first to prevent splitting, then drive in your screws. This reinforcement is what stops the same crack from reopening the next time someone flops down hard.
Step 7 – Replace Broken or Rotted Wood
Sometimes glue isn’t enough because the wood itself has rotted or shattered beyond saving. In that case, measure the damaged section carefully and cut a matching piece from a similar hardwood or a sturdy plywood strip.
Sand the new piece so it slides into place without forcing it. Attach it using both wood glue and screws for a connection that won’t budge. Make sure the grain runs the same direction as the original for maximum strength.
This swap takes a little extra effort, but it transforms a fragile frame into something rock solid. Run your hand over the finished section to confirm it feels smooth and seamless, with no sharp edges waiting to snag the fabric you’ll soon refasten.
Step 8 – Reattach Fabric and Reassemble
Now bring back the upholstery you peeled away earlier. Pull the fabric taut so there are no wrinkles or sagging pockets, then secure it with your staple gun. Space the staples evenly, roughly an inch apart, for a clean, professional finish.
Tuck any loose edges underneath and trim stray threads. Stand back and check that the fabric sits as smoothly as it did before.
Flip the couch upright, set the cushions back in place, and give it a careful test sit. Press down on each section and feel for stability. A well-done repair feels firm and quiet, with none of the creaking or wobbling that sent you searching for answers in the first place.
Critical Mistakes When Repairing a Broken Couch Frame
The biggest mistake people make is rushing the drying time. Wood glue looks ready long before it truly is, and sitting on the couch too soon reopens the joint you just fixed. Give it the full recommended time, even if waiting feels tedious. A repair that holds for years is worth a few extra hours of patience.
Another common slip is skipping the reinforcement step. Glue alone rarely survives the daily stress a couch endures. Without a corner brace or screws backing up that joint, you’re setting yourself up for a repeat break within weeks. Always pair adhesive with mechanical support.
Many beginners also use the wrong screws, choosing ones too short to bite into solid wood or too thick, which splits the rail entirely. Drilling pilot holes and matching screw length to your material prevents both problems.
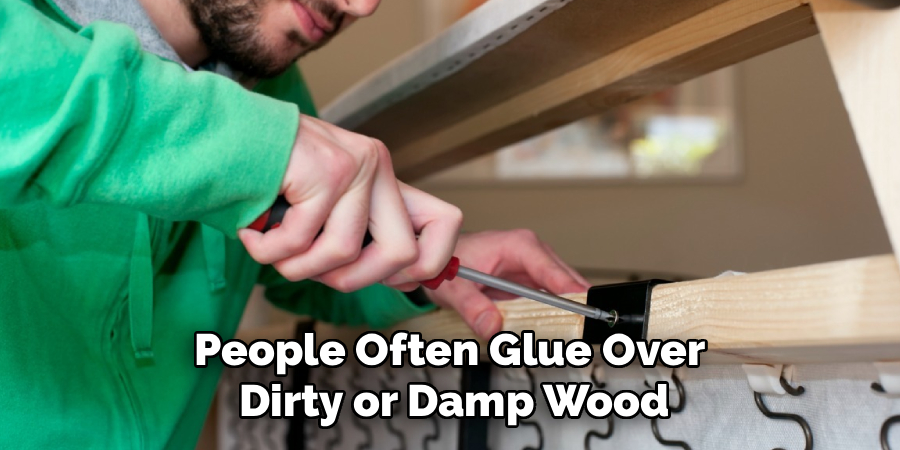
Finally, people often glue over dirty or damp wood. Adhesive needs clean, dry surfaces to bond properly. If you skip the cleaning step or ignore hidden moisture, your repair will fail no matter how careful you were everywhere else. Take a few minutes to prep, and your fix will last.
Expert Tips
Always work in good lighting so you catch every crack and stray staple. A bright lamp or your flashlight reveals damage that hides in shadows under the frame.
When in doubt, over-reinforce. Adding an extra corner brace costs little and dramatically extends the life of your repair, especially on couches that see heavy daily use.
Keep a damp rag within reach while gluing. Wiping squeezed-out glue immediately saves you from frustrating sanding later and keeps your fabric clean.
Label any screws or hardware you remove by putting them in separate cups. Reassembly goes faster when you know exactly where each piece belongs.
Finally, test the repair gradually. Sit lightly first, then apply more weight over a day or two to confirm the joint has fully cured and holds strong.
Frequently Asked Questions
How long does a couch frame repair last?
A properly done repair can last as long as the original frame, often a decade or more. The key is combining strong wood glue with mechanical reinforcement like screws or metal braces. If you rush the drying time or skip the reinforcement, the joint may fail again within weeks, so patience and proper technique make all the difference.
Can I repair a couch frame without removing the fabric?
Sometimes, but it depends on where the break sits. If the damage is on an exposed rail or leg, you can often fix it without touching the upholstery. For breaks hidden behind fabric, you’ll need to peel back just enough material to reach the joint. Always expose the smallest area possible to make reassembly easier.
What type of glue works best for a wooden couch frame?
A strong carpenter’s wood glue is your best choice for most repairs. It bonds tightly to porous wood and dries clear and durable. Look for these qualities:
- High bonding strength rated for hardwoods
- Water resistance for added longevity
- A reasonable working time so you can position pieces correctly
Avoid all-purpose craft glues, since they won’t survive the stress a couch endures.
Is it cheaper to repair or replace a broken couch?
Repairing is almost always cheaper, especially if the cushions and fabric are still in good shape. A typical frame fix costs only a few dollars in glue and hardware, while a new couch can run into the hundreds. Replacement only makes sense when the frame is extensively rotted or the upholstery is worn beyond saving.
How do I know if my couch frame is beyond repair?
Check whether the wood is rotted, crumbling, or shattered across multiple sections. Light cracks and loose joints are easy fixes, but widespread rot or warping signals deeper trouble. Press on different areas and watch for excessive movement. If most of the frame feels spongy or unstable, replacing key wood pieces or the couch itself may be the smarter choice.
Conclusion
Fixing a sagging, creaky couch doesn’t require a professional or a fat wallet. With a few basic tools, some patience, and the steps you’ve just learned, you can bring your favorite seat back to solid, comfortable life. The whole process comes down to finding the damage, cleaning the surfaces, gluing and reinforcing the joint, and giving everything time to set properly.
Remember that the small details matter most. Take your time with the drying stage, always add reinforcement, and prep your wood so the glue bonds cleanly. These simple habits separate a repair that lasts years from one that fails in days.
Now that you know how to repair broken couch frame damage, you’ve gained a skill that pays off again and again. You’ll save money, keep a great piece of furniture out of the landfill, and feel the satisfaction of fixing something with your own hands. So roll up your sleeves, flip that couch over, and get to work. Your perfectly stable, squeak-free sofa is just an afternoon away.