

A failing water pump can bring your whole household to a frustrating halt. One day the faucets run strong, and the next you’re staring at a weak trickle, listening to strange grinding noises, or mopping up a puddle near the unit. The good news? You don’t always need to call a pro. Learning how to repair a water pump is more doable than most people think, even if you’ve never opened one up before.
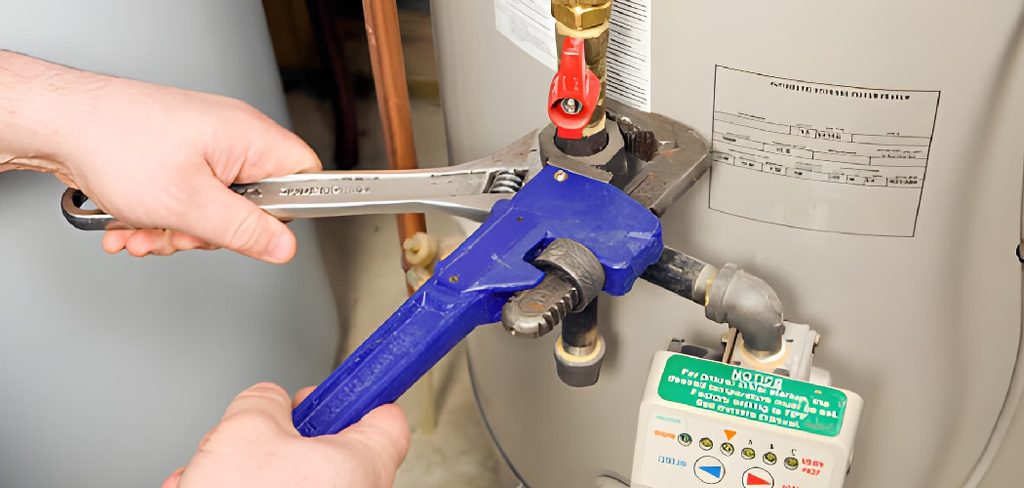
Whether you’re dealing with a well pump, a booster pump, or a small utility model, the basic ideas stay the same. With a little patience and the right tools, you can save money and feel pretty proud of yourself. This guide walks you through the whole process, step by step, so you can diagnose the problem and get your water flowing again.
Why Repairing Your Water Pump Is a Skill Worth Learning
Calling a technician for every pump hiccup adds up fast. Service fees, emergency rates, and parts markups can turn a small problem into a big bill. When you handle the fix yourself, you keep that money in your pocket.
There’s also the convenience factor. Pumps tend to fail at the worst times, like a holiday weekend or late at night when no one’s answering the phone. Knowing your way around the unit means you’re not stuck waiting on someone else’s schedule.
Beyond the savings, you gain real confidence. Once you understand how the impeller, seals, and motor work together, you’ll spot trouble early and prevent bigger failures. That kind of know-how pays off for years, especially if you own a home with a well or run irrigation around your property.
Tools and Materials You’ll Need
Gathering everything before you start saves a lot of back-and-forth trips to the garage. Most of these items are common and affordable, and you may already own several of them.
- Adjustable wrench and a set of socket wrenches
- Screwdrivers (both flathead and Phillips)
- Pliers and channel-lock pliers
- Replacement seals, O-rings, and a new impeller (if worn)
- Pump gasket kit matched to your model
- Multimeter for testing electrical components
- Pipe thread sealant or plumber’s tape
- Clean rags and a small bucket
- Penetrating oil for stubborn, rusted bolts
- Safety glasses and work gloves
- Shop vacuum (optional, but it makes cleanup and water removal much faster)
Check your pump’s manual for any model-specific parts before buying. Matching the right seal size matters more than you’d expect.
Step-by-Step Guide on How to Repair a Water Pump
Step 1 – Cut the Power and Water Supply
Before you touch anything, shut off the electricity at the breaker. This is the single most important safety move, so don’t skip it. Flip the breaker that feeds your pump, then test the unit to confirm it’s truly dead.
Next, close the water supply valve and open a nearby faucet to release any pressure in the lines. You’ll hear a soft hiss as the system depressurizes. Place a bucket under the pump to catch leftover water, since there’s almost always some trapped inside.
Take a moment to feel the housing. If it’s hot to the touch, let it cool before working. Rushing this part can lead to burns or shocks, and neither makes for a fun afternoon.
Read More: How to Repair Crumbling Concrete Statues.
Step 2 – Inspect and Diagnose the Problem
Now play detective. Look closely at the entire unit and note what you see, hear, and smell. A burnt odor often points to motor trouble, while rusty water staining suggests worn seals or a cracked housing.
Run your fingers along the connections and base, checking for dampness that signals a slow leak. Listen back to what the pump was doing before it quit. Was it humming without pumping? Grinding loudly? Tripping the breaker?
These clues narrow down the culprit fast. A pump that hums but won’t move water usually has a stuck or broken impeller. One that won’t start at all often has an electrical fault. Jot down your observations before moving on.
Step 3 – Test the Electrical Components
Grab your multimeter and check the wiring while everything stays powered off. Test the capacitor first, since a failed capacitor is one of the most common reasons a motor hums but won’t spin. A bulged or leaking capacitor is a dead giveaway.
Touch the probes to the motor terminals and read the resistance. No continuity often means a burned-out winding, which usually calls for a motor replacement rather than a simple fix.
Inspect the wires for cracked insulation, scorch marks, or loose terminals. Tighten anything wobbly and replace damaged wiring. This step feels a bit technical, but your multimeter does most of the talking. Just match your readings against the values in your pump’s manual.
Step 4 – Open the Pump Housing
With the diagnosis in hand, it’s time to open things up. Remove the bolts holding the housing together, using penetrating oil on any that resist. Let the oil soak for a few minutes so the threads loosen instead of stripping.
Keep your bolts organized in a small cup or magnetic tray. Trust me, hunting for a lost screw later is no fun. Snap a quick photo with your phone before fully separating the halves, so you remember how everything fits.
As you pull the housing apart, expect a little trapped water to spill out. Wipe down the interior with a clean rag. You’ll now see the impeller, seals, and the chamber where the real action happens.
Step 5 – Replace Worn Seals and the Impeller
This is where most repairs happen. Inspect the impeller for chips, cracks, or built-up debris. Spin it gently with your finger. It should turn freely, not feel gritty or stuck. If the blades look worn or warped, swap it for a new one.
Pull out the old seals and O-rings, which often look flattened, brittle, or torn. Clean the seating surfaces thoroughly before pressing in the fresh parts. A smooth, debris-free surface helps the new seals grip properly and prevents future leaks.
Successfully knowing how to repair a water pump often comes down to these small rubber pieces. Apply a thin film of pump-safe grease to help everything seat snugly and slide into place without tearing.
Step 6 – Reassemble the Housing
Carefully fit the two halves back together, lining them up just like your earlier photo showed. Set a fresh gasket in place if your kit included one, and make sure it sits flat without bunching.
Thread the bolts in by hand first to avoid cross-threading, then tighten them in a crisscross pattern. This even pressure keeps the seal tight and prevents leaks down the road. Snug them firmly, but don’t overtighten and risk cracking the housing.
Give the reassembled unit a gentle shake. Nothing should rattle or feel loose. Wipe away any leftover grease from the exterior, then double-check that every bolt sits flush. A clean, solid assembly sets you up for a leak-free restart.
Read More: How to Repair Solar Lights.
Step 7 – Reconnect Plumbing and Prime the Pump
Reattach the inlet and outlet pipes, wrapping the threads with plumber’s tape or thread sealant for a watertight fit. Hand-tighten the fittings first, then snug them with a wrench until firm.
Most pumps need priming before they’ll work, especially well pumps. Fill the pump body with water through the priming port until it’s full and you see water reach the top. Skipping this step lets the pump run dry, which can ruin your fresh repair in seconds.
Replace the priming plug and tighten it down. The housing should feel solid and full when you’re done. This small step often makes the difference between a pump that roars back to life and one that just spins uselessly.
Step 8 – Restore Power and Test the Repair
You’re in the home stretch. Open the water supply valve, then head back to the breaker and restore power. Stand near the pump as it starts so you can listen and watch closely.
A healthy pump kicks on with a steady hum and quickly builds pressure. Open a faucet and watch for strong, consistent flow. Run it for several minutes while you inspect every connection for drips.
Place your hand near the housing to feel for unusual vibration or heat. A faint warmth is normal, but anything hot or violently shaky means something’s still off. If water flows clean and the pump sounds smooth, congratulations, your repair is a success.
Critical Mistakes When Repairing a Water Pump
The most dangerous mistake is forgetting to shut off the power. People get eager and start unbolting the housing while the unit is still live, which risks serious shock. Always confirm the breaker is off and test the unit before laying a hand on it.
Another common slip-up is reusing old seals and gaskets. They look fine after a quick glance, but worn rubber rarely seals as tightly the second time. Skipping fresh seals almost guarantees a leak within weeks, sending you right back to where you started.
Many beginners also overtighten bolts, assuming tighter equals safer. Crank too hard and you’ll crack the housing or warp the gasket, creating leaks instead of preventing them. Use steady, even pressure in a crisscross pattern instead.
Forgetting to prime the pump ranks high on the list too. Running a dry pump even briefly can burn out the seals and motor in moments. Finally, plenty of folks lose track of small parts. Without organizing your bolts and snapping reference photos, reassembly turns into a guessing game that wastes hours.
Expert Tips
Keep a small parts kit on hand for your specific pump model. Seals, O-rings, and capacitors are cheap, and having spares ready means you can fix problems the moment they pop up instead of waiting on shipping.
Label your wires with masking tape before disconnecting anything electrical. This simple habit removes all the guesswork during reassembly and prevents costly miswiring.
Test your pump’s pressure switch while you’re in there, since it often fails alongside other parts. A worn switch makes the pump cycle on and off too often, which strains the motor.
Finally, write down the date of your repair and tuck the note inside the pump cover. Tracking your maintenance history helps you spot patterns and predict when parts might wear out again.
Frequently Asked Questions
How do I know if my water pump needs repair or full replacement?
Look at the age and the type of failure. Worn seals, a bad capacitor, or a clogged impeller are simple, affordable fixes worth doing yourself. However, a burned-out motor or a cracked housing on an old pump often costs more to repair than to replace. If your pump is over ten years old and the motor failed, replacement is usually the smarter choice.
Why does my water pump hum but not pump water?
A humming pump that won’t move water usually has one of these issues:
- A stuck or broken impeller blocking flow
- A failed start capacitor preventing the motor from spinning
- Loss of prime, leaving air in the chamber
Start by checking the capacitor and impeller, since those are the most common culprits. Re-priming the pump often solves the problem instantly.
How much can I save by fixing the pump myself?
Quite a lot. Professional service calls often run between $150 and $500, depending on the problem and your location. Doing the work yourself usually costs only the price of parts, which might total $20 to $80 for seals, a capacitor, or an impeller. You also dodge emergency or weekend service fees, which can nearly double a technician’s bill.
Is repairing a water pump safe for a beginner?
Yes, as long as you respect the electricity. The biggest risk comes from working on a live unit, so always shut off the breaker first and test before touching anything. The mechanical parts themselves are straightforward. Wear safety glasses and gloves, follow each step carefully, and don’t rush. Beginners successfully handle these repairs all the time.
How often should I maintain my water pump?
Inspect your pump at least once a year, ideally before peak-use seasons. Check the pressure switch, listen for unusual sounds, and look for leaks around the seals. Well pumps benefit from a yearly water-flow check too. Regular attention catches small issues early, extends the pump’s lifespan, and saves you from sudden, inconvenient breakdowns.
Conclusion
Fixing a pump isn’t the mystery it first appears to be. Once you break the job into clear steps, the whole process feels manageable, even on your first try. You shut off the power, diagnose the trouble, swap out worn seals and impellers, then reassemble and prime everything before testing.
Along the way, you’ve learned to avoid the big mistakes that trip up beginners, like skipping the prime or reusing tired gaskets. You’ve also picked up expert habits, such as keeping spare parts and labeling your wires, that make every future fix faster.
The real reward goes beyond the money you save. There’s genuine satisfaction in hearing your pump roar back to life because of your own hands. That confidence sticks with you and makes the next household project feel far less intimidating.
So gather your tools, take your time, and trust the process. When you learn how to repair a water pump, you gain a practical skill that pays off for years. Now go get that water flowing again.