

A toilet that won’t flush properly can throw off your whole morning. Maybe the handle feels loose, jiggles uselessly, or you have to hold it down forever just to get a decent flush. The good news? You don’t need to call a plumber for this one. Learning how to repair toilet flush handle problems is one of the easiest DIY fixes you can tackle at home, and most issues come down to a worn-out lever, a disconnected chain, or a cracked mounting nut.
With a few basic tools and about twenty minutes, you can have everything working smoothly again. This guide walks you through every step, from diagnosing the problem to testing your repair, so you can fix that frustrating handle with confidence.
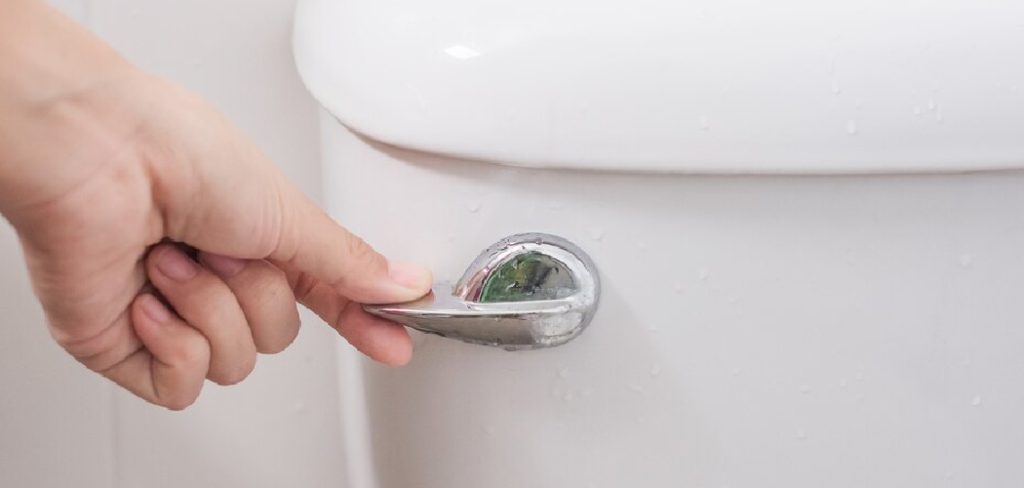
Why Repairing Your Toilet Flush Handle Matters
A broken flush handle is more than just an annoyance. When the handle sticks or the chain stays tangled, your toilet can run constantly, quietly wasting gallons of water every single day. That adds up fast on your water bill, and it’s hard on the environment too.
Fixing it yourself also saves you the cost of a service call, which can run anywhere from $75 to $200 for something you can solve in minutes. Beyond the savings, there’s real satisfaction in handling small home repairs on your own. You build skills you’ll use again and again.
Whether you own your place or rent it, knowing how to spot and fix handle trouble keeps your bathroom working and gives you one less thing to worry about.
Tools and Materials You’ll Need
Before you start, gather everything in one spot so you’re not running back and forth mid-repair. Most of these items are probably already in your home or available at any hardware store for a few dollars.
- Adjustable wrench or pliers – for loosening the mounting nut inside the tank
- Replacement flush handle and lever – choose one that matches your toilet’s style
- New flapper chain (if yours is rusted or broken)
- Clean rag or towel – for wiping up drips and water
- White vinegar – to clean mineral buildup around the nut
- Flashlight – to see clearly inside the dim tank
- Small bucket – to catch leftover tank water
- Rubber gloves (optional) – for keeping your hands clean and dry while working
Having the right replacement handle ready makes the whole job faster and far less frustrating.
Step-by-Step Guide on How to Repair Toilet Flush Handle
Step 1 – Turn Off the Water Supply
Start by shutting off the water so you can work without surprises. Reach behind the toilet near the floor and find the small oval valve on the supply line. Turn it clockwise until it stops, then give it a gentle final twist to make sure it’s fully closed.
You’ll usually feel a slight resistance as the valve seats. This stops fresh water from refilling the tank while you work, which keeps everything dry and manageable.
If the valve feels stiff or won’t budge, wrap it with a rag for grip and try again slowly. Once it’s off, you’re ready to drain the tank and get a clear look at the parts inside.
Step 2 – Flush and Empty the Tank
Now press the handle to flush the toilet one last time. Since the water is off, the tank won’t refill, leaving you with an empty space to work in. You’ll hear the familiar rush of water draining away, followed by quiet.
Lift the tank lid carefully and set it somewhere safe, like a folded towel on the floor. These lids are heavy and crack easily, so don’t rest it on a hard edge.
Look inside and you’ll likely see a little water still pooled at the bottom. Soak it up with your rag or a sponge so you can see the handle assembly clearly without splashing around.
Step 3 – Inspect the Handle Assembly
Take a moment to study how everything connects before touching anything. Shine your flashlight into the tank and follow the path from the handle to the lever arm, then down to the chain and flapper.
Wiggle the handle gently and watch what happens. A loose handle usually means the mounting nut has worked itself free. A handle that does nothing often points to a broken lever arm or a chain that’s slipped off its hook.
Notice any rust, cracks, or white crusty buildup around the metal parts. These clues tell you exactly what to replace. Spending a minute here saves you from guessing and helps you fix the right problem the first time.
Step 4 – Remove the Old Handle
Inside the tank, locate the mounting nut that holds the handle in place. Here’s the tricky part: this nut is reverse-threaded, so you turn it clockwise to loosen it, not the usual direction.
Grip it with your adjustable wrench and apply steady pressure. If years of mineral deposits have it stuck, dab on a little white vinegar and wait a few minutes to soften the gunk. You’ll smell that sharp, clean tang as it works.
Once the nut spins free, slide the lever arm out and pull the handle through the front of the tank. Keep the old parts nearby so you can match the size and shape when installing the new ones.
Step 5 – Clean the Mounting Area
Before you put anything new in, give the opening a good cleaning. Years of hard water leave behind chalky white deposits that can keep your new handle from sitting flush and tight.
Dip your rag in white vinegar and scrub around the hole where the handle passes through. You’ll feel the rough, crusty buildup start to break loose under your fingers. Wipe until the surface feels smooth and looks shiny again.
This step matters more than people think. A clean, even surface lets the new mounting nut grip properly, which means your handle stays firm for years instead of loosening up again in a few months. Dry the area with a fresh towel when you’re done.
Step 6 – Install the New Handle and Lever
Slide the new handle through the hole from the outside of the tank, keeping the lever arm angled down and toward the flapper. From inside, thread the mounting nut onto the handle stem.
Remember the reverse threading again: turn the nut counterclockwise to tighten it this time. Snug it down with your fingers first, then give it a careful quarter-turn with the wrench. Don’t overtighten, since the plastic can crack under too much force.
Test the handle with a light press. It should feel firm and spring back smoothly without wobbling. Knowing how to repair toilet flush handle parts correctly comes down to this balance: tight enough to hold, gentle enough to last.
Step 7 – Reconnect the Flapper Chain
Now hook the chain from the lever arm to the flapper at the bottom of the tank. The right length matters here. Too tight, and the flapper won’t seal, leaving water running. Too loose, and the handle won’t lift it enough to flush.
Attach the chain to a hook on the lever arm, then check the slack. You want about half an inch of give when the flapper rests closed. Adjust by moving the chain to a different link until it feels right.
Give the handle a gentle press and watch the flapper lift cleanly, then drop back into place with a soft thud. That satisfying motion tells you the connection is dialed in just right.
Step 8 – Turn the Water Back On and Test
Reach behind the toilet and slowly turn the supply valve counterclockwise to reopen it. You’ll hear water hissing into the tank as it refills. Watch the water level rise and stop at the fill line marked inside.
Now press the handle for a real test. It should flush strong, with water rushing down and the flapper sealing tight afterward. Listen closely for any continuous trickling, which would signal a chain or flapper issue you’ll want to recheck.
Watch for two or three full cycles to be sure everything works smoothly. If the handle feels firm, the flush is powerful, and the tank goes quiet after refilling, your repair is a success. Set the lid back on gently.
Critical Mistakes When Fixing a Toilet Flush Handle
The single most common mistake is forgetting that the mounting nut is reverse-threaded. People crank it the wrong way with all their strength, sometimes stripping the threads or snapping the nut entirely. Always remember: clockwise loosens, counterclockwise tightens. Going slow saves you a bigger headache.
Another frequent error is leaving the water supply on. Working in a tank that keeps refilling means constant splashing, poor visibility, and a much messier job. Take the extra thirty seconds to shut off the valve and empty the tank first. You’ll thank yourself.
Many folks also get the chain length wrong. A chain that’s too tight holds the flapper open slightly, causing that endless running water sound and a higher bill. One that’s too loose won’t lift the flapper enough for a full flush. Aim for a small amount of slack and test it.
Finally, overtightening is a quiet trap. Plastic nuts and handles feel sturdy, but they crack under too much pressure. Snug them by hand, then add just a touch with your wrench. Buying a handle that doesn’t match your toilet’s design also leads to wobbly, awkward fits, so always check compatibility before you buy.
Expert Tips
Keep a spare handle and flapper in your bathroom cabinet. These parts wear out predictably, and having replacements on hand turns a frustrating problem into a five-minute fix.
When you buy a new handle, take a quick photo of your old one first. Matching the lever angle and length ensures the chain reaches the flapper without strain.
If your tank water looks rusty or the handle constantly corrodes, consider a stainless steel or plastic model instead of standard chrome. They hold up far better against hard water and humidity.
Finally, while you’ve got the tank open, glance at the flapper and fill valve. If the flapper feels stiff or warped, swapping it now saves you a second repair down the road. A little extra attention pays off.
Frequently Asked Questions
Why does my toilet handle stay down after I flush?
A sticky handle usually means the lever arm is rubbing against the tank wall or the chain has too little slack. Check that the handle moves freely and isn’t catching on anything. If the metal looks corroded or the spring action feels weak, the handle itself is worn out and needs replacing. A quick swap solves it.
Is the toilet handle nut really reverse-threaded?
Yes, almost every toilet flush handle uses a reverse-threaded mounting nut. This means you turn it clockwise to loosen and counterclockwise to tighten, the opposite of most hardware. The design helps the nut stay tight during normal flushing motion. If a nut won’t budge, you’re likely turning it the wrong way, so try the other direction first.
How long does it take to replace a flush handle?
For most people, the whole job takes about fifteen to twenty-five minutes. That includes shutting off the water, removing the old handle, cleaning the area, and installing the new one. If mineral buildup has the nut stuck, allow a few extra minutes for vinegar to loosen it. It’s one of the quickest plumbing repairs around.
What if the chain keeps disconnecting?
A chain that keeps slipping off usually has a worn or bent hook, or it’s set at the wrong length. Try these quick checks:
- Move the chain to a closer hook to reduce strain
- Replace a rusted or kinked chain entirely
- Leave about half an inch of slack when the flapper is closed
A fresh, properly sized chain almost always fixes the problem for good.
Can I use any replacement handle for my toilet?
Not always. Handles come in different lengths, angles, and mounting styles, so a mismatched one may sit crooked or fail to lift the flapper. Bring your old handle to the store or note your toilet’s brand and model. Universal handles work for many tanks, but checking compatibility first saves you a frustrating return trip.
Conclusion
Fixing a stubborn toilet handle is far simpler than it looks, and now you have everything you need to handle it yourself. From shutting off the water and emptying the tank to installing a fresh handle and dialing in the chain length, each step builds on the last to get your toilet flushing smoothly again.
The biggest things to remember are the reverse-threaded nut, the right amount of chain slack, and a gentle touch when tightening. Get those three right, and you’ll avoid the most common pitfalls. Best of all, you’ve saved money, conserved water, and gained a skill you can use again whenever a handle starts to wobble.
Knowing how to repair toilet flush handle problems puts you in control of one of the most common household annoyances. So the next time that handle feels loose or refuses to flush, you won’t reach for the phone to call a plumber. You’ll grab your wrench, open the tank, and fix it yourself in minutes. That’s the real payoff of doing it on your own.