

A cut wire stops everything. Your lamp goes dark, your power tool dies, or your appliance refuses to turn on. The damage looks intimidating, but the repair is well within your reach. You don’t need to call an electrician or replace the entire cord.
Most cut wires happen the same way. A vacuum runs over a cord. A rodent chews through insulation. A blade slips during a project. Whatever caused it, the fix follows a clear, repeatable process you can learn in minutes.
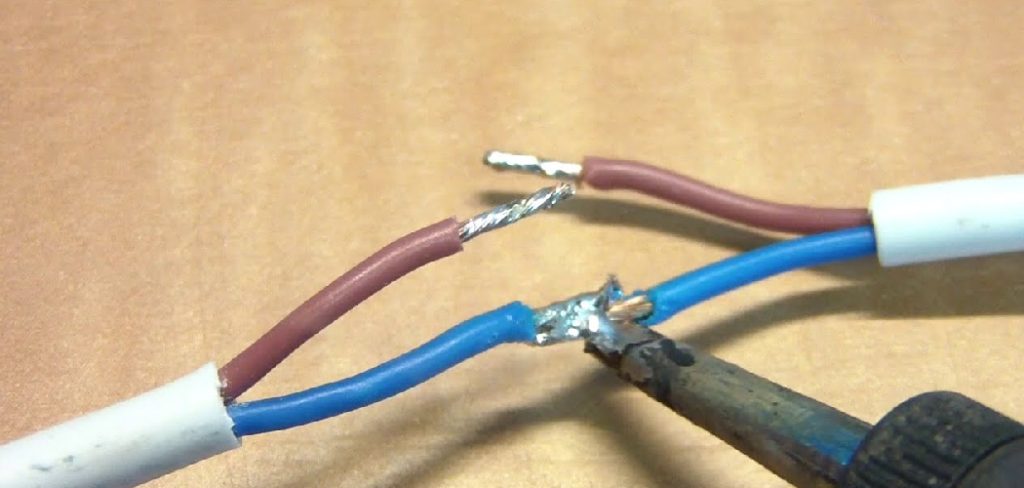
This guide walks you through how to fix a cut wire safely and correctly, step by step, using tools you likely already own.
Why Fixing a Cut Wire Matters
A damaged wire is a fire hazard. Exposed copper can short, spark, and ignite nearby materials. Ignoring it puts your home and family at real risk.
Repairing it yourself saves money. An electrician visit costs $75 to $150 for a job you can complete in 20 minutes. Replacing a whole appliance because of one bad cord wastes far more.
You also gain control. When you understand the repair, you stop fearing it. A frayed extension cord, a nicked lamp wire, or a severed speaker cable becomes a quick task instead of a trip to the hardware store.
Master this skill once, and you’ll handle dozens of small electrical problems for the rest of your life. That confidence is worth more than the few dollars in supplies.
Tools and Materials You’ll Need
Gather everything before you start. A clean setup makes the repair faster and safer.
- Wire strippers — remove insulation without nicking the copper
- Wire cutters or sharp scissors — trim damaged ends cleanly
- Electrical tape — insulate and protect each connection
- Wire connectors or crimp connectors — join conductors securely
- Heat-shrink tubing — seal joints with a tight, waterproof finish
- Heat source (lighter or heat gun) — shrink the tubing into place
- Multimeter — confirm the wire is dead before you touch it
- Helping-hands clamp (optional) — holds wires steady so you work hands-free
The helping-hands clamp isn’t essential, but it makes precise work far easier. Buy quality strippers. Cheap ones crush wires and leave you fighting the job.
Step-by-Step Guide on How to Fix a Cut Wire
Step 1 – Disconnect the power
Cut the power first. Always. Unplug the cord from the wall, or switch off the breaker that feeds the circuit. This single step prevents shocks and saves lives.
Don’t trust a switch alone. A wall switch can leave the wire live even when the device appears off. Pull the plug completely.
Touch the metal prongs to confirm nothing is connected. For hardwired connections, flip the breaker and label it so no one restores power while you work.
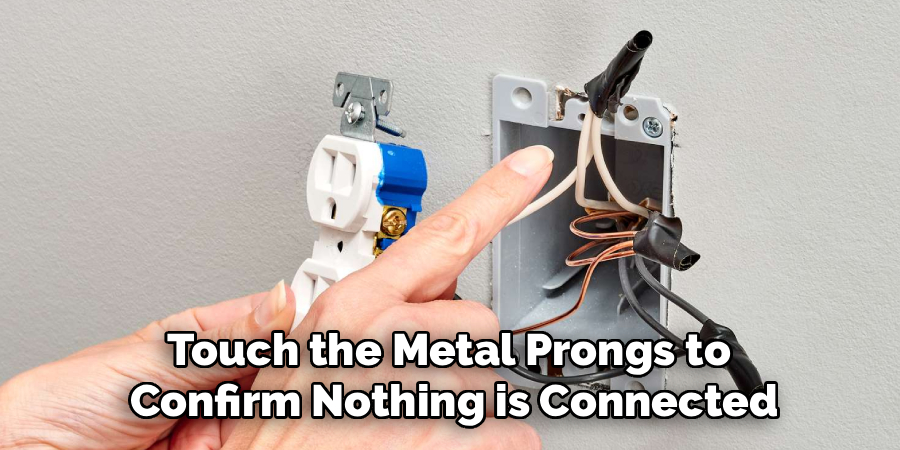
Take your multimeter and test the wire directly. Set it to AC voltage and touch the probes to the exposed conductors. A reading of zero means you’re clear. Anything above zero means stop and recheck your power source before continuing.
Step 2 – Inspect the damage
Look closely at the break. Spread the wire flat under good light and examine where the insulation is cut and where the copper is exposed.
Run your fingers along the cord. You’ll feel the soft give of intact insulation and the sharp edge where the cut begins. Identify whether one conductor is severed or several.
Check the color coding. Most cords carry a black (hot), white (neutral), and sometimes green (ground) wire. Note which ones are damaged so you reconnect them correctly later.
Decide if the cord is worth saving. A single clean cut repairs easily. But if insulation is melted, brittle, or damaged in multiple spots, replace the entire cord. A patched mess creates more hazards than it solves.
Step 3 – Cut away the damaged section
Remove the bad part completely. Use your wire cutters to snip out the crushed, frayed, or melted section on both sides of the break.
Don’t try to save a mangled inch of wire. Cutting clean gives you fresh copper to work with and a stronger final joint. Trim until both ends look undamaged and the insulation is intact right up to the cut.
You’ll hear a crisp snap as sharp cutters slice through. If the blades drag or tear, sharpen or replace them. Ragged cuts make the next steps harder.
Line up the two ends. They should meet with a small overlap of wire to spare. Leave enough length on each side to strip and join comfortably without pulling tension on the connection.
Step 4 – Strip the insulation
Expose the copper. Set your wire strippers to match the wire gauge and clamp down about three-quarters of an inch from each end.
Squeeze, twist gently, and pull the insulation free. You’ll feel it slide off, leaving clean bright copper behind. If you nick or cut strands, trim back and strip again. Damaged strands weaken the connection and create heat.
Strip every conductor you plan to join. Keep the exposed lengths equal so the wires line up neatly when you twist them together.
Avoid stripping too much. Excess bare copper outside the connector invites shorts. A snug fit inside the connector with no exposed metal showing is exactly what you want before you move on to joining the wires.
Step 5 – Slide on the heat-shrink tubing
Add the tubing now, before you connect anything. This step is easy to forget and impossible to fix later.
Slide a piece of heat-shrink tubing onto one side of the wire. Push it well back, away from the work area, so heat from the joining process doesn’t shrink it early.
Cut each piece about an inch long, enough to cover the finished joint with overlap on both ends. For multi-conductor cords, use a separate small tube for each wire, plus a larger one to wrap the whole bundle.
You’ll thank yourself for this. Trying to insulate a finished connection without pre-loaded tubing means cutting it all apart and starting over. Set it, then continue.
Step 6 – Join the wires
Connect matching conductors. Twist black to black, white to white, and green to green. Match every color exactly.
Hold the two stripped ends parallel and twist them together in a tight clockwise spiral. The copper should feel firm and secure with no loose strands sticking out. A solid twist is the heart of how you fix a cut wire that lasts.
For a stronger hold, slide a crimp connector over the twisted pair and squeeze it down with your strippers or a crimping tool. You’ll feel it bite and lock the wires in place.
Tug each connection gently. If anything pulls loose, undo it and redo the twist tighter. A weak joint heats up under load and fails fast.
Step 7 – Insulate the connection
Cover every bit of bare metal. Wrap each joint with electrical tape, starting on the insulation and spiraling over the exposed copper with a half-inch overlap on each pass.
Pull the tape snug as you wrap. You’ll feel it stretch and grip. Three or four layers give solid protection against shorts and moisture.
Now slide the heat-shrink tubing over the taped joint and center it. Apply heat evenly with a lighter or heat gun, moving constantly so you don’t scorch one spot. The tubing shrinks tight with a faint plastic smell and seals the connection in a smooth, durable casing.
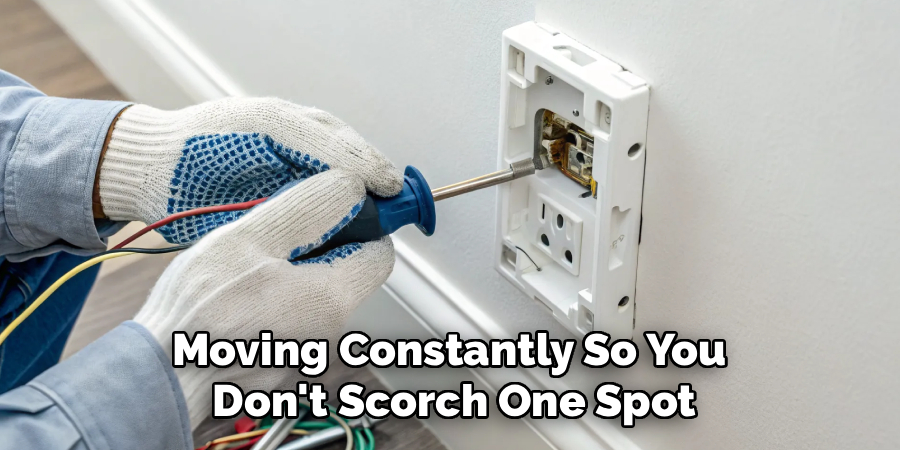
Let it cool for a minute. The finished joint should feel firm, sealed, and slightly thicker than the rest of the cord.
Step 8 – Test your repair
Confirm the fix works before you trust it. Set your multimeter to continuity mode and touch the probes to each end of the repaired conductor.
A beep or a near-zero reading means current flows cleanly through your joint. No reading means the connection failed somewhere inside, and you’ll need to open it up and redo the twist.
Once continuity checks out, restore power. Plug the cord back in or flip the breaker. Watch and listen for anything wrong, sparks, buzzing, or heat at the joint.
Run the device at low load first if you can. Let it operate for a few minutes, then touch the repair. It should stay cool. Warmth at the joint signals a loose connection that needs immediate attention.
Critical Mistakes When Fixing a Cut Wire
The biggest mistake is working on a live wire. People assume the switch is enough or that a quick repair won’t matter. It does. Live current can stop your heart in seconds. Always unplug or kill the breaker, then verify with a multimeter before you touch a single strand.
Mismatched connections cause the second most common failure. Joining a hot wire to a neutral, or ignoring the ground entirely, creates a dangerous fault. Track your color coding from the start and reconnect black to black, white to white, and green to green every time.
Skipping insulation ranks high on the list too. A bare twisted joint left exposed will short against metal, moisture, or other wires. Tape alone often isn’t enough, so combine electrical tape with heat-shrink tubing for a sealed, lasting result.
Many people also leave nicked copper strands in place. Damaged strands carry less current, heat up, and eventually break. If you nick the wire while stripping, cut back and start fresh.
Finally, don’t repair a cord that’s too far gone. Melted insulation, multiple breaks, or brittle wiring means replacement, not patching. Forcing a repair on a ruined cord only delays a guaranteed failure.
Expert Tips
Use the right wire gauge. If you ever need to splice in new wire, match the original gauge exactly. A thinner wire overheats under the same load.
Solder for permanence. Twisting and taping works fine, but a soldered joint covered in heat-shrink lasts decades. Heat the wires, flow solder into the twist, and seal it.
Label your breaker. Tape a note over it while you work so no one flips it back on by accident.
Keep repairs accessible. Don’t bury a fresh joint inside a wall or under carpet where you can’t inspect it later. Splices belong in junction boxes or visible spots.
Buy quality electrical tape. Cheap tape unravels and loses grip in heat. Spend the extra dollar on a name brand rated for the temperature your cord handles.
Frequently Asked Questions
Is it safe to repair a cut wire myself?
Yes, for low-voltage cords and standard household appliances, the repair is safe when done correctly. Always disconnect power and verify with a multimeter first. For high-voltage circuits, hardwired connections, or anything inside a wall, call a licensed electrician. Knowing your limits keeps the job safe. If you feel unsure at any point, stop and get professional help.
Can I just use electrical tape to fix it?
Tape alone works for a temporary fix, but it isn’t a permanent solution. For a lasting repair, combine these:
- A tight twisted or crimped connection
- Several layers of quality electrical tape
- Heat-shrink tubing sealed over the joint
This three-layer approach protects against shorts, moisture, and pulling. Tape by itself loosens over time and exposes bare copper.
How do I know when to replace the cord instead?
Replace the cord when the damage goes beyond a single clean cut. Watch for melted insulation, brittle or cracked sheathing, multiple breaks, or scorch marks. These signs mean the cord is compromised throughout. A single nick repairs easily, but a degraded cord will fail again no matter how well you patch it. When in doubt, replace it.
What’s the difference between crimping and twisting wires?
Twisting joins wires by spiraling the bare copper together by hand, then securing it with tape or a connector. Crimping uses a metal sleeve squeezed tight with a tool for a stronger, more reliable hold. Crimping resists pulling and vibration better, making it ideal for cords that move or flex often. Both work, but crimping gives you a more durable connection.
Will the repair affect how the device performs?
No, a proper repair restores full function. A clean, tight connection carries current just like the original wire. You won’t notice any difference in power or performance. A poorly made joint, however, adds resistance, generates heat, and weakens output. Test with a multimeter and check that the joint stays cool under load to confirm your repair performs like new.
Conclusion
A cut wire doesn’t have to mean a ruined appliance or an expensive service call. With a few common tools and the right steps, you can fix a cut wire in about 20 minutes and restore power safely.
Remember the essentials. Kill the power and confirm it’s dead. Trim the damage back to clean copper. Strip carefully, match your conductors by color, and join them with a tight twist or crimp. Insulate with tape and heat-shrink, then test with a multimeter before you trust the repair under load.
The biggest wins come from patience and safety. Never rush past the power check, never leave bare metal exposed, and never patch a cord that’s too far gone.
Once you’ve done this once, you’ll handle frayed cords, nicked cables, and severed wires with total confidence. You’ll save money, reduce fire risk, and keep your gear running for years.
Grab your tools, take your time, and make the repair right the first time. You’ve got everything you need to get the job done.