

A scratch across your marble countertop or a chip on that beautiful tabletop can feel heartbreaking. One careless slide of a pan, a dropped jar, or a splash of lemon juice, and suddenly your gorgeous stone looks tired and damaged. The good news? Most surface flaws are far easier to fix than you think.
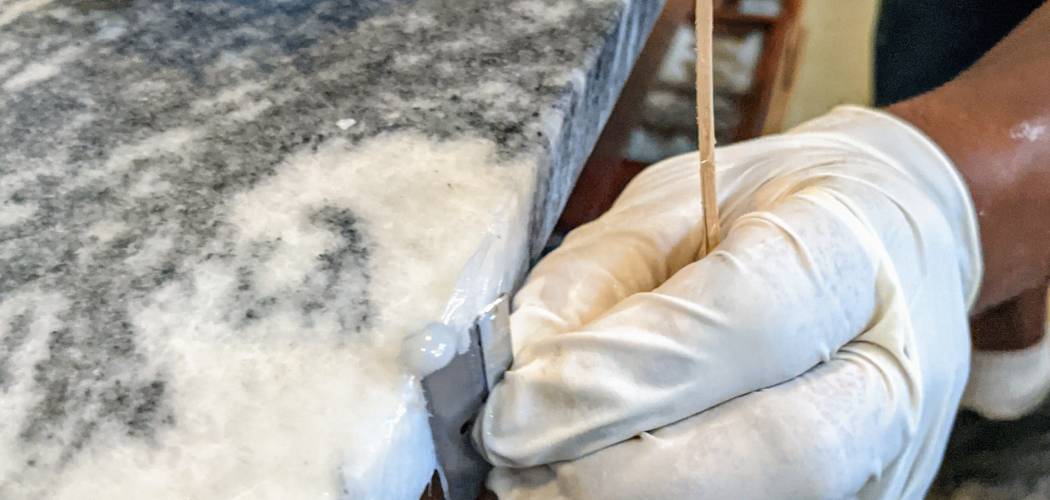
Learning how to repair marble at home saves you money and brings back that smooth, glowing finish you fell in love with. You don’t need pricey professionals for minor chips, scratches, or dull spots. With a few simple products and a little patience, you can handle them yourself.
This guide walks you through diagnosing, filling, and polishing common marble damage step by step, while showing you exactly when a job is better left to a restoration expert.
Why Learning To Repair Marble Matters
Marble shows up in more places than you’d expect, and not just indoors. Think outdoor kitchen counters, patio tabletops, garden statues, and even portable camp setups built around natural stone surfaces. When you’re far from home or settling into a rugged outdoor space, knowing how to handle a chip or scratch keeps your gear looking sharp.
For outdoor beginners, this skill builds real confidence. You’ll spot early etching from rain and spills, smooth out rough edges before they worsen, and protect surfaces with sealant so they last through every season.
It also saves serious cash. Replacing marble or hiring help adds up fast. A little know-how keeps your stone beautiful, whether it’s on a backyard bar, a camp table, or a weathered patio bench you want to bring back to life.
Tools and Materials You’ll Need
Gather everything before you begin so you’re not scrambling mid-project. Here’s what to keep on hand:
- Soft cloths and a sponge for cleaning and wiping
- pH-neutral stone cleaner to lift grime without etching
- Marble polishing powder for restoring shine to dull spots
- Clear or color-matched resin filler or epoxy for chips and cracks
- Plastic putty knife or razor blade to apply and level filler
- Fine-grit sandpaper (400 to 600 grit) for smoothing repairs
- Buffing pad to blend and polish the finish
- Marble sealant to protect the surface afterward
- Painter’s tape to mask off the repair area
- Safety glasses and gloves to protect yourself
- Optional: a handheld variable-speed polisher to make buffing faster and more even
A clean, well-lit workspace helps you see fine scratches and color differences clearly. Good lighting makes a real difference in your results.
Step-by-Step Guide on How To Repair Marble
Step 1 – Clean the damaged area thoroughly
Start with a spotless surface. Dust, grease, and old residue stop filler and polish from bonding properly, so cleaning comes first every time.
Wipe the area with a soft cloth and a pH-neutral stone cleaner. Avoid vinegar, lemon, or harsh chemicals, since acids cause etching and dull the natural stone even more.
Rinse with clean water, then dry completely. Marble holds moisture in tiny pores, and trapped water ruins resin filler and epoxy bonds.
Run your fingertips across the spot. You’ll feel exactly where chips, scratches, or rough edges sit. That tactile check tells you more than your eyes alone.
A clean, dry surface sets the foundation for a smooth, lasting fix.
Step 2 – Inspect and assess the damage
Take a close, honest look before you grab any product. Good lighting reveals the truth about what you’re dealing with.
Light surface scratches and dull etching usually polish out easily. Small chips and shallow nicks respond well to resin filler. These are perfect DIY jobs.
Deep cracks that run through the slab, loose broken pieces, or damage on valuable antique marble are different. Those often need professional restoration, since a botched fix can lower the stone’s value or weaken it.
Press gently around any crack. If sections shift or feel hollow, you’re likely facing structural damage. Knowing the difference now saves you frustration later, and helps you decide whether to continue or call an expert.
Step 3 – Test your products in a hidden spot
Never trust a new product on visible marble until you’ve tested it. Colors, finishes, and chemicals can react in surprising ways.
Pick a hidden area, like the underside of a countertop edge or a corner behind an appliance. Apply a tiny amount of your cleaner, filler, or polishing powder there first.
Wait and watch. Check for discoloration, dulling, or any reaction with the surface. This quick test protects your visible marble from a costly mistake.
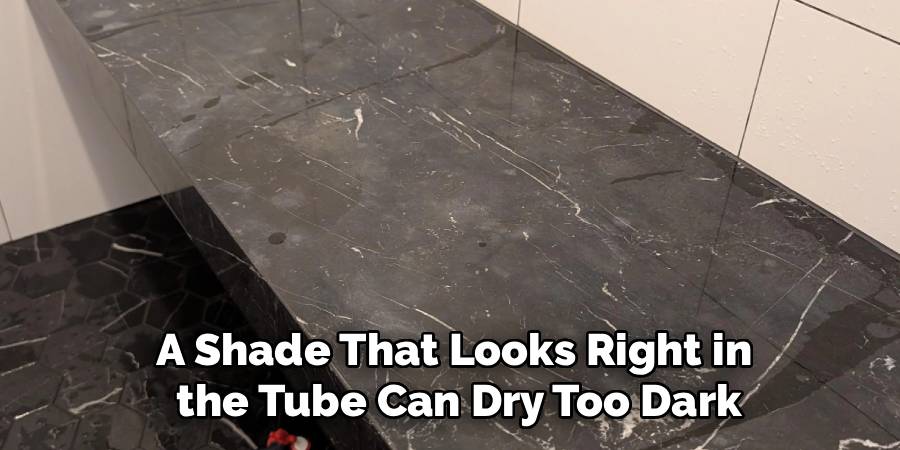
Color matters especially with filler. A shade that looks right in the tube can dry too dark or too light. A color-matched repair only works if you confirm the match before committing to the real spot.
Step 4 – Fill chips and cracks
Now tackle the chips and minor cracks. For solid marble crack repair, clear or color-matched resin filler or epoxy works beautifully on small flaws.
Mix the filler per the instructions. You’ll notice a slightly sharp, glue-like smell, so keep the room ventilated and wear your gloves.
Press the filler firmly into the chip or crack with a plastic putty knife. Overfill just slightly, since the material settles a touch as it cures. Smooth the surface level with the surrounding stone.
Wipe away excess right away, before it hardens. Cured epoxy is stubborn to remove later. Then let it cure fully, untouched, for the time the product recommends. Patience here pays off in a seamless finish.
Step 5 – Smooth the repaired surface
Once the filler cures rock-hard, it’s time to smooth it flush. Knowing how to repair marble well means blending the patch so it disappears into the stone.
Wrap fine-grit sandpaper, 400 to 600 grit, around a small block. Sand the dried filler gently using light, circular motions. Keep checking with your fingertips for a flat, even surface.
Go slowly. Aggressive sanding scratches the surrounding marble and creates new problems. You want the patch level, not lower than the stone around it.
Wipe away the fine dust with a damp cloth as you work. This lets you see your progress clearly. The goal is a smooth, continuous surface you can barely feel where the damage once sat.
Step 6 – Polish to restore shine
Polishing brings back that signature marble glow. This step also handles light scratches and dull etched spots on its own.
Sprinkle marble polishing powder onto the area and add a few drops of water to form a paste. Work it in with a damp buffing pad using steady, circular strokes.
You’ll watch the dull haze slowly give way to a soft, reflective shine. It’s genuinely satisfying to see the surface come alive again.
Keep the pad moving and the surface slightly damp. If you have a honed finish rather than a glossy one, polish more lightly to match the original look.
Buff until the repaired area blends with the rest of the stone, then wipe it clean and admire the difference.
Step 7 – Seal the marble
Sealing locks in your hard work and guards against future damage. Marble is porous, so it soaks up spills, stains, and moisture without protection.
Make sure the surface is clean and bone dry first. Apply a quality marble sealant with a soft cloth, spreading a thin, even coat across the repaired area and beyond.
Let it soak in for the time listed on the product, usually several minutes. Then buff off any excess so it doesn’t leave a sticky film.
You’ll feel the surface turn slightly smoother and more water-resistant. Drop a little water on it afterward, and it should bead up nicely. Reseal natural stone every six to twelve months to keep it protected and beautiful.
Step 8 – Do a final cleanup and inspection
Finish strong with one last review. Wipe the whole surface down with your pH-neutral stone cleaner and a soft cloth to remove dust and polish residue.
Step back and study the repair under good light. Look at it from different angles, since shine and color shifts show up better that way.
Run your hand across the spot one more time. It should feel smooth and level, with no rough ridges or sunken patches.
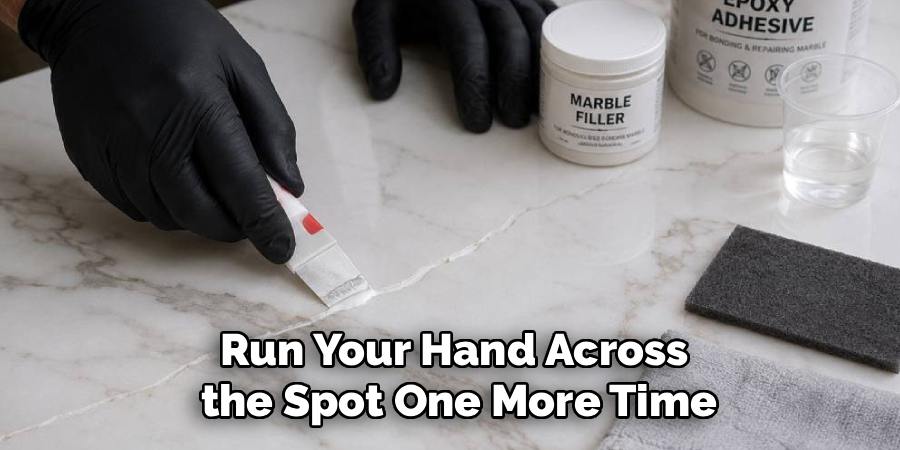
If the color blends and the surface feels seamless, you nailed it. If a chip still shows or a crack looks deep, don’t force it. Stubborn structural breaks or precious antique pieces deserve professional restoration rather than another DIY round.
Critical Mistakes When Repairing Marble
The most common mistake is reaching for acidic cleaners. Vinegar, lemon, and many all-purpose sprays eat into marble and cause etching, leaving dull, rough patches that look worse than the original problem. Always use a pH-neutral stone cleaner instead.
Skipping the hidden spot test trips up plenty of beginners too. A filler or polish that looks perfect in the container can dry the wrong shade or react badly with your stone. Testing in a hidden area, like a countertop edge, protects your visible surface from a permanent eyesore.
Rushing the cure time is another frequent slip. If you sand or polish resin filler or epoxy before it fully hardens, you’ll smear it, weaken the bond, and ruin your color-matched repair. Patience genuinely matters here.
Many people also oversand, grinding away healthy marble around the patch and creating fresh scratches. Use light pressure and fine grit, and check your progress constantly.
Finally, don’t try to DIY beyond your limits. Deep cracks, structural breaks, or valuable antique marble call for professional restoration. Pushing ahead can lower the stone’s value, weaken the slab, or turn a small flaw into an expensive disaster.
Expert Tips
Work in natural daylight whenever you can. It reveals subtle color differences and fine scratches that artificial bulbs hide, helping you blend repairs perfectly.
Keep a small offcut or take a clear photo of your marble before buying filler. Matching the color and veining ahead of time makes a color-matched repair far more convincing.
Build up filler in thin layers for deeper chips rather than one thick glob. Thin layers cure stronger and crack less over time.
Always feel your repairs with your fingertips, not just your eyes. Your hands catch ridges and dips that sight misses.
Maintain the surface to avoid future fixes. Wipe spills fast, use coasters and cutting boards, and reseal your natural stone on schedule. A little prevention keeps that honed or glossy finish looking flawless for years.
Frequently Asked Questions
Can I repair deep cracks in marble myself?
Shallow surface cracks respond well to resin filler and careful polishing. Deep cracks that run through the slab are a different story. They often signal structural damage and need professional restoration. If sections shift, feel hollow, or the crack goes all the way through, stop. A pro has the tools and skill to stabilize the stone safely without lowering its value.
How do I fix etching marks on marble?
Etching looks like dull, slightly rough spots, usually from acidic spills. For light etching, marble polishing powder often does the trick. Make a paste with water, then buff it in with a damp buffing pad in circular motions until the shine returns. For deeper etching, you may need professional honing. Always blot acidic spills fast to prevent etching in the first place.
What’s the best cleaner for marble surfaces?
Stick with a pH-neutral stone cleaner made for natural stone. Avoid anything acidic, since it causes etching and dulls the finish over time. Skip the following on marble:
- Vinegar and lemon-based cleaners
- Bleach and ammonia
- Abrasive scrubbing powders
Warm water with a drop of mild dish soap works in a pinch. Just dry the surface fully afterward.
How can I match the color of my marble repair?
Color-matched repair takes a little planning. Bring a photo or a small offcut to the store when buying tinted resin filler or epoxy. Always test your chosen shade in a hidden spot first, since fillers can dry darker or lighter than expected. For veined marble, you can add fine detail lines with a tiny brush to mimic the natural pattern.
How often should I seal my marble?
Most marble benefits from sealing every six to twelve months, though high-use surfaces like kitchen counters may need it more often. Test by dropping a little water on the surface. If it beads up, your sealant is working. If it soaks in and darkens the stone, it’s time to reseal. Always clean and fully dry the marble before applying a fresh coat.
Conclusion
Bringing damaged marble back to life is far more doable than it looks. The secret is working in order: clean the surface, inspect the damage honestly, and always test your products in a hidden spot before you commit. From there, filling chips, smoothing the patch, polishing, and sealing handles the vast majority of everyday flaws.
Keep the key points in mind. Skip acidic cleaners, respect cure times, sand gently, and feel your work with your fingertips. Watch for warning signs like deep cracks, loose pieces, or precious antique stone that point toward professional restoration instead.
Now that you understand how to repair marble the right way, you can tackle scratches, chips, and dull spots with real confidence and keep your surfaces looking stunning. That knowledge protects your countertops, tabletops, and outdoor stone for years to come. So gather your supplies, find good light, and give that scuffed marble the fresh start it deserves. You’ve absolutely got this.