

Has the bottom of your chain link fence started sagging, curling up, or leaving a gap big enough for a dog to wiggle through? You’re not alone. The bottom edge takes the most abuse from soil shifts, rust, pets, and curious wildlife. Over time, the fence fabric pulls loose, the bottom tension wire snaps, and you end up with a droopy, unsafe boundary.
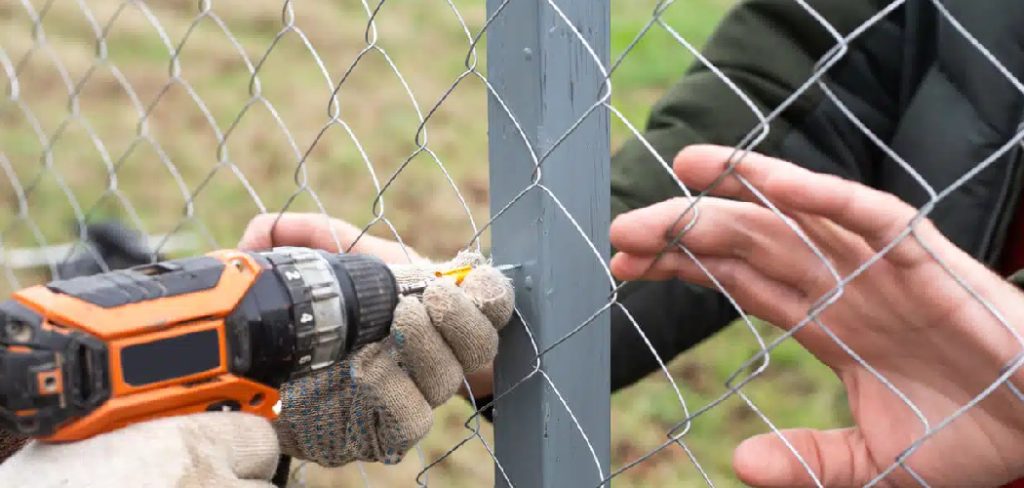
The good news is that a chain link fence bottom repair is one of the most beginner-friendly fixes around. You don’t need a contractor or fancy gear to get it done. With a few basic tools and an afternoon, you can tighten things up and restore a clean, secure edge. This guide walks you through the whole process how to repair chain link fence bottom, step by step, so you can fix it yourself with confidence.
Why Learning Chain Link Fence Bottom Repair Matters
A loose or damaged fence bottom does more than look messy. It lets pets escape, invites stray animals in, and weakens the entire fence line over time. Learning this skill saves you real money, since hiring a pro for a small fix often costs more than the whole repair is worth.
For homeowners, it protects your property and your peace of mind. For renters, it’s a quick, low-cost way to keep a yard secure without major changes. And for DIY beginners, it’s a confidence-building project that teaches you how mesh, wire, and tension work together.
There’s a bonus for campers and outdoor lovers, too. The same skills, securing mesh, mending wire, and anchoring fabric to the ground, carry straight over to repairing tents, animal enclosures, and campsite barriers.
Tools and Materials You’ll Need
Round up your gear before you head outside, because nothing slows a job down like running back to the garage. Here’s what you’ll want on hand:
- Pliers – standard and needle-nose for twisting and gripping fence ties
- Fence ties or aluminum wire – to reattach loose fabric
- Bottom tension wire – galvanized, to replace any rusted or broken sections
- Tension bar – if the end fabric has pulled away from a post
- Wire cutters – for trimming mesh and old ties cleanly
- Work gloves – sharp galvanized mesh bites bare hands
- Tape measure – to check post spacing and ground clearance
- A patch panel – a small piece of matching galvanized mesh for holes
- Come-along tool (optional) – a handy ratchet puller that makes stretching the fabric tight far easier
Lay everything out within reach so you can work smoothly.
Step-by-Step Guide on How To Repair Chain Link Fence Bottom
Step 1 – Inspect the damage along the bottom
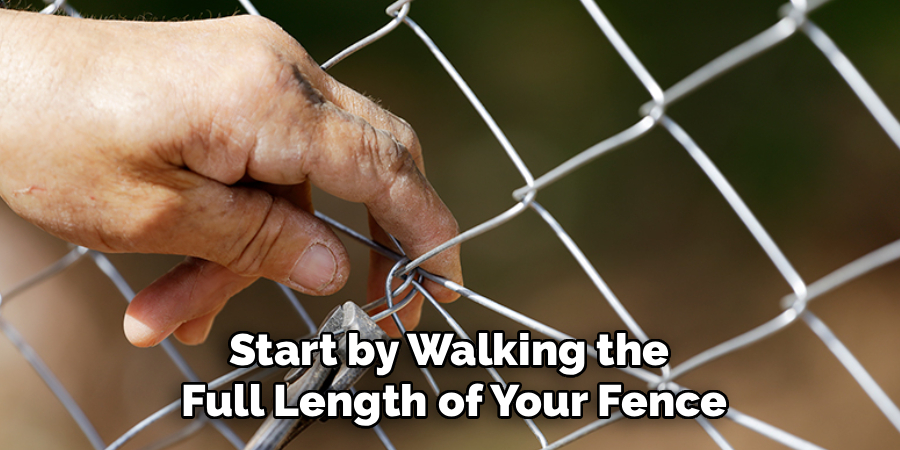
Start by walking the full length of your fence and looking closely at the lower edge. You’re hunting for sagging fabric, broken ties, rust spots, and any gaps where the mesh has pulled away from the bottom tension wire.
Crouch down and run your gloved hand along the bottom. You’ll feel where the wire has snapped or where the mesh curls loose and rattles. Note the trouble spots so you know what to tackle.
Check the ground clearance, too. If animals have been digging under the fence, you’ll see scooped-out soil and bent mesh. A careful inspection now tells you exactly which materials you need and saves you surprises halfway through the job.
Step 2 – Clear the work area
Before you touch a single tie, clear out the space along the bottom. Pull away weeds, leaves, and any dirt piled against the mesh. You want a clean, open edge so you can see what you’re working with.
Grab a small shovel and scrape back loose soil where the fabric meets the ground. This gives you room to maneuver your pliers and wire without fighting through grass.
You’ll notice the fence already looks better once the clutter’s gone. A tidy work area also helps you spot hidden rust or thin, brittle spots in the galvanized mesh that you’d otherwise miss. Take a few minutes here, and the rest of the job goes faster and cleaner.
Read More: How to Repair Chain Link Fences.
Step 3 – Remove the damaged fabric or ties
Now detach the loose or broken sections. Use your pliers to untwist old fence ties, and snip any rusted wire with your cutters. Work slowly so you don’t tear good mesh by accident.
You’ll hear the metallic ping as each tie releases and the fabric loosens from the post or rail. Set the old ties aside in a bucket so they don’t end up underfoot.
If a whole section of mesh is rusted through, cut it out cleanly with your wire cutters. Trim back to solid, undamaged fabric. This careful prep gives you a clean edge to work against and makes reattaching everything in the next steps much simpler.
Step 4 – Replace or reset the bottom tension wire
The bottom tension wire is what keeps the fabric taut and flush to the ground. If it’s snapped or badly rusted, swap it out. Unhook the old wire from the end posts and pull it free.
Thread fresh galvanized tension wire through the bottom row of mesh, weaving it in and out as you go. You’ll feel it catch each diamond of the fabric, anchoring the whole edge.
Pull it snug and hook it securely to the end posts. A tight bottom tension wire stops the mesh from flapping and curling. This single step fixes most sagging problems and forms the backbone of a solid chain link fence bottom repair.
Read More: How to Repair Loose Fence Post.
Step 5 – Patch any holes with a matching panel
For holes torn through the mesh, a patch panel does the trick. Cut a piece of galvanized mesh slightly larger than the damaged spot so it overlaps on all sides.
Line it up against the hole, then weave aluminum wire through both layers to lock them together. Twist each connection tight with your pliers until the patch sits flat and firm.
Run your hand over it afterward. You should feel a smooth, snug surface with no sharp edges sticking out. Trim any stray wire ends so nobody snags a hand or paw later. A well-placed patch blends in surprisingly well and restores both the look and the strength of your fence line.
Step 6 – Reattach the fabric to posts and rails
With the bottom wire set and holes patched, secure the fabric back to the framework. Loop new fence ties around the posts and bottom rail, then twist them tight with your pliers.
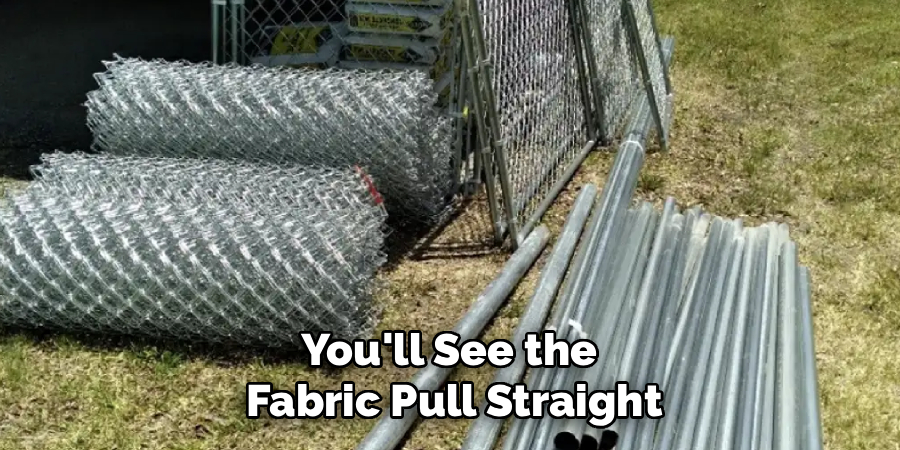
Space the ties evenly, roughly every foot, so the tension spreads out and the mesh stays flat. You’ll see the fabric pull straight and taut as you work down the line.
If the end fabric pulled loose, slide a tension bar through the mesh and bolt it to the post for a rock-solid anchor. Give each tie a final twist and tuck the ends inward. Snug, evenly spaced ties keep the whole bottom edge from sagging again.
Step 7 – Close the gap at ground level
If critters have been digging under fence sections, you need to close that gap for good. Pull the mesh down so it meets the soil, then anchor it in place with ground stakes or U-shaped landscape pins.
For stubborn diggers, lay a strip of mesh flat along the ground and pin it down, then cover it lightly with soil. Animals hit the buried barrier and give up fast.
Press the stakes in firmly until they sit flush. You’ll feel the bottom edge go rigid and stop lifting. Closing this gap keeps pets safely inside and unwanted visitors out, finishing off the security side of the job.
Read More: How to Fix a Cut Wire.
Step 8 – Inspect, tighten, and clean up
Step back and give the whole bottom edge a final once-over. Tug gently on the fabric in a few spots to test the tension. It should feel firm, with no loose flapping or curling.
Walk the line and check every tie, the tension wire, and your patch panel. Tighten anything that gives. You’ll know it’s solid when the mesh holds steady under a good pull.
Gather your old ties, wire scraps, and tools so nothing rusts in the grass or pokes someone later. A clean finish protects your work and your yard. With that, your fence stands secure, straight, and ready to handle the seasons ahead.
Critical Mistakes When Repairing a Chain Link Fence Bottom
The most common mistake is leaving the bottom tension wire too loose. Folks reattach the mesh but skip tightening the wire, and within weeks the fabric sags and curls right back up. Always pull the tension wire snug before you call the job done, because that wire does most of the heavy lifting.
Another frequent error is mixing incompatible metals. If you patch galvanized mesh with cheap steel wire that isn’t coated, rust sets in fast and eats through your repair. Stick with galvanized or aluminum fence ties so everything weathers evenly and lasts for years.
Many beginners also space their fence ties too far apart. When ties sit two or three feet apart, the mesh bows and gaps open between them. Place ties roughly every foot so tension spreads evenly across the whole edge.
Ignoring ground clearance is another costly slip. If you don’t anchor the bottom against digging under fence lines, pets and wildlife reopen the gap within days. Pin the mesh down or bury a strip to stop them for good.
Finally, skipping gloves leads to nasty cuts. Galvanized mesh has sharp, snipped ends that slice bare skin instantly. Protect your hands and work safely from start to finish.
Expert Tips
Always check your post spacing before you start. If a post leans or wobbles, fix that first, since no amount of tightening saves fabric attached to a loose post.
Keep a small magnet handy to test old wire. It tells you quickly whether you’re dealing with steel or aluminum, which helps you match materials and avoid rust down the line.
When stretching the fabric, a come-along tool makes a huge difference. It pulls the mesh far tighter than your hands ever could, giving you a crisp, professional edge.
Twist your fence ties so the sharp ends point inward, toward the yard. This keeps them from snagging clothing, hands, or pets brushing past.
And snap a quick photo of your finished repair. Next season, you’ll spot any new rust or sagging instantly by comparing the two.
Frequently Asked Questions
Why does the bottom of my chain link fence keep sagging?
Sagging usually traces back to a loose or broken bottom tension wire. That wire holds the fabric taut along the ground, and once it fails, the mesh droops. Other common causes include:
- Fence ties spaced too far apart
- Rusted, weakened mesh near the soil
- Shifting ground or a leaning post
Fix the tension wire first, and most sagging problems disappear.
How do I stop animals from digging under my fence?
Anchoring the bottom edge solves most digging problems. Pull the mesh down to meet the soil and secure it with U-shaped landscape pins or ground stakes every couple of feet. For persistent diggers, lay a flat strip of galvanized mesh along the ground, pin it, and cover it lightly with dirt. Animals hit that buried barrier and quickly give up trying.
Can I repair the fence bottom without replacing the whole section?
Yes, in most cases. If the damage is limited to loose ties, a snapped tension wire, or a small hole, you can fix it with a patch panel and new ties. Full replacement only makes sense when large stretches of fabric are badly rusted or torn beyond saving. Spot repairs cost far less and take a fraction of the time, so always start there.
What materials work best to avoid future rust?
Galvanized and aluminum materials hold up best against rust. Use galvanized mesh for patch panels and galvanized or aluminum fence ties to match the existing fabric. Mixing in bare steel wire causes fast corrosion where the metals meet. If your fence sits in a wet or coastal area, vinyl-coated options add extra protection and noticeably extend the life of your repair.
How tight should the bottom tension wire be?
The bottom tension wire should be snug enough that the fabric stays flat against the ground with no flapping, but not so tight that it bends your end posts. Pull it firm, hook it to the posts, then test by tugging the mesh. It should barely move. If you can lift the fabric several inches, tighten the wire until that gap closes.
Conclusion
Fixing the bottom of your fence comes down to a handful of clear steps. Inspect the damage, clear the area, remove broken ties, and reset that all-important bottom tension wire. Patch any holes with matching galvanized mesh, reattach the fabric with evenly spaced ties, and close the gap at ground level to stop critters from digging under. Finish with a final tighten and a quick cleanup.
The real secret to a lasting chain link fence bottom repair is good tension and matching materials. Snug wire, properly spaced fence ties, and rust-resistant patches beat any rushed shortcut every time. Pair that with a little patience, and your fence will hold strong through every season.
You don’t need to hire someone or replace an entire section for a sagging edge. With basic tools and an afternoon, you can restore a secure, straight fence line and feel proud of the work. The next time you spot a droop or a gap down low, you’ll know exactly what to do. Grab your gloves, pick a clear day, and fix it with your own two hands.