

Scuffed boots happen to everyone. One scrape against a rock, a careless bump on a curb, or a long day on the trail, and suddenly your favorite pair looks tired and worn. The good news? You don’t need to toss them or pay a cobbler to bring them back. Learning how to repair scuffed leather boots is easier than you think, and you probably already have a few of the supplies sitting at home.
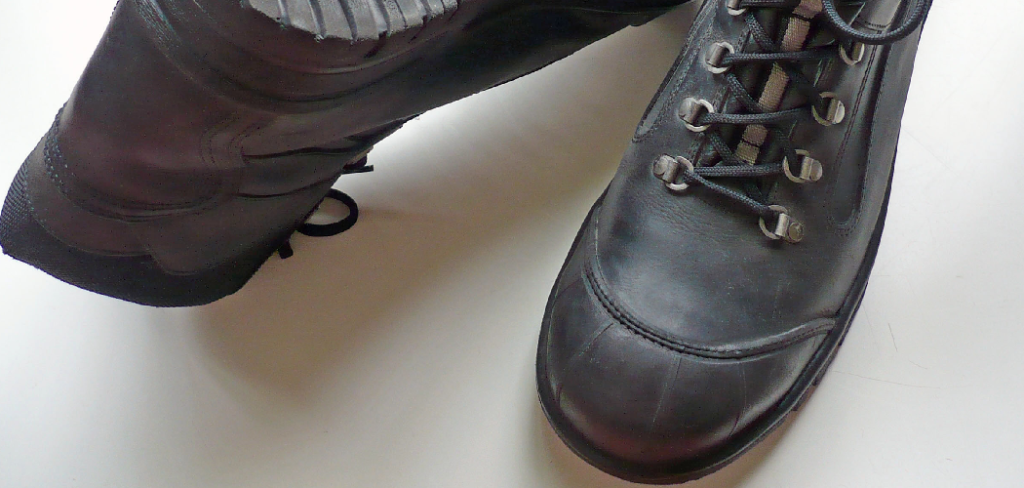
With a little patience and the right approach, those scratches and marks can disappear, leaving your boots looking fresh again. This guide walks you through every step, from gathering your tools to buffing out that final shine, so you can fix scuffed leather confidently and save money along the way.
Why Repairing Scuffed Leather Boots Matters
If you spend time outdoors, your boots take a beating. Rocks, roots, mud, and rough terrain all leave their mark. For campers and hiking beginners, knowing how to fix those scuffs means your gear lasts longer and performs better.
Leather that stays cared for resists water, cracking, and premature wear. A scuffed surface, left alone, can dry out and weaken over time. That tiny scratch today could become a split seam next season.
Repairing your own boots also saves real money. Quality leather footwear isn’t cheap, and replacing a pair every year adds up fast. Plus, there’s something satisfying about maintaining your own gear. You build a skill, extend the life of your boots, and head back outside feeling prepared.
Tools and Materials You’ll Need
Before you start, gather everything in one spot. Having your supplies ready makes the whole job smoother and faster.
- Soft cloths or microfiber rags – for cleaning and buffing
- Leather cleaner or mild soap – to lift dirt and grime
- Leather conditioner – restores moisture and flexibility
- Shoe polish or leather cream – matched to your boot color
- Soft-bristle brush or old toothbrush – for working into scuffs
- Cotton balls or applicator pads – for precise polish application
- Warm water – for diluting cleaner
- Fine-grit sandpaper (optional) – for smoothing deeper scuffs on smooth leather
One optional convenience item worth grabbing is a horsehair shine brush. It buffs polish to a beautiful finish in seconds and takes the elbow grease out of the final step. You can manage without it, but your boots will thank you.
Step-by-Step Guide on How To Repair Scuffed Leather Boots
Step 1 – Inspect the damage closely
Start by holding your boots under good light and looking them over carefully. Run your fingers across the surface to feel where the scuffs sit. Some marks are just surface dirt that wipes away, while others dig into the leather itself.
Tilt the boot at different angles. You’ll notice how light catches the scratches differently, helping you spot every scrape. Pay attention to the toe and heel areas, where damage tends to gather.
Knowing exactly what you’re dealing with shapes your whole approach. A light scuff needs gentle treatment, while a deep gouge calls for more work. Take your time here. This quick check saves you effort later and tells you which supplies you’ll actually need.
Step 2 – Clean the surface thoroughly
Now wipe away the loose dirt and dust. Grab a soft cloth, dampen it with warm water, and gently rub across the entire boot. Dirt trapped in scuffs can make repairs uneven, so this step really counts.
For stubborn grime, add a small drop of leather cleaner or mild soap to your cloth. Work in small circles and you’ll feel the surface become smoother under your fingers. The leather should start looking cleaner and slightly darker as moisture lifts away the buildup.
Don’t soak the leather. A damp cloth does the job without saturating it. Once you’ve cleaned the whole boot, let it air dry for ten to fifteen minutes before moving on. Dry leather holds the next steps better.
Step 3 – Smooth out deeper scuffs
For scratches that catch your fingernail, you’ll need to smooth the raised edges. Take fine-grit sandpaper and lightly rub the scuffed area using small, gentle strokes. Go slow here, since too much pressure removes more leather than you want.
You’re not trying to erase the mark completely. You just want to level the rough fibers so polish can blend everything together. Feel the surface as you work; it should grow smoother with each pass.
Skip this step entirely on suede or soft leather, since sandpaper damages those finishes. This trick works only on smooth, finished leather. Once the area feels even, wipe away the fine dust with a dry cloth and check your progress under the light.
Step 4 – Apply leather conditioner
Conditioning brings dry, scuffed leather back to life. Squeeze a small amount of conditioner onto a clean cloth and rub it into the boot using circular motions. You’ll watch the leather drink it in, softening and deepening in color.
Focus extra attention on the scuffed spots. These areas lost moisture when they got scratched, so they need a little more love. The leather should feel supple and look richer once the conditioner sinks in.
Let the boots rest for fifteen to twenty minutes. This pause lets the conditioner penetrate fully, which makes the leather more flexible and ready to accept polish. Skipping this can leave your repair looking patchy, so don’t rush past it.
Step 5 – Match and apply polish
Choose a polish or leather cream that matches your boot color closely. Dab a small amount onto a cotton ball or applicator pad, then work it gently into the scuffed area first.
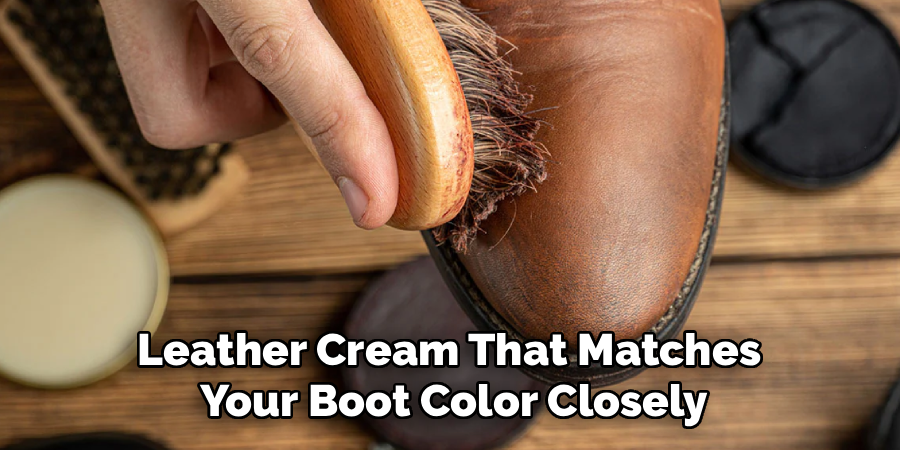
Use light, circular strokes and build up coverage slowly. A thin layer always beats a thick glob, since heavy polish cakes and looks unnatural. You’ll see the scuff start to vanish as the color fills in the lighter scratch marks.
Once the damaged spots look blended, polish the rest of the boot for an even finish. This is the heart of how to repair scuffed leather boots, so take your time and keep your strokes consistent. Let the polish set for ten minutes before buffing.
Step 6 – Buff to a shine
Buffing is where your boots transform. Grab a clean, dry cloth or that horsehair brush and rub briskly across the surface. You’ll feel the warmth build as friction works the polish into a smooth, glossy layer.
Move in quick back-and-forth motions across the toe, sides, and heel. The dull, powdery polish gives way to a rich shine that hides the repaired scuffs beautifully. Keep going until the whole boot reflects light evenly.
If a spot still looks faded, add a touch more polish and buff again. This back-and-forth is normal and helps you nail that professional look. Knowing how to repair scuffed leather boots really comes down to patient, repeated buffing.
Step 7 – Protect and finish
Finish the job by sealing your hard work. Apply a leather protector spray or waterproofing wax to guard against future scuffs, moisture, and dirt. Hold the can a few inches away and mist the boot evenly.
This protective layer matters most for outdoor boots that face rain and rough trails. It keeps water from soaking in and helps the leather resist new scratches. You’ll notice water beading on the surface instead of soaking through.
Let the boots dry completely, ideally overnight, before wearing them again. Store them away from direct heat and sunlight, which dry out leather over time. With this final step done, your boots are ready for the next adventure looking nearly new.
Critical Mistakes When Repairing Scuffed Leather Boots
Even simple repairs go wrong when you rush. The most common slip-up is skipping the cleaning step. People dive straight into polishing, trapping dirt and grit under the color. This leaves a gritty, uneven finish that looks worse than the original scuff. Always clean first, every time.
Another frequent mistake is using the wrong polish color. A shade that’s too dark or too light makes the repaired area stand out instead of blending in. Test your polish on a hidden spot, like the inner ankle, before committing to the whole boot.
Many beginners also apply far too much product at once. Thick layers of polish or conditioner sit on the surface, feel sticky, and never fully absorb. Thin coats build a better, more natural result, so be patient.
Using sandpaper on suede or delicate leather is another costly error. This roughs up the nap permanently and can’t be undone. Match your method to your leather type.
Finally, don’t skip conditioning. Dry leather cracks and resists polish, leaving your repair looking flat. Moisture is what brings scuffed leather back to life.
Expert Cleaning Tips
A few small habits keep your boots looking sharp between repairs. Wipe them down after every outdoor trip, even when they look clean. Dust and salt build up quietly and wear leather down over time.
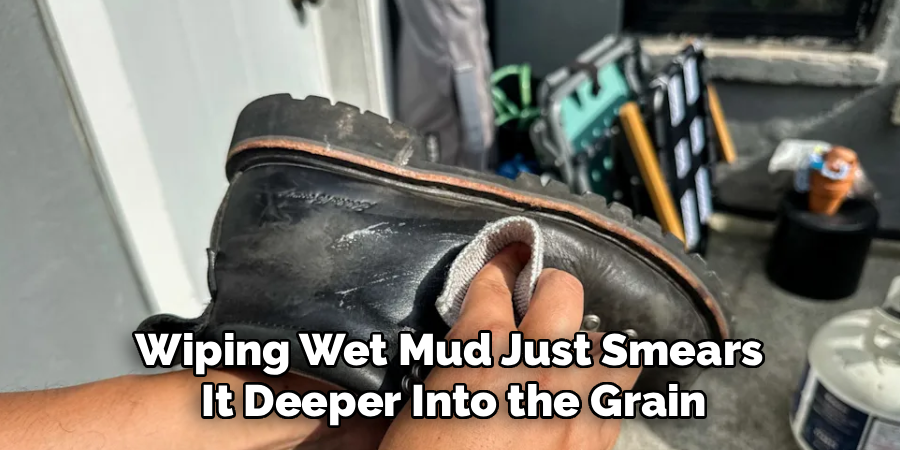
Always let muddy boots dry naturally before brushing off the dirt. Wiping wet mud just smears it deeper into the grain. Once dry, the dirt flakes off easily with a soft brush.
Use a slightly damp cloth for daily cleaning and save the leather cleaner for tougher jobs. Over-cleaning strips natural oils, so less is often more.
Store your boots with cedar shoe trees or crumpled paper inside. They hold their shape and absorb moisture, preventing creases that crack over time.
Frequently Asked Questions
Can I fix scuffs on suede boots the same way?
No, suede needs different care. Smooth-leather methods like sandpaper and wax polish will ruin the soft nap. Instead, use a suede brush to lift the fibers and a suede eraser for marks. For tougher stains, a specialized suede cleaner works best. Always brush in one direction to restore the texture and keep the surface looking even and fresh.
How often should I condition my leather boots?
Condition your boots every one to three months, depending on how often you wear them. Heavy outdoor use calls for more frequent treatment, since dirt and water dry leather out faster. Watch for signs like stiffness, dullness, or tiny surface cracks. These tell you the leather is thirsty. Regular conditioning keeps your boots flexible, water-resistant, and far less likely to scuff in the first place.
Will shoe polish completely hide deep scratches?
Polish hides light and medium scuffs well, but very deep gouges may still show slightly. For stubborn scratches, try this order:
- Smooth the edges gently with fine sandpaper
- Condition the area to soften the leather
- Build up polish in thin, layered coats
This approach blends most damage. Truly deep cuts that reach the leather’s core may need a professional, but most scuffs respond well to patient layering.
What household items work for boot repair?
You can manage simple fixes with common supplies. A soft cloth, mild dish soap, and warm water handle basic cleaning. White vinegar diluted with water lifts salt stains. For minor scuffs, a dab of petroleum jelly or even a matching marker can help in a pinch. That said, dedicated leather products always give better, longer-lasting results when you have them on hand.
How long does the whole repair take?
A basic scuff repair takes about 30 to 45 minutes of active work. Add drying and conditioning time, and you’ll want to set aside two to three hours total. Most of that is waiting, not working. If you’re protecting the boots with waterproofing afterward, leave them to dry overnight before wearing. Plan ahead so you’re not rushing the steps that need time to set.
Conclusion
Bringing your boots back to life is genuinely rewarding, and now you have everything you need to do it. You’ve learned to inspect the damage, clean the surface, smooth deep scratches, condition the leather, apply polish, buff to a shine, and seal it all in with protection. Each step builds on the last, and none of them require special skills, just patience and a little care.
The biggest takeaway? Don’t rush. Clean before you polish, condition before you shine, and always match your method to your leather type. These simple habits separate a sloppy fix from boots that look almost new.
So grab your supplies and give it a try. Once you see how well your boots clean up, you’ll wonder why you ever considered replacing them. Mastering how to repair scuffed leather boots saves you money, extends the life of your gear, and keeps you ready for the next trail, job site, or city walk. Your boots have plenty of miles left in them.