

That soft, spongy spot on your window ledge isn’t just an eyesore—it’s a warning sign. Wood rot creeps in quietly, often hiding behind a fresh coat of paint until you press your thumb into the surface and feel it give way. The good news? You don’t need to call a contractor or replace the entire window to fix it.
Knowing how to repair rotted window sill damage saves you money, protects your home, and gives you a real sense of accomplishment. In this guide, I’ll walk you through the tools, the exact steps, the mistakes to dodge, and a few pro tricks I’ve picked up over the years. By the end, you’ll feel confident tackling this project yourself, even if you’ve never held a putty knife before.
Why Repairing a Rotted Window Sill Matters
Ignoring a rotted sill never makes the problem smaller. Rot spreads. What starts as a thumbnail-sized soft patch can travel into the window frame, the wall studs, and even your interior drywall if moisture keeps feeding it.
Fixing it early protects your home’s structure and keeps repair costs low. A small patch job might cost you twenty dollars in materials. Wait too long, and you’re looking at full window replacement or framing repairs that run into the hundreds.
There’s also energy to think about. Rotted sills let drafts and water sneak in, driving up your heating and cooling bills. For renters and homeowners alike, learning this skill means you stay ahead of small problems before they become expensive ones. It’s a beginner-friendly project with a big payoff.
Tools and Materials You’ll Need
Gathering everything first makes the job smoother and faster. You’ll want a flathead screwdriver and a pry bar to remove any trim or loose wood. A putty knife and a chisel help you dig out the soft, rotted material, while a wire brush clears away crumbly debris.
For the repair itself, grab an epoxy consolidant to harden the surrounding wood, plus a two-part wood filler to rebuild the missing sections. Pick up sandpaper in both medium and fine grits, a quality primer, exterior paint, and a tube of exterior caulk to seal the edges. If you’re patching a large hole, keep a small piece of replacement wood handy.
One optional convenience item: a heat gun. It speeds up drying time between coats and makes stubborn old paint peel off in seconds.
Step-by-Step Guide on How To Repair Rotted Window Sill
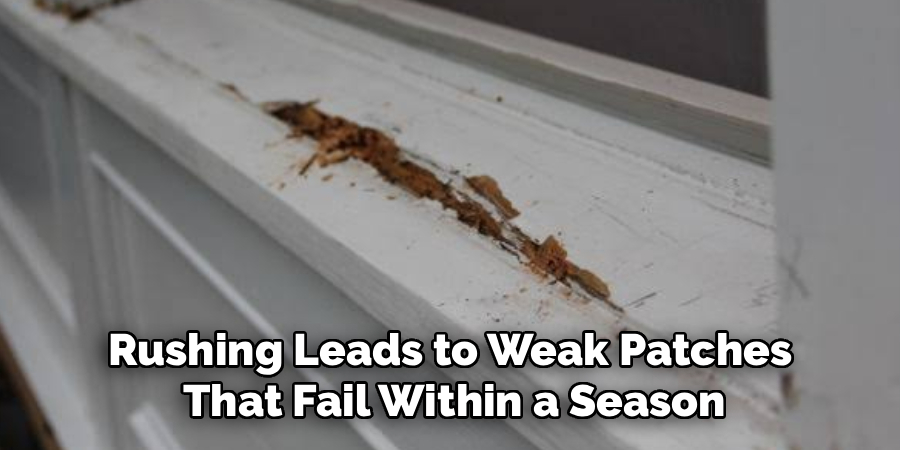
Take your time with each step. Rushing leads to weak patches that fail within a season, so work in a dry, calm stretch of weather if your sill faces the outdoors.
Step 1 – Inspect and Test the Damage
Start by pressing a screwdriver or an awl into the sill at several points. Healthy wood resists the tip and feels firm. Rotted wood sinks in easily, sometimes with a wet, crumbly crunch that tells you exactly how far the decay has spread.
Mark every soft spot with a pencil so you know your work area. Pay close attention to corners and the back edge near the frame, since moisture damage loves to hide there.
If the rot covers more than half the sill or reaches into the structural frame, you may need a full replacement instead of a patch. For most surface and mid-depth rot, though, you’re in perfect shape to repair it yourself.
Step 2 – Remove the Rotted Wood
Slip on safety glasses and a dust mask before you dig in. Using a chisel and your putty knife, scrape out all the soft, punky wood until you hit solid material underneath. You’ll feel the resistance change the moment you reach healthy fibers.
Work methodically and don’t stop early. Any rot you leave behind keeps spreading under your fresh repair, undoing all your hard work. A pry bar helps lift larger chunks or loose sections that won’t budge with the chisel alone.
The wood you remove should look dark, flaky, and lighter than it should be. Keep going until what remains feels dense and sounds solid when you tap it.
Step 3 – Clean and Dry the Area
Now sweep out every speck of debris with a wire brush, then vacuum the cavity until it’s spotless. Loose dust and crumbs stop your filler from bonding, so this cleanup matters more than it looks.
Next, let the sill dry completely. Trapped moisture is the enemy of any repair, and applying epoxy over damp wood guarantees failure. If the wood feels cool or smells musty, give it a full day in dry air.
To speed things along, run a heat gun gently over the surface or aim a small fan at it for a few hours. The wood should feel warm and bone-dry to the touch before you move forward.
Step 4 – Apply the Epoxy Consolidant
Mix your epoxy consolidant according to the label, since ratios vary by brand. This thin liquid soaks deep into the surrounding fibers and hardens them, creating a rock-solid foundation for your filler.
Brush it generously over all the exposed wood, especially the edges where solid meets the cavity you carved out. You’ll watch the liquid disappear as the thirsty wood drinks it in—keep applying until the surface stops absorbing.
Let it cure fully, usually a few hours, until it turns tacky and then firm. This step is the secret most beginners skip, and it’s exactly what separates a repair that lasts ten years from one that crumbles by next spring.
Step 5 – Fill the Cavity with Wood Filler
Scoop out a workable amount of two-part wood filler and mix it on a scrap board until the color is even. You’ve got a short working window, often just five to ten minutes, so don’t mix more than you can use.
Press the filler firmly into the cavity with your putty knife, packing it tight to push out air pockets. Build it slightly higher than the surrounding surface, since you’ll sand it down later.
Smooth the top as best you can while it’s still soft. The filler warms slightly as it cures—that gentle heat tells you the chemical reaction is working. For deep holes, apply in layers rather than one thick glob to avoid cracking.
Step 6 – Sand It Smooth
Once the filler hardens completely, grab medium-grit sandpaper and knock down the high spots. Work in steady, even strokes until the patch sits flush with the original sill.
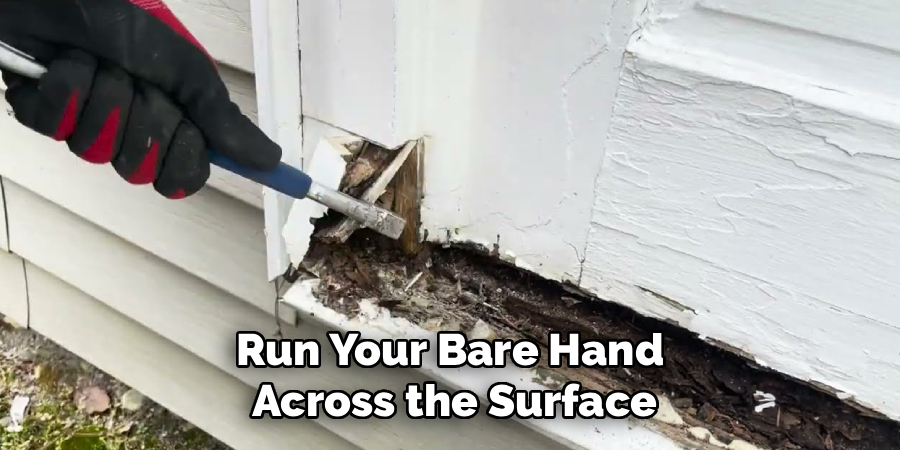
Switch to fine-grit sandpaper for the final pass. Run your bare hand across the surface and feel for ridges or dips—your fingertips catch flaws your eyes miss. Knowing how to repair rotted window sill damage well means chasing that perfectly smooth blend between old and new.
Wipe away all the fine dust with a tack cloth or damp rag. A clean, even surface helps your primer grip tightly. Don’t rush this part; a smooth sand job is what makes the finished repair invisible once painted.
Step 7 – Prime and Paint
Brush on a coat of quality exterior primer, covering both the patch and a bit of the surrounding wood. Primer seals the repair and gives your paint something to cling to, blocking future moisture from seeping in.
Let the primer dry per the label, then apply two thin coats of exterior paint instead of one thick one. Thin coats dry evenly and resist peeling far better. Match the existing color so your repair blends right into the window.
As you paint, you’ll notice the patch vanish under the smooth, uniform finish. That moment is deeply satisfying—proof that your careful work paid off. Allow each coat to dry fully before adding the next.
Step 8 – Seal the Edges with Caulk
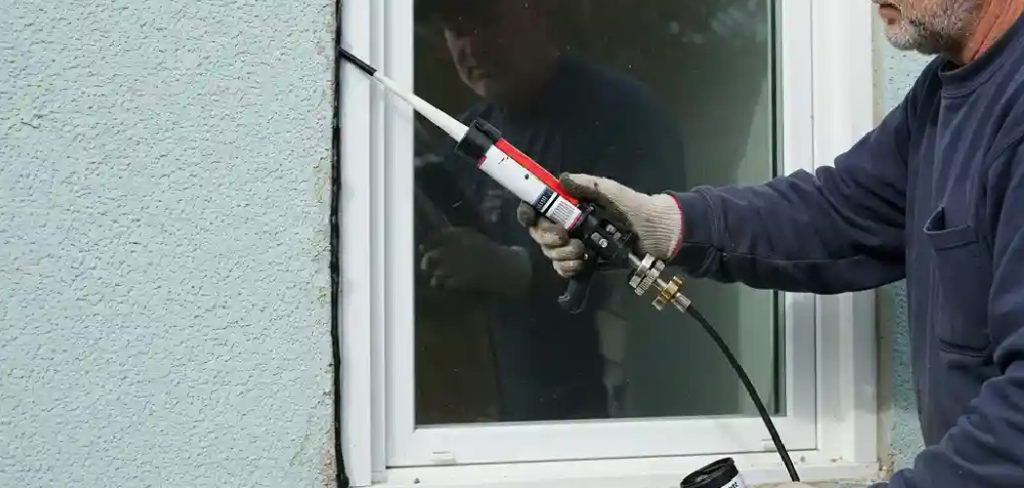
Run a clean bead of exterior caulk along every seam where the sill meets the frame, siding, and window. This final seal locks out rain and humidity, the very things that caused your rot in the first place.
Smooth the bead with a wet fingertip for a tidy, professional line. You’ll feel the caulk drag slightly as you tool it—keep your touch light and steady.
Wipe excess off the surrounding paint before it skins over. Once cured, your sill is fully protected and ready to face the seasons. Step back, admire the finished work, and enjoy knowing you handled the whole repair yourself.
Critical Mistakes When Repairing a Rotted Window Sill
The biggest mistake beginners make is leaving rotted wood behind. It feels tempting to fill quickly and move on, but any decay you skip keeps growing under your patch. Within months, the soft wood spreads, and your repair lifts right off. Always dig until you reach firm, solid material, even if it means removing more than you expected.
Another common error is working on damp wood. Moisture trapped inside the sill stops epoxy and filler from bonding, so the whole repair fails. Give the area a full day to dry, and test it with your hand before applying anything.
Many people also skip the epoxy consolidant entirely, going straight to filler. Without that hardening step, the surrounding fibers stay weak and the patch loosens over time.
Finally, don’t forget the caulk and paint. Bare or unsealed repairs soak up water fast, putting you right back where you started. Rushing the drying time between coats causes peeling and bubbling, too. Patience at every stage gives you a repair that genuinely lasts.
Expert Cleaning Tips
A clean work surface makes or breaks your repair. After chiseling out the rot, vacuum the cavity twice—once for big debris and again for fine dust that clings to the edges. That hidden dust quietly weakens your bond.
Keep a tack cloth nearby during sanding. Wiping between grits stops dust from scratching your smooth finish and clogging the sandpaper. A clogged sheet just polishes the surface instead of cutting it.
When cleaning up caulk and filler, act fast. Both wipe away easily while wet but turn into a stubborn, scrape-only mess once cured. A damp rag and a bit of mineral spirits handle most slip-ups.
Finally, clean your tools right after use. Hardened epoxy ruins brushes and putty knives, so a quick wash keeps your kit ready for the next job.
Frequently Asked Questions
How do I know if my window sill is rotted or just worn?
Press a screwdriver into the wood at several spots. Worn wood stays firm and resists the tip, while rotted wood feels soft, spongy, or crumbles inward. Other signs include:
- Dark stains or discoloration
- A musty, damp smell
- Flaking or peeling paint
- Visible cracks holding moisture
If the tip sinks easily, you’re dealing with rot that needs attention soon.
Can I repair a rotted window sill without replacing it?
Yes, in most cases. If the rot is surface-level or mid-depth and hasn’t reached the structural frame, you can dig it out, harden the surrounding wood with epoxy consolidant, and rebuild it with two-part wood filler. Full replacement is only necessary when rot covers most of the sill or spreads into the framing behind it. Patching saves both time and money.
How long does this repair take?
Plan for one full day of work, though much of that is waiting. The actual hands-on time runs two to three hours, but drying and curing stages add several hours in between. The epoxy, filler, primer, and paint each need time to set. Rushing these steps causes failures, so spread the project across a calm, dry day for best results.
What’s the best filler for rotted wood?
A two-part epoxy wood filler works best for sills exposed to weather. It bonds strongly, resists moisture, and won’t shrink or crack like cheaper fillers. Pair it with an epoxy consolidant to harden the wood first. For tiny cosmetic dents, a standard exterior wood filler is fine, but for true rot repair, always reach for the two-part epoxy option.
How do I stop my window sill from rotting again?
Moisture control is everything. Seal all seams with exterior caulk, keep your paint coat fresh and intact, and clear away standing water or debris that collects on the ledge. Check the sill twice a year, especially after heavy rain. Trim back any plants that hold dampness against the wood, and fix dripping gutters that splash water onto the sill.
Conclusion
Fixing a rotted sill isn’t the daunting job it seems at first glance. With a methodical approach—test the damage, remove every bit of rot, harden the wood, fill, sand, prime, paint, and seal—you can restore your window to solid, weatherproof condition in a single day.
The real secret lies in patience. Take time to dig out all the moisture damage, let each layer dry fully, and never skip the epoxy consolidant or the final bead of caulk. Those small details separate a repair that lasts a decade from one that fails by next season.
You’ve now got everything you need to handle how to repair rotted window sill problems with confidence, no contractor required. Gather your tools, pick a dry day, and give it a try. The money you save and the pride you feel make it well worth the effort.
So grab that putty knife, roll up your sleeves, and get started—your home will thank you for years to come.