

Roller blinds are simple, sleek, and easy to love—until they stop working. Maybe the fabric won’t roll up anymore, the chain slips, or the whole thing crashes down at the worst moment. If you’ve ever stared at a stuck blind wondering whether to call a pro, you’re in the right place. Learning how to repair roller blinds is far easier than most people think, and you can usually fix common problems in under an hour with basic tools you already own.
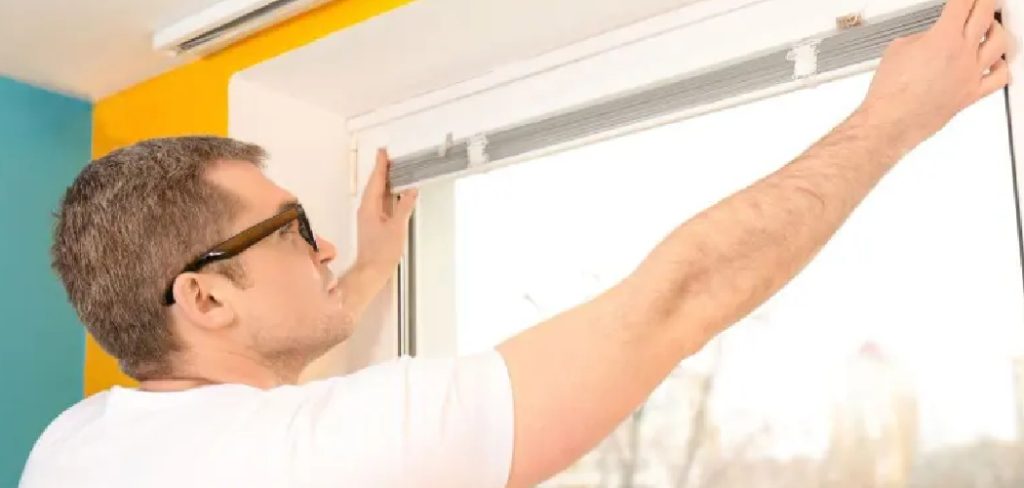
This guide walks you through the most frequent issues, the parts that cause them, and the exact steps to set things right. By the end, you’ll feel confident enough to tackle any roller blind problem on your own—no technician required.
Why Repairing Roller Blinds Matters
Fixing your own blinds saves real money. A new set can cost a fair bit, and calling someone out adds labor fees on top. When you understand how the spring tension, clutch, and chain work together, a small repair becomes a ten-minute job instead of a new purchase.
There’s also the convenience factor. A broken blind that won’t close means too much light, less privacy, and warmer rooms in summer. You shouldn’t have to wait days for an appointment just to get your bedroom dark again.
Beyond that, this is a genuinely useful skill. Once you’ve fixed one blind, you can help friends, family, and future you. It builds confidence for bigger DIY projects too, turning small wins into real know-how around the home.
Tools and Materials You’ll Need
You won’t need a fancy toolkit for most roller blind repairs. Many fixes use simple items already sitting in your drawer. Gather your supplies before you start so you’re not running around mid-job with the blind half apart.
Here’s what helps most:
- Screwdriver (both flathead and Phillips)
- Replacement chain or cord, if yours is frayed
- A new clutch or roller blind repair kit
- Pliers for gripping small parts
- A clean, dry cloth
- Pencil and tape measure for re-mounting the bracket
- Mild soap and warm water for the fabric
- A small stepladder (optional, but it saves your back and steadies your reach)
Match any replacement parts to your blind’s size and brand whenever you can. A quick photo of the headrail and clutch before shopping prevents mismatched pieces.
Step-by-Step Guide on How to Repair Roller Blinds
Step 1 – Diagnose the Problem First
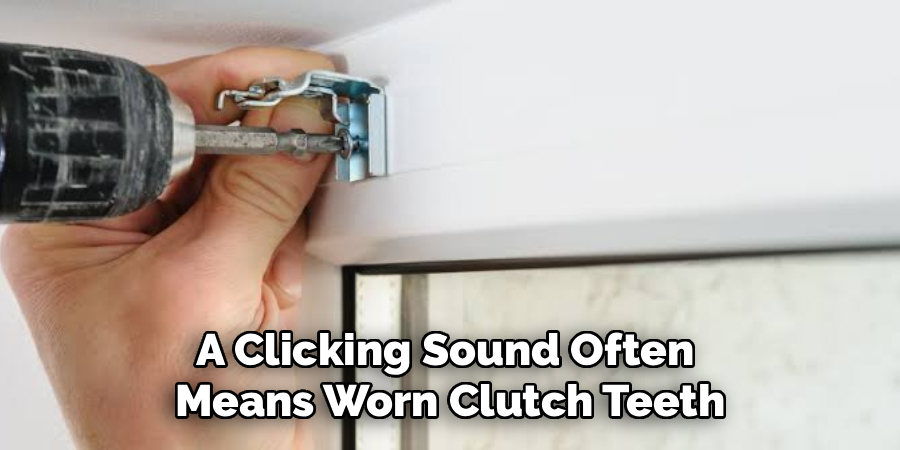
Before you touch a single screw, watch how the blind behaves. Pull the chain gently and listen. A clicking sound often means worn clutch teeth. If the fabric drops on its own, the spring tension is gone. A blind that sticks halfway usually has a bent roller tube or a fabric that’s slipped off-center.
Run your hand along the chain too. Frayed cord or a loose loop tells its own story. Take note of where things feel rough, loose, or stuck.
This is where most people learning how to repair roller blinds rush ahead and guess. Slow down. A two-minute inspection saves you from replacing parts that aren’t broken and points you straight to the real culprit.
Step 2 – Remove the Blind from Its Brackets
With the problem identified, take the whole blind down so you can work comfortably. Most roller blinds sit in two end brackets clipped onto the headrail. Look for a small tab or lever on each bracket.
Press or flip the tab while gently lifting the roller tube out. One side usually releases first, then the other slides free. Support the blind with both hands so it doesn’t drop and bend.
Lay it flat on a table or clean floor. You’ll feel how light and hollow the roller tube is, which makes the next steps easier. Keep any screws or clips in a small bowl so nothing rolls away and disappears under the sofa.
Step 3 – Inspect the Clutch and Chain Mechanism
The clutch is the small plastic housing at one end where the chain loops through. It controls the rolling action, so it’s often the heart of the trouble. Pop it off by twisting or unclipping it from the roller tube end.
Look inside. Worn or stripped teeth mean the chain spins without grabbing. Tangled or jammed cord blocks smooth movement. Wipe away dust and lint that may be gumming up the works.
Test the chain by running it through your fingers. A frayed blind chain catches and snags, and it’ll only get worse. If the clutch looks chewed up or cracked, you’ll replace it in the next step rather than fighting a losing battle.
Step 4 – Replace a Worn Clutch or Chain
If the clutch teeth are stripped, swap in a new one from your repair kit. Slide the old clutch off the roller tube end and push the matching replacement firmly into place until it clicks. Make sure it seats square, not crooked.
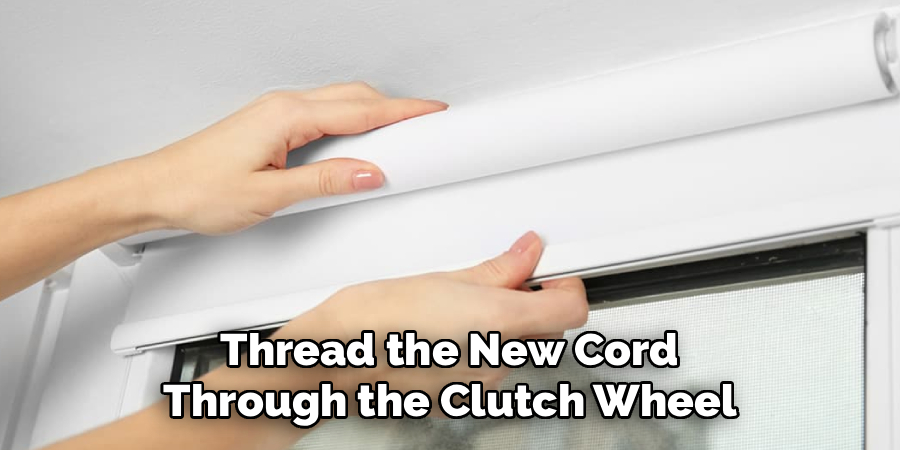
For a damaged chain, open the loop, thread the new cord through the clutch wheel, and reconnect the join. Keep the chain length the same so it hangs neatly and stays out of reach of curious kids or pets.
Spin the new clutch by hand before reassembling. It should turn smoothly with a soft, even resistance. A gritty or stiff feel means something isn’t aligned, so check the fit again before moving on.
Step 5 – Fix the Spring Tension
A blind that won’t stay up or snaps closed has lost its spring tension. Many spring-loaded roller blinds let you reset this by hand. Roll the fabric up about halfway by turning the tube, then place it back on the brackets and pull down slowly.
If it still feels limp, take it down and roll the tube a few extra turns to add tension. Then test again. The fabric should hold at any height without creeping.
Go gradually here. Too much tension makes the blind snap up violently, while too little leaves it sagging. A few small adjustments beat one big over-correction. You’ll feel the sweet spot where the blind glides and stays put.
Step 6 – Straighten the Fabric and Roller Tube
Crooked fabric causes wrinkles and uneven rolling. Unroll the blind fully and check how the fabric sits on the roller tube. The edge should line up straight along the tube’s length.
If it’s drifted to one side, peel it back gently. Most fabric attaches with double-sided tape or a small adhesive strip. Reposition it square, then press it down firmly along the whole width.
Check the roller tube itself for dents or bends, especially after a fall. A warped tube wobbles and binds as it turns. Light bends sometimes straighten with careful hand pressure, but a badly crushed tube needs replacing. Roll it slowly afterward to confirm the fabric tracks evenly without bunching at either end.
Step 7 – Reinstall the Mounting Hardware
Now check the bracket and mounting hardware before putting everything back. Loose brackets cause rattling and crooked blinds, so tighten every screw firmly into the wall or window frame.
If the old screw holes have worn loose, fill them with a wooden matchstick and a dab of glue, then re-drill. Use your pencil and tape measure to keep both brackets level and the same distance apart.
Snug, even brackets let the roller tube spin freely without rubbing. Run your finger over each fixing to confirm nothing wobbles. Solid mounting hardware is the quiet hero of a smooth-working blind, and skipping this step is why some repairs feel shaky even when the clutch and chain are perfect.
Step 8 – Reassemble and Test Everything
Time to bring it all together. Clip the roller tube back into both brackets, starting with the clutch end. Push until you hear or feel it lock. Give the blind a gentle tug to confirm it’s seated tight.
Pull the chain and raise the blind slowly. Then lower it. Watch for smooth movement, even fabric, and a chain that grips without slipping. Stop at a few heights to check the spring tension holds.
If anything sticks or sags, take it down and revisit the step that matches the symptom. A little fine-tuning is normal. When the blind glides up and down quietly and stays exactly where you leave it, you’ve nailed the repair.
Critical Mistakes When Repairing Roller Blinds
The biggest mistake people make is forcing parts together. When a clutch or bracket won’t click, the instinct is to push harder. That cracks the plastic and turns a quick fix into a full replacement. If something resists, stop and check the alignment instead of muscling through.
Another common error is buying the wrong replacement parts. Roller blind components vary by brand and tube diameter, so a clutch that looks similar might not fit. Always measure your roller tube and snap a photo of the old part before shopping. Guessing wastes money and a return trip.
Many beginners also over-tighten the spring tension. They keep adding rolls until the blind flies up like a rocket, then wonder why it won’t stay down. Add tension in small steps and test often.
Skipping the bracket check is a quiet trap too. People fix the clutch perfectly, rehang the blind, and still get wobble because the mounting hardware was loose all along. Finally, don’t rush the fabric alignment. A crooked edge ruins smooth rolling no matter how good the rest of your repair is.
Expert Cleaning Tips
A clean blind works better and lasts longer, so give yours a little care during every repair. Dust the fabric with a soft, dry cloth first, working top to bottom in long strokes. This lifts loose grime before any moisture turns it into smears.
For light stains, mix mild soap with warm water and dab gently with a damp cloth. Never soak the fabric, since too much water can warp the material or loosen the adhesive on the roller tube.
Wipe the headrail, clutch, and chain with a dry cloth to clear out dust that jams the mechanism. A clean clutch grips better and runs quieter. Let everything dry fully before rolling the blind back up, and your repair will feel brand new.
Frequently Asked Questions
Why does my roller blind keep slipping down?
A blind that slips usually has a worn clutch or weak spring tension. The chain spins without gripping, so the fabric drifts down on its own. Open the clutch and check for stripped teeth. If the teeth look chewed, replace the clutch. For spring blinds, reset the tension by rolling the tube a few extra turns before rehanging.
Can I replace just the chain on my blind?
Yes, you can replace just the blind chain without buying a whole new blind. Frayed or snapped cords are common and cheap to fix. Open the chain loop, thread a matching replacement through the clutch wheel, and reconnect the join. Keep the length similar to the original so it hangs neatly and stays safely out of reach of children.
How do I know if the clutch is broken?
Listen and feel as you pull the chain. A broken clutch often:
- Clicks loudly without raising the blind
- Lets the chain spin freely with no grip
- Feels gritty or stiff when turned by hand
If you spot stripped teeth or cracked plastic inside the clutch housing, it’s done. A replacement clutch from a repair kit is the simplest fix.
My blind fabric is crooked—how do I fix it?
Crooked fabric usually slipped off-center on the roller tube. Unroll the blind fully, peel back the fabric edge from its adhesive strip, and line it up straight along the tube. Press it down firmly across the whole width. Roll it slowly afterward to check the fabric tracks evenly. Straight fabric means smooth, wrinkle-free movement every time.
Do I need special tools to fix roller blinds?
Not at all. Most repairs use everyday tools like a screwdriver and pliers. A roller blind repair kit covers replacement parts such as the clutch or chain. The only handy extra is a stepladder for safe reach. You likely have nearly everything already, which makes this an easy, low-cost project for any beginner.
Conclusion
Fixing a stubborn blind doesn’t have to mean spending money on replacements or waiting around for a technician. As you’ve seen, most problems come down to a worn clutch, a frayed chain, lost spring tension, or loose mounting hardware—all things you can sort out yourself in under an hour.
The key is to slow down, diagnose the real issue, and work through each step in order. Check the chain, inspect the clutch, reset the tension, straighten the fabric, and tighten those brackets. A quick clean along the way keeps everything running smoothly for years.
Now that you know how to repair roller blinds, you’ve got a skill that pays off again and again across your home. The next time a blind sticks or sags, you won’t feel stuck—you’ll feel ready. Grab your screwdriver, trust the process, and enjoy the quiet satisfaction of a job done right with your own two hands. You’ve got this.