

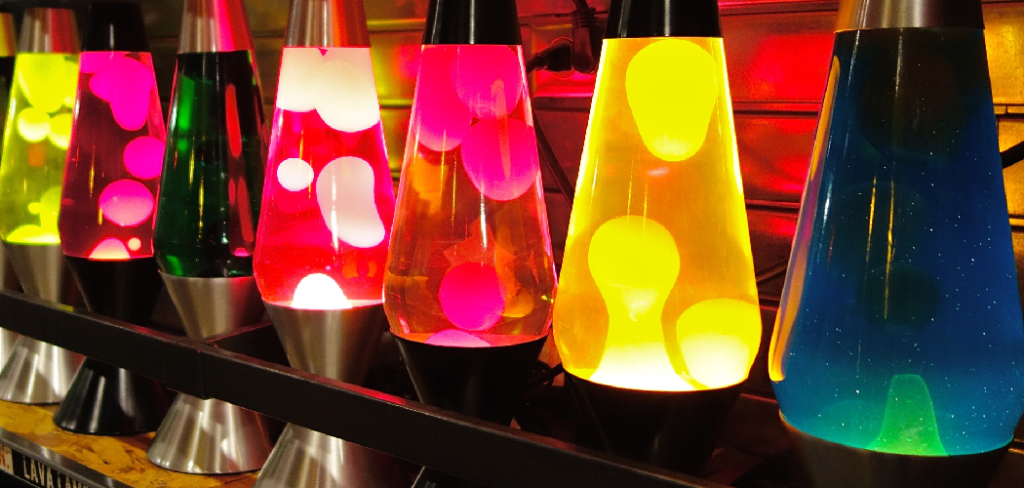
A lava lamp brings a warm, mesmerizing glow to any room, so it’s frustrating when those colorful blobs stop flowing. Maybe the wax sits in a stubborn lump at the bottom, or the liquid turns cloudy and refuses to clear. The good news? You don’t need a technician to bring it back to life. Learning how to repair lava lamp issues is easier than most people expect, and most fixes use simple tools you already have at home.
Whether your lamp won’t light up, overheats, or just looks tired, the problem usually has a straightforward cause. With a little patience and care, you can restore that hypnotic motion and enjoy your lamp for years. This guide walks you through every step, from diagnosing the issue to getting your lamp glowing beautifully again.
Why Repairing a Lava Lamp Matters
Fixing your own lava lamp saves money and builds real confidence with small electronics and household repairs. Replacing a lamp can cost more than a simple part swap, and tossing a working base over a burnt-out bulb just adds to landfill waste.
You might have seen these lamps mentioned alongside camping gear, but they really shine at home, on a desk, nightstand, or shelf, where their gentle light sets a relaxing mood. Learning to troubleshoot one teaches you skills that carry over to other gadgets, like spotting electrical faults, handling glass safely, and understanding how heat affects materials.
For beginners and busy households, that knowledge is gold. Once you fix one lamp, you’ll feel ready to tackle other small repairs around the house without calling for help.
Tools and Materials You’ll Need
Before you start, gather everything so you’re not hunting for supplies mid-repair. Most items are cheap and easy to find.
- Replacement bulb (match the wattage printed on the base, usually 15W to 40W)
- Soft microfiber cloth for cleaning the glass globe
- Dish soap and warm water
- Distilled water for refilling, if needed
- A small screwdriver for opening the base
- Rubber gloves to protect your hands from wax and fluid
- Towel or padded surface to rest the glass globe safely
- A new metal coil, if the original is missing or damaged
- Optional: a digital thermometer to monitor heat and prevent overheating
Having a clean, well-lit workspace makes the whole job smoother. Lay down a towel to catch drips and keep the glass from cracking.
Step-by-Step Guide on How To Repair Lava Lamp
Step 1 – Unplug and Cool the Lamp Completely
Safety comes first, so always unplug your lamp before touching anything. A warm lamp holds a lot of heat in the base and globe, and the liquid inside can stay hot for a while.
Let it sit untouched for at least two to three hours. You’ll know it’s ready when the glass feels cool to the touch and the wax has settled into a solid blob at the bottom.
Rushing this step is risky. Hot glass can crack if it shifts suddenly, and warm wax makes a stubborn mess. Use this waiting time to clear your workspace and lay out your tools. Patience here protects both you and the lamp, setting you up for a clean, stress-free repair.
Step 2 – Inspect the Bulb and Base
Once cool, lift the glass globe off the base and set it gently on your towel. Look closely at the bulb inside. A blackened or cloudy bulb usually means it has burned out, which is the most common reason a lamp won’t glow.
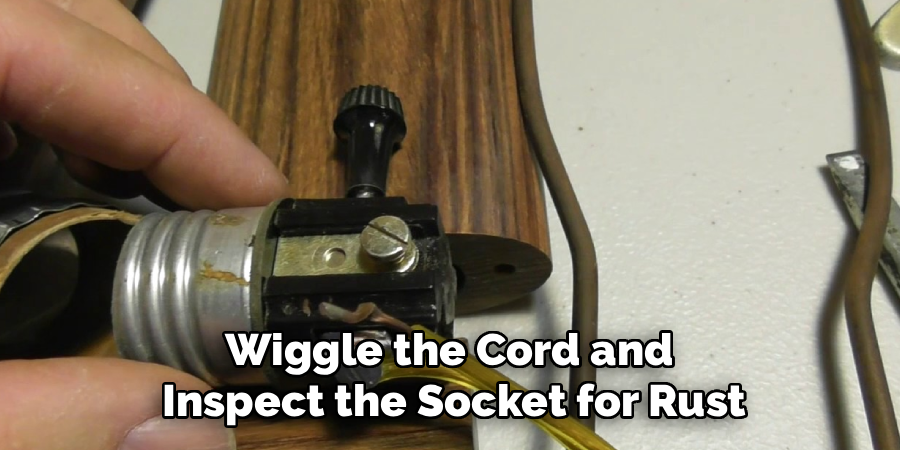
Check the base too. Wiggle the cord and inspect the socket for rust, loose wires, or scorch marks. A faint burnt smell points to electrical trouble.
Run your fingers around the base to feel for cracks or warping from past overheating. This quick inspection tells you whether you’re dealing with a simple bulb swap or something deeper. Most of the time, the bulb is the culprit, and that’s a quick fix.
Step 3 – Replace the Burnt-Out Bulb
If the bulb looks dead, twist it out gently once it’s fully cool. Take it to a hardware store or check online to match the exact wattage, since too much power causes overheating and too little leaves the wax frozen at the bottom.
Screw the new bulb in snugly, but don’t force it. Over-tightening can crack the glass or strip the socket. Plug the base back in briefly to test that the bulb lights up before reassembling.
This is the easiest part of learning how to repair lava lamp problems, and it solves most issues. A bright, correctly matched bulb gives off the steady heat your wax needs to start its slow, dreamy dance again.
Step 4 – Check and Clean the Metal Coil
Look inside the globe for the small metal coil resting at the bottom. This little spring spreads heat evenly and helps the wax break apart and rise. Without it, the wax can clump into one lazy lump.
If the coil is missing, you can buy a replacement or carefully add a clean, non-rusted spring of similar size. Never shake the lamp to move it, as shaking clouds the fluid permanently.
Gently swirl the globe if the coil needs to settle into place. The wax should rest on top of it. A working coil is the quiet hero behind that smooth, flowing motion you love, so don’t overlook this small but mighty part.
Step 5 – Address Cloudy or Murky Fluid
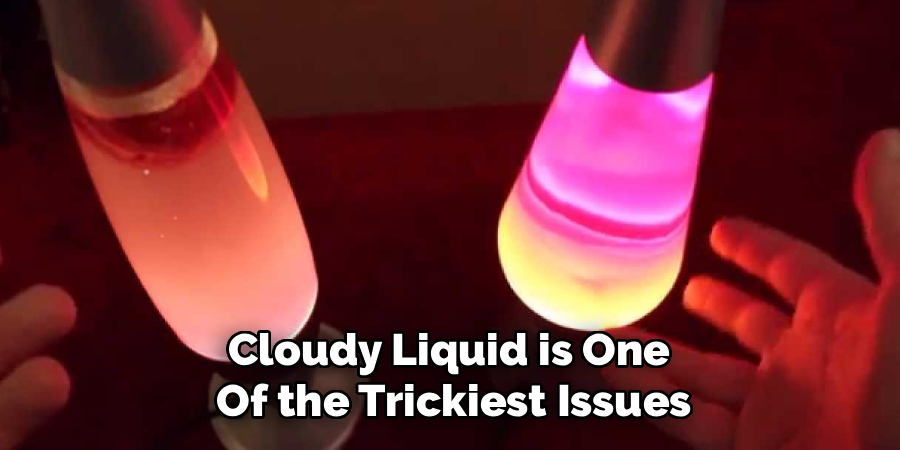
Cloudy liquid is one of the trickiest issues. It often comes from shaking the lamp while warm, which breaks the wax into tiny bits that never recombine. Sometimes the fluid just clears on its own after several heating cycles.
Try running the lamp for a few hours and watch closely. If the murk fades, you’re in luck. If it stays cloudy, the fluid may be permanently damaged.
In that case, you can carefully drain the old liquid and refill with distilled water mixed with a drop of dish soap to control bubble size. This takes patience and a steady hand, but it can rescue a lamp you thought was ruined.
Step 6 – Reassemble and Secure the Globe
With the bulb fresh and the coil in place, set the glass globe back onto the base. Line it up so it sits flat and steady, never tilted. A wobbly globe heats unevenly and the wax won’t flow right.
Make sure the base feels solid and the cord runs freely without pinching. Give the whole unit a light nudge to confirm nothing rocks or slips.
Take your time here. A secure fit prevents the globe from toppling, which protects both the glass and your floor. Once everything sits snugly, you’re ready for the satisfying moment of switching it back on and watching the magic slowly return.
Step 7 – Power On and Watch the Warm-Up
Plug the lamp in and switch it on. Now comes the test of your patience, because a lava lamp needs time to wake up. The wax warms slowly, so don’t expect instant action.
Within the first hour, you’ll see the blob soften and shift. By the second hour, blobs should begin rising and falling in that classic, soothing rhythm. The glass will feel warm, and the colors will look brighter.
If nothing moves after three hours, the room may be too cold or the bulb may be underpowered. A steady, gentle heat is what makes everything work. Once it flows smoothly, you’ve successfully brought your lamp back to life.
Critical Mistakes When Repairing a Lava Lamp
The biggest mistake people make is shaking or moving the lamp while it’s warm. The wax inside is delicate, and shaking it breaks the blob into tiny pieces that mix into the fluid and leave it permanently cloudy. Always let the lamp cool fully and stay still during any handling.
Another common error is using the wrong bulb wattage. Too high, and the lamp overheats, causing the wax to thin into a swirling mess that never forms proper blobs. Too low, and the wax stays stuck at the bottom, lifeless. Always match the exact wattage printed on the base.
Many beginners also try to open the sealed glass globe out of curiosity. Once you break that seal, the fluid balance is hard to restore, and you risk ruining the lamp completely. Leave the globe sealed unless you’re intentionally replacing the fluid.
Finally, people often give up too soon during warm-up. A lamp can take two to three hours to flow properly, especially in a cool room. Rushing the process or running it nonstop for over eight hours both cause problems, so give it time and let it rest between long sessions.
Expert Cleaning Tips
Keep the outside of your lamp dust-free by wiping the glass globe with a soft microfiber cloth when it’s cool. Dust traps heat and dulls that beautiful glow, so a quick weekly wipe makes a real difference.
For the base, unplug it first, then clean around the vents with a dry brush to clear trapped lint. Good airflow prevents overheating and keeps the bulb running longer.
Never use harsh chemicals or abrasive sponges on the glass, since they leave scratches that catch the light. A drop of dish soap in warm water handles fingerprints and smudges perfectly.
If you store the lamp, keep it upright in a cool, dry spot. Laying it flat shifts the wax and can cloud the fluid.
Frequently Asked Questions
Why is my lava lamp not flowing anymore?
The most common reasons are a burnt-out bulb, the wrong wattage, or a cold room. Check these first:
- Confirm the bulb lights up and matches the base’s required wattage
- Make sure the room is warm, since cold air slows the wax
- Give it two to three hours to warm up fully before judging
If it still won’t flow, the metal coil may be missing or the wax may have hardened.
How long does a lava lamp take to start working?
Most lamps need one to three hours to warm up and flow properly. The wax has to heat slowly and evenly before the blobs can rise. Cooler rooms and larger lamps take longer. If you see no movement after three hours, check your bulb wattage and room temperature, since both strongly affect how quickly the wax begins its motion.
Can I fix cloudy fluid in my lava lamp?
Sometimes, yes. Cloudiness from gentle settling often clears after several heating cycles, so run the lamp and watch closely. However, cloudiness caused by shaking the lamp while warm is usually permanent. In stubborn cases, you can drain the fluid and refill with distilled water plus a tiny drop of dish soap, though this takes care and steady hands.
What wattage bulb should I use?
Always use the wattage printed on your lamp’s base, typically between 15W and 40W depending on the lamp’s size. Using a higher wattage causes overheating and turns the wax into a thin, swirling mess. A lower wattage leaves the wax stuck at the bottom. When unsure, check the manufacturer’s label or website for the exact replacement bulb.
Is it safe to leave a lava lamp on all day?
No, it’s best to limit use to eight to ten hours at a time. Running it longer causes overheating, which thins the wax and can damage the fluid or base. Let the lamp cool for a few hours before switching it on again. This rest period protects the wax, extends the bulb’s life, and keeps the flow looking its best.
Conclusion
Bringing a tired lamp back to life is a satisfying little project that anyone can handle at home. Most problems come down to a simple bulb swap, a missing coil, or just giving the wax enough time and steady heat to flow again. With patience and a few basic tools, you’ve now seen how to repair lava lamp issues from start to finish.
Remember the key takeaways: always unplug and cool the lamp first, match your bulb wattage exactly, never shake a warm lamp, and watch out for overheating. These small habits prevent cloudy fluid and protect that delicate glass globe for years of glowing enjoyment.
Don’t feel discouraged if your first attempt takes a few tries. Every repair teaches you something new, and the confidence you gain carries over to other fixes around the house. So grab your tools, take your time, and enjoy watching those colorful blobs rise and fall once more. You’ve earned that warm, mesmerizing glow.