

Hearing the wood of your favorite instrument snap is a horrible feeling. You might think your beloved acoustic or electric is ruined forever.
Take a deep breath. A cracked or broken headstock is incredibly common. More importantly, it is highly fixable.
You don’t always need to pay a premium for a professional repair. Learning how to repair guitar neck breaks is easier than you think. It will save you a serious amount of money and get you back to playing fast.
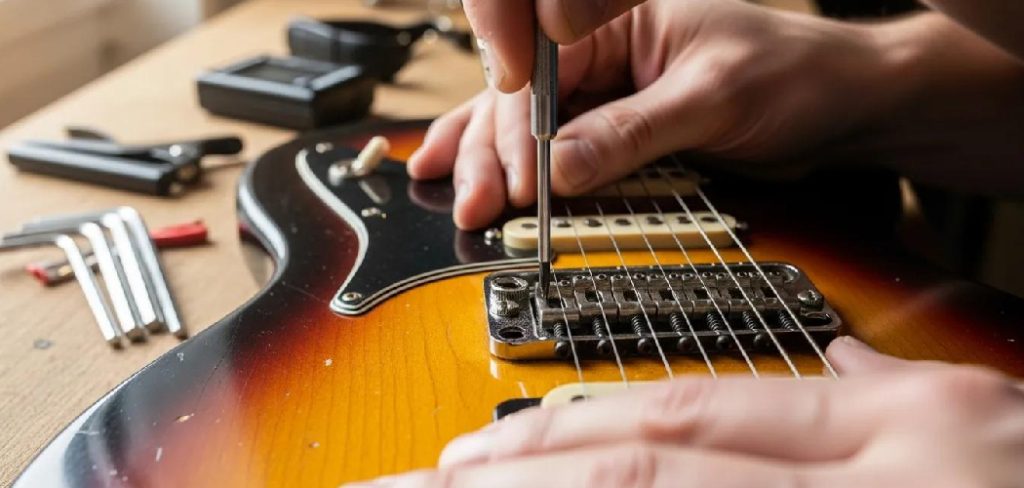
Wood glue is actually stronger than the wood itself. If you follow the right steps, your instrument will be as strong as ever.
We are going to walk through this together. Here is exactly how you can fix that broken neck like a pro right at home.
What Causes Guitar Neck Damage?
Understanding why this happened helps prevent it from happening again. Most breaks happen near the headstock where the wood is thinnest.
Here are the most common culprits behind this heartbreaking damage:
- Accidental Drops: A simple fall off a stand is the number one cause. The angle of the headstock makes it snap easily upon impact.
- Extreme String Tension: Using strings that are far too heavy for your instrument puts massive stress on the wood.
- Drastic Humidity Changes: Wood breathes. Extreme dryness causes wood to shrink, become brittle, and crack under pressure.
- Poor Shipping and Handling: Traveling without proper case support often leads to horrible surprises when you open the gig bag.
- Faulty Truss Rod Adjustments: Over-tightening the internal metal rod can literally force the fretboard off or snap the surrounding wood.
Tools & Materials Needed for the Fix
You need the right gear before you start spreading glue. Gather these items on your workbench first.
Having everything within arm’s reach prevents panic while the glue is drying.
- High-Quality Wood Glue: Do not use regular super glue or school glue. You need aliphatic resin, like Titebond Original.
- C-Clamps or Bar Clamps: You will need at least two strong clamps to hold the joint tight.
- Rubber Tubing or Protective Cork: This protects your instrument’s finish from the hard metal of the clamps.
- A Damp Cloth or Paper Towels: You need this to wipe away the glue squeeze-out immediately.
- A Syringe or Toothpicks: These help work the adhesive deep into tight cracks.
- Fine-Grit Sandpaper: To smooth out the dried joint after everything cures.
How to Repair Guitar Neck Breaks Step-by-Step
Ready to rescue your instrument? Take your time, stay calm, and follow these beginner-friendly steps.
This process requires patience, but you can absolutely do it.
Step 1: Relieve the String Tension
Never attempt a fix while the strings are still pulling on the wood. This is dangerous and makes the repair impossible.
Loosen the tuning pegs completely. Remove the strings from the tuning machines.
Get the strings entirely out of your way so you have a clear working area.
Step 2: Inspect and Clean the Break
Look closely at the damaged area. Are there loose splinters? Is it a clean break or a messy shatter?
Do not pick at the wood. You need the fibers to match up perfectly, like a puzzle.
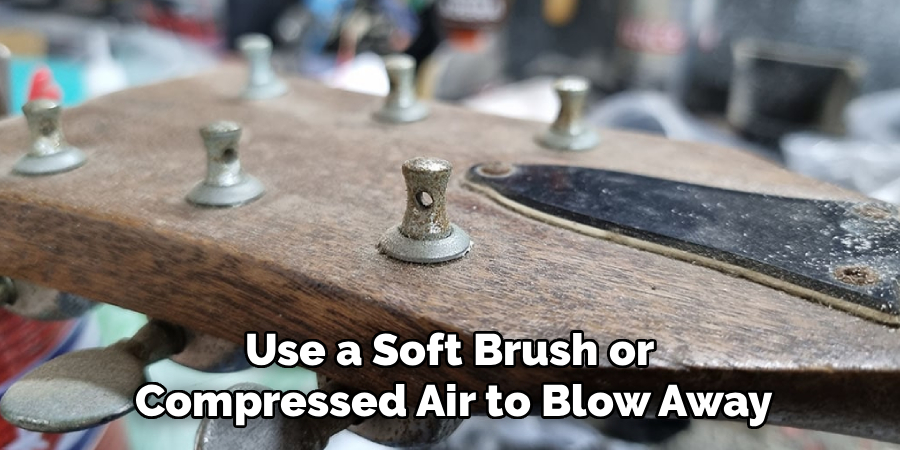
Use a soft brush or compressed air to blow away any dust or loose debris from the exposed grain.
Step 3: Do a Dry Run
Before opening any adhesives, practice putting the pieces together.
Push the broken headstock back into place. Feel how the wood fibers lock into one another.
Practice applying your clamps. Ensure you know exactly how to position them without scratching the finish.
Step 4: Protect the Fretboard and Finish
Glue squeeze-out is inevitable. You do not want dried resin stuck to your fretboard or polished paint.
Use blue painter’s tape to mask off the areas directly next to the crack.
Cover the truss rod cavity completely. You do not want anything dripping inside that channel.
Step 5: Apply the Wood Glue
Now it is time for action. Open your Titebond or chosen aliphatic resin.
Apply a generous amount of adhesive to both sides of the exposed wood.
Use a syringe or a toothpick to push the glue deep into the lowest parts of the crack. Coverage must be thorough.
Step 6: Press the Pieces Together
Firmly press the broken headstock back into its proper place.
You should feel the wood fibers interlock. You will immediately see excess liquid squeeze out from the seam.
Hold it tightly with your hands for a solid minute to ensure it is seated perfectly.
Step 7: Apply the Clamps
This is the most critical step. Wood glue requires intense pressure to form a proper bond.
Place your protective cork or rubber pads over the wood. Position your clamps over the pads.
Tighten the clamps firmly, but do not crush the wood. You want steady, hard pressure across the entire joint.
Step 8: Clean the Squeeze-Out
As you tighten the clamps, more adhesive will ooze out of the crack.
Take your damp rag and immediately wipe this away. Do not let it dry.
Wipe along the seam until the outside of the crack is completely clean and smooth.
Step 9: Let it Cure Completely
Step away from the workbench. Do not touch the clamps. Do not test the joint.
Leave the instrument clamped for a minimum of 24 hours.
For maximum strength, giving it 48 hours in a climate-controlled room is highly recommended.
Step 10: Unclamp and Sand
After two days, carefully remove the clamps and the painter’s tape.
Run your finger over the seam. It should feel incredibly solid.
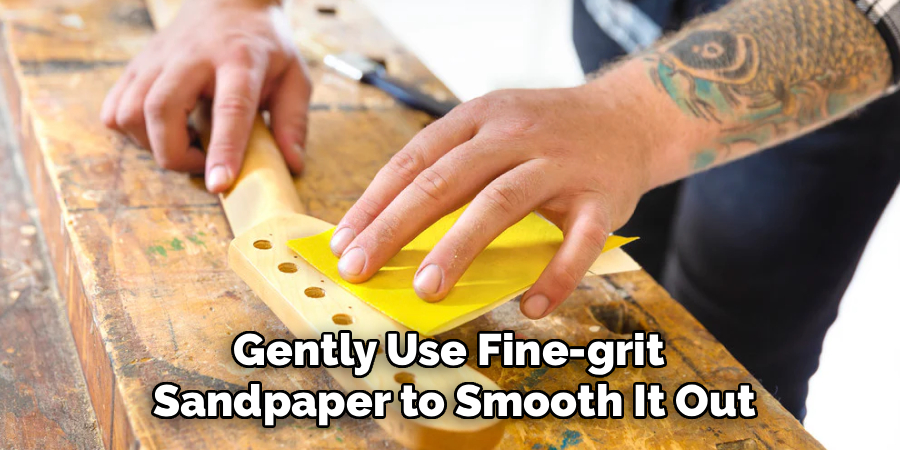
If there is any dried residue on the finish, gently use fine-grit sandpaper to smooth it out.
Important Safety Warnings
DIY projects are fun, but safety always comes first. Please keep these cautions in mind.
Always wear safety glasses when removing strings. A snapping string can cause severe eye injury.
Work in a well-ventilated area. While wood glues are generally safe, breathing in sanding dust is bad for your lungs.
Never force the clamps. Over-tightening can crush the mahogany or maple, causing irreversible damage to the neck profile.
When to Call a Professional Luthier
We love fixing things ourselves, but knowing your limits is part of being a smart DIYer.
If your instrument is a highly valuable, vintage collector’s item, take it to a pro. A bad DIY job plummets the resale value.
If the break involves a damaged truss rod, stop immediately. Replacing a truss rod requires routing and specialized tools.
If the wood shattered into a dozen tiny splinters, standard clamping won’t work. A luthier will need to craft splines to reinforce the joint.
Cost Estimate: DIY vs. Professional
Why go through the effort of doing it yourself? The math speaks for itself.
The DIY Route: A bottle of high-quality Titebond costs about $8. A pair of basic clamps costs $15. Total DIY cost: under $25.
The Professional Route: Taking this to a qualified luthier starts around $150 for a basic glue-up.
If they need to do finish touch-ups or add reinforcing splines, you will easily pay $300 to $500.
Fixing it yourself leaves plenty of cash in your pocket for new strings and pedals.
Frequently Asked Questions on How to Repair Guitar Neck Damage
Can a broken guitar neck actually be fixed?
Yes, absolutely. A clean break is easily repaired using high-quality wood glue and proper clamping pressure. The glued joint is often stronger than the original wood.
What is the best glue for this fix?
Aliphatic resin is the gold standard. Titebond Original is widely considered the best choice by professional builders. Never use super glue or standard craft glue.
How long does the glue need to dry?
While it may feel dry to the touch in a few hours, you must wait. Leave it clamped for at least 24 to 48 hours for a full, secure cure.
Will the instrument sound different after the fix?
If repaired correctly, you will not notice any change in tone or sustain. The transfer of resonance remains intact once the wood fibers are properly bonded back together.
Do I need to repaint the neck after fixing it?
You do not have to, but there will likely be a visible scar line. If aesthetics matter, a luthier can sand, color-match, and spray a new clear coat to hide the break.
Conclusion
Seeing your favorite instrument snap is heartbreaking, but it does not have to be a total loss.
By taking your time and following these steps, mastering how to repair guitar neck breaks is a highly rewarding project. You save hundreds of dollars, learn a new skill, and breathe life back into your gear.
Grab your clamps, clear off your workbench, and get to fixing.
Ready to tackle more instrument maintenance? Check out our guides on setting intonation and adjusting truss rods to get your gear playing better than ever!