

Seeing a fresh ding or crack on your favorite instrument can break your heart. You love playing it, but accidents happen to even the most careful musicians.
Learning how to repair guitar body damage is a valuable skill for any player. It saves you money, builds confidence, and connects you deeper with your instrument. You do not need to be a master luthier to fix minor cosmetic issues.
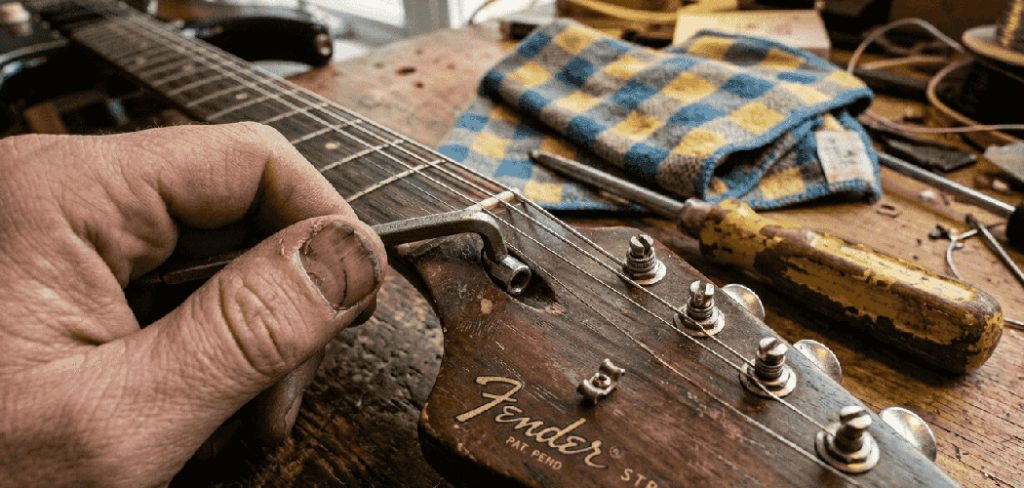
Taking your guitar to a repair shop for every small scratch gets expensive fast. Professional bench fees add up quickly. By handling basic fixes yourself, you keep your money in your pocket.
Ready to get your instrument looking pristine again? Let’s dive into the step-by-step process of restoring your guitar.
What Causes Guitar Body Damage?
Before we fix the issue, it helps to understand how it happened. Guitars are fragile wooden instruments. They react to their environment and how they are handled.
Here are the most common causes of guitar body damage:
- Accidental Drops: Slipping off a guitar stand or a strap coming loose causes severe dings.
- Belt Buckle Rash: Playing while standing often leaves nasty scratches on the back of the instrument.
- Aggressive Strumming: Heavy pick attacks can gouge the wood below the pickguard.
- Temperature Swings: Rapid changes from hot to cold can crack the clear coat finish (known as checking).
- Humidity Issues: Dry environments cause wood to shrink, leading to structural cracks.
- Bumping Furniture: Turning around in tight spaces often results in headstock or body collisions.
Tools & Materials Needed
Having the right supplies on hand makes all the difference. Gather these items before you begin working on your instrument.
You can find most of these materials at your local hardware store.
- Masking Tape: Low-tack painter’s tape to protect undamaged areas.
- Drop Fill Material: Cyanoacrylate (CA) glue, also known as super glue, or specialized guitar lacquer.
- Wood Filler: For deeper gouges that penetrate the bare wood.
- Sandpaper: A variety of wet/dry sandpaper ranging from 600 to 2000 grit.
- Polishing Compound: Automotive or guitar-specific buffing compounds to restore the shine.
- Microfiber Cloths: Soft, lint-free rags for cleaning and buffing.
- Naphtha or Lighter Fluid: For cleaning the damaged area without harming the surrounding finish.
- Toothpicks or Pipettes: For applying glue or finish with pinpoint accuracy.
Step-by-Step Guide on How to Repair Guitar Body Damage
Fixing a ding or scratch takes patience. Rushing the process often makes the blemish look worse.
Follow these steps carefully. Take your time, and do not skip any of the preparation work.
Step 1: Clean and Prepare the Area
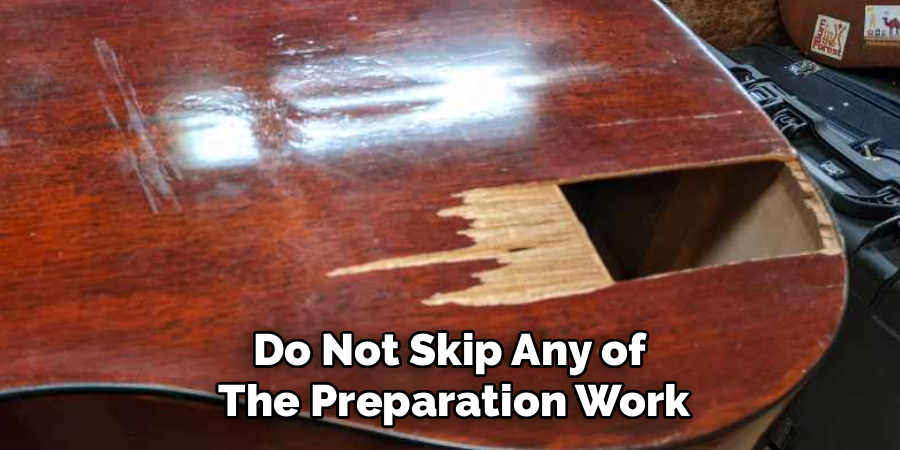
You cannot repair a dirty surface. Oils from your skin and dirt will prevent adhesives from sticking.
Dab a small amount of naphtha on a clean cloth. Gently wipe the damaged area and the immediate surrounding finish. Naphtha evaporates quickly and will not melt modern polyurethane finishes.
Once clean, surround the ding with low-tack masking tape. This creates a safe zone and protects the healthy clear coat from accidental sanding.
Step 2: Assess the Depth of the Damage
Look closely at the scratch or dent. You need to know if it is just a clear coat scratch, or if it goes down to the wood.
If the color is intact and you only see a white or cloudy scratch, it is superficial. You can often buff these out without adding new material.
If you see bare wood, you have a deep gouge. This requires filling before you can level and polish the surface.
Step 3: Apply Wood Filler (For Deep Gouges Only)
If your damage reaches bare wood, you must build up the foundation. Do not just pour glue into a deep hole.
Press a small amount of wood filler into the gouge using a toothpick or plastic scraper. Scrape it perfectly flat with the surrounding wood.
Let the wood filler dry completely according to the package instructions. Once dry, lightly sand it smooth with 600-grit paper.
Step 4: Add the Drop Fill Material
Now it is time to build up the clear coat. For most modern guitars, medium-viscosity CA glue (super glue) works perfectly.
Dip a toothpick into your glue. Carefully drop a tiny amount into the center of the ding. Let capillary action pull the glue to the edges.
Do not overfill it in one go. Apply a thin layer, let it dry for an hour, and repeat. Build the layers until the glue sits slightly higher than the surrounding guitar finish.
Step 5: Leveling the Repair
This is the most critical step in learning how to repair guitar body damage. You must make the new material perfectly level with the old finish.
Take a tiny square of 800-grit wet/dry sandpaper. Glue it to a small, flat block of wood (like an eraser or a pencil eraser).
Dip the sandpaper in water with a drop of dish soap. Gently sand the glue bump using light, circular motions. Stop frequently to wipe the area and check your progress.
Step 6: Sanding Through the Grits
Once the bump is level, you will notice the area looks dull and scratched. This is normal.
Switch to 1000-grit sandpaper and sand the area lightly to remove the 800-grit scratches.
Next, move to 1500-grit, and finally 2000-grit. By the time you finish with the 2000-grit paper, the surface should feel incredibly smooth and have a dull, satin sheen.
Step 7: Buffing and Polishing
The final step brings back the glossy shine. You need to polish out the microscopic scratches left by the 2000-grit paper.
Apply a dab of fine polishing compound to a microfiber cloth. Rub the repaired area vigorously using tight, circular motions.
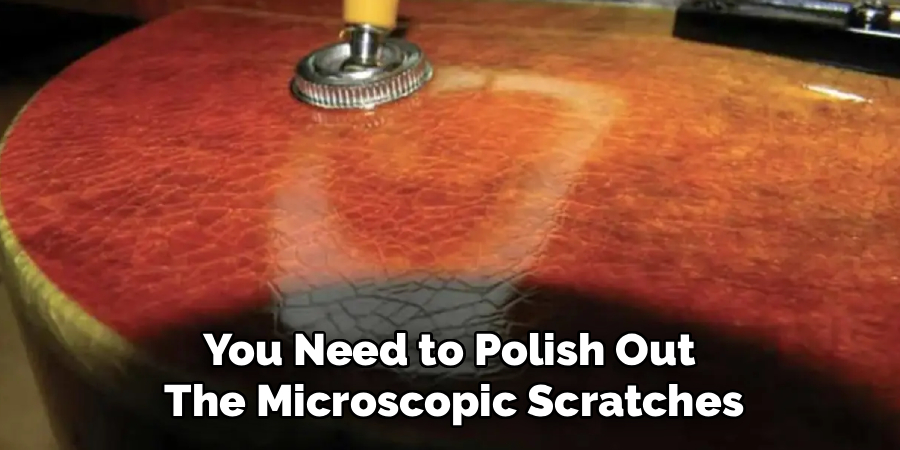
Wipe away the residue with a clean cloth. Your repair should now blend seamlessly into the original finish, reflecting light beautifully.
Safety Warnings for Guitar Repair
Fixing your instrument is fun, but you must prioritize safety. You are working with chemicals and fine dust.
Always work in a well-ventilated area. CA glue emits strong fumes that can irritate your eyes and throat. Keep a window open or use a small fan.
Wear safety glasses when working with liquid adhesives. A stray drop of super glue in your eye is a medical emergency.
Finally, never use power sanders on your guitar body. They remove material too aggressively and can burn straight through the finish in seconds. Always sand by hand.
When to Call a Professional
DIY repairs are incredibly rewarding, but you must know your limits. Some damage requires a master luthier.
If your guitar has a cracked neck or a broken headstock, take it to a pro. The string tension is massive, and improper glue joints will snap under pressure.
Acoustic guitars with structural soundboard cracks or loose interior bracing also need professional attention. Fixing these requires specialized clamps and hide glue.
Finally, if you own a valuable vintage guitar with a nitrocellulose lacquer finish, stop. DIY fixes can destroy the resale value of a vintage instrument. Leave vintage restorations to the experts.
Cost Estimate: DIY vs. Professional
Understanding the financial breakdown helps you decide whether to tackle the job yourself.
A DIY repair is highly budget-friendly. A bottle of CA glue, some sandpaper, and a small bottle of polish will cost between $20 and $40 total. Plus, you will have plenty of materials left over for future repairs.
Professional repairs are an investment. A luthier charges a bench fee just to look at the instrument, usually around $50 to $80.
A simple drop-fill repair at a shop can run anywhere from $100 to $250 depending on the depth and location. If the guitar requires color matching or a partial refinish, the cost easily exceeds $500.
Frequently Asked Questions
Will repairing the body damage affect my guitar’s tone?
No. Fixing minor cosmetic dings and scratches on a solid-body electric guitar will not change the tone at all. Even on acoustic guitars, a small surface repair has zero audible impact on the sound.
Can I use regular household wood filler?
Yes, but only for the deep structural part of the dent. You still need to seal the wood filler with CA glue or lacquer so it matches the hard, glossy exterior of the guitar.
How do I match the paint if the color chipped off?
Color matching is notoriously difficult. You can use specialized guitar touch-up markers, or even high-quality nail polish for small, solid-color chips. Always test the color on a piece of scrap paper first.
Does this method work for acoustic guitars?
Yes, the drop-fill method works on the glossy clear coat of an acoustic guitar. However, do not use this method on acoustic guitars with raw, satin, or open-pore wood finishes, as the glue will stain the wood.
How long does a CA glue repair take to cure?
While super glue dries to the touch in minutes, it continues to harden for several hours. For the best sanding results, let the glue cure completely overnight before you begin leveling it.
Conclusion
Seeing a scratch on your instrument is stressful, but it does not have to be permanent. Learning how to repair guitar body damage empowers you to keep your gear in top playing condition.
By taking your time, preparing the surface, and patiently sanding through the grits, you can make dings disappear. You will save hundreds of dollars in repair shop fees while gaining a deeper appreciation for your instrument.
Remember that patience is your best tool. Do not rush the drying times, and always sand gently.
Ready to restore your favorite axe? Gather your tools, clear off your workbench, and give your guitar the care it deserves today!