

We have all been there. You try to close your bedroom or front door, and it just will not latch properly. Instead of a satisfying click, you get a frustrating scraping sound.
A stubborn door usually points to one common issue: warped wood. You might think you need to buy a brand-new replacement right away.
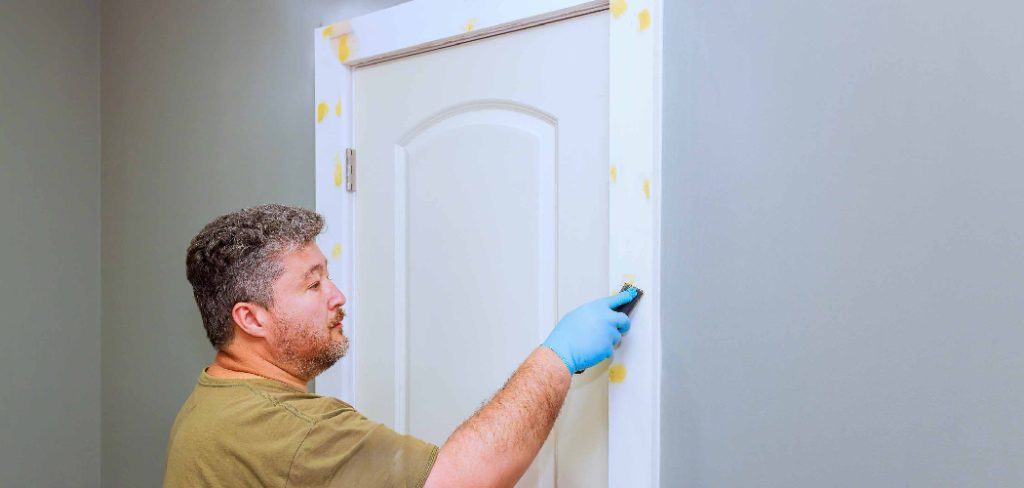
Fortunately, you can often fix this issue yourself. Learning how to repair a warped door is easier than you might think.
Taking the DIY route saves you money and gives you a great sense of accomplishment. You do not need a carpentry degree to get your entryway working perfectly again. Let’s roll up our sleeves and fix that door together.
What Causes a Warped Door?
Before we dive into the repair, it helps to know why wood changes shape in the first place. Wood is a porous material that breathes, which makes it vulnerable to its environment.
Here are the most common culprits behind your door troubles:
- Moisture absorption: High humidity forces the wood fibers to expand unevenly.
- Extreme temperature shifts: Constant changes between hot and cold make the wood swell and shrink.
- Poor sealing: If the top and bottom edges lack a good coat of paint or sealant, moisture sneaks right in.
- Direct sunlight: Harsh sun exposure dries out one side of the wood faster than the other.
- Natural aging: Over time, heavy doors can sag and shift on their hinges naturally.
Tools & Materials Needed
You cannot start a project without the right gear. Gather these items before you take the door off its hinges. Having everything within reach makes the job much smoother.
- Screwdriver (or power drill)
- Two sturdy sawhorses
- Heavy weights (like cinder blocks or large sandbags)
- Large C-clamps
- Heavy-duty damp towels
- Medium-grit sandpaper
- Wood sealant, primer, or exterior paint
- A straightedge or level
Step-by-Step Guide: How to Repair a Warped Door
Ready to get to work? Follow these simple steps to coax that wood back into its proper shape. This method takes a little patience, but the results are worth the wait.
Step 1: Remove the Door from Its Hinges
You cannot fix a serious warp while the door is still hanging. Grab your screwdriver and carefully tap the hinge pins out from the bottom up.
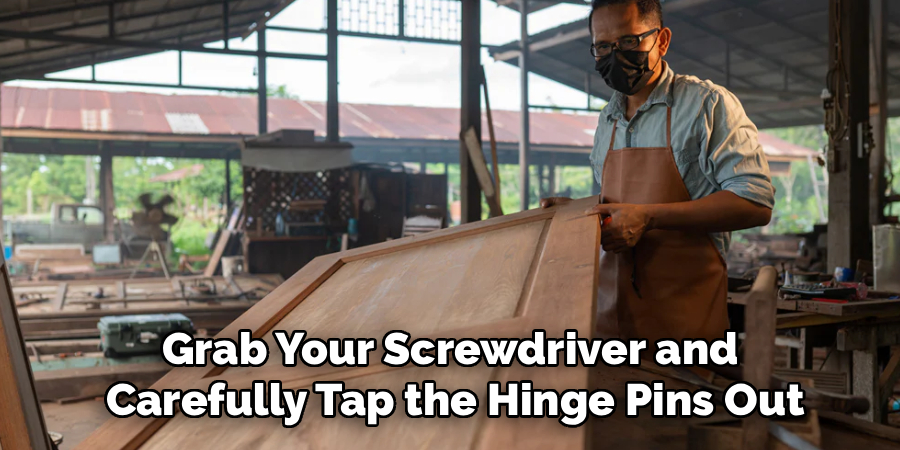
Ask a friend or family member to help you support the weight. Solid wood doors are surprisingly heavy. Once it is loose, carry it to a flat, dry workspace like a garage.
Step 2: Assess the Damage and Find the Bow
Lay the door flat on your sawhorses. Take your straightedge and lay it across the surface.
Check for gaps between the straightedge and the wood. This tells you exactly where the bow is located. You need to know which way the wood is bending so you can bend it back.
Step 3: Set Up Your Workspace
Place the door on the sawhorses so that the bowed center faces upward. You want the highest point of the warp pointing at the ceiling.
Make sure your sawhorses are positioned near the top and bottom edges. This leaves the warped middle suspended and ready for pressure.
Step 4: Apply Moisture to the Wood
This step sounds counterintuitive, but it works perfectly. You need to make the wood pliable again.
Take a heavy towel and soak it in warm water. Wring it out so it is damp, not dripping wet. Lay the damp towel directly over the warped area.
Step 5: Add Heavy Weights
Now it is time to apply steady pressure. Place your heavy weights or cinder blocks directly on top of the damp towel.
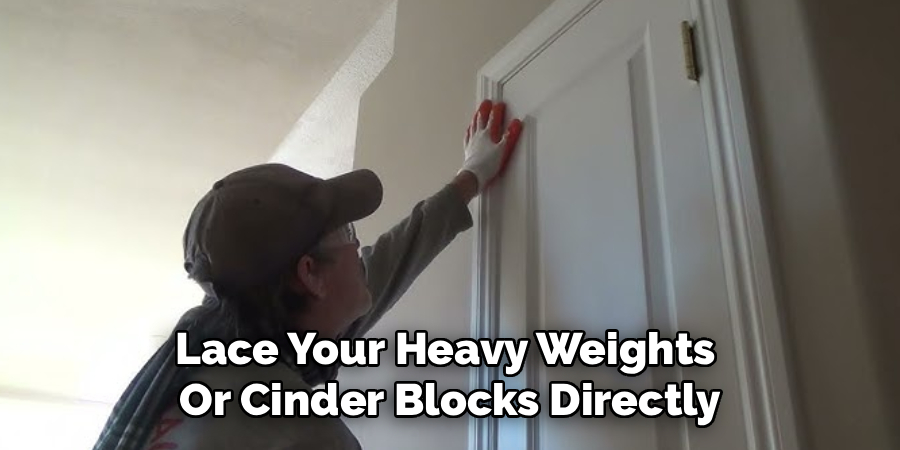
The moisture softens the wood fibers, and the weights push the bow back down. For severe bends, use your C-clamps to gently pull the center down toward a sturdy workbench.
Step 6: Wait Patiently
This is the hardest part of the project. You must leave the door alone while the wood slowly reshapes itself.
Leave the weights on for at least 24 to 48 hours. Check the damp towel periodically to ensure it has not completely dried out.
Step 7: Dry and Sand the Surface
Once the door sits flat again, remove the weights and the towel. Let the wood dry out completely in a warm, dry area.
After it dries, grab your medium-grit sandpaper. Lightly sand the entire surface to remove any water stains or rough patches.
Step 8: Seal the Wood
You just did all that hard work, so you want to protect your results. You must seal the wood to prevent future moisture from ruining the shape again.
Apply a generous coat of high-quality exterior paint, varnish, or wood sealant. Make absolutely sure you coat the top and bottom edges, as these are the most vulnerable spots.
Step 9: Rehang Your Restored Door
Wait for the paint or sealant to dry completely. Grab your helper again and carry the door back to the frame.
Line up the hinges and tap the pins back into place. Test the latch to enjoy your newly restored, perfectly flat door.
Safety Warnings for This Project
Your safety always comes first when tackling home repairs. Working with heavy materials requires a bit of caution.
Always lift with your legs when carrying solid wood to avoid back strain. Wear safety goggles when sanding to keep dust out of your eyes. Keep your workspace well-ventilated when applying strong chemical sealants or paint.
When to Call a Professional
DIY projects are fun, but sometimes a job requires an expert touch. Be honest with yourself about the condition of your home.
If the wood is severely rotted, cracked, or crumbling, a simple reshaping will not work. Structural damage compromises your home security. If you try the weight method and the door immediately bows again, it is time to call a local carpenter.
Cost Estimate: DIY vs. Pro Repair
Fixing things yourself keeps your hard-earned cash in your wallet. The materials for this project are cheap and easy to find.
If you already own basic tools, the DIY cost is around $20 to $40 for sandpaper and sealant. Hiring a professional carpenter to reshape or hang a new door usually costs between $150 and $400, not including the price of a replacement door. You easily save hundreds of dollars by doing it yourself.
Frequently Asked Questions
Can you fix a warped door without removing it?
Minor adjustments sometimes work while the door is hanging. You can try adjusting the hinge screws or sanding the edges. However, for a true warp, removing it and using weights is the only permanent fix.
How long does it take for wood to flatten?
It usually takes between 24 and 72 hours for the weight and moisture method to work. The exact time depends on the thickness of the wood and the severity of the bend.
Does weatherstripping prevent warping?
Weatherstripping is fantastic for keeping drafts out of your house. While it helps regulate indoor temperature, it does not stop moisture from entering the wood itself. Proper sealing is the best prevention.
Can a warped fiberglass door be fixed?
Fiberglass rarely bends the way wood does, but extreme heat can warp it. Unfortunately, once fiberglass loses its shape, you generally cannot bend it back. You will likely need to replace the entire unit.
Conclusion
Dealing with a stubborn, sticking entryway is frustrating, but it does not have to ruin your weekend. With a few basic tools and a bit of patience, you can absolutely handle this fix yourself.
By applying moisture, pressure, and a good protective seal, you bring your wood back to life. You save money, learn a new skill, and improve your home all at once.
Now that you know exactly how to repair a warped door, you can tackle that annoying squeak with total confidence. Grab your tools, set up your sawhorses, and get that entryway swinging smoothly again today!