

A faulty irrigation system can quickly turn your lush green lawn into a swampy mess. You might notice water pooling around your valve box.
Maybe certain zones in your yard refuse to turn on. Or perhaps the water simply will not stop running, no matter what you do.
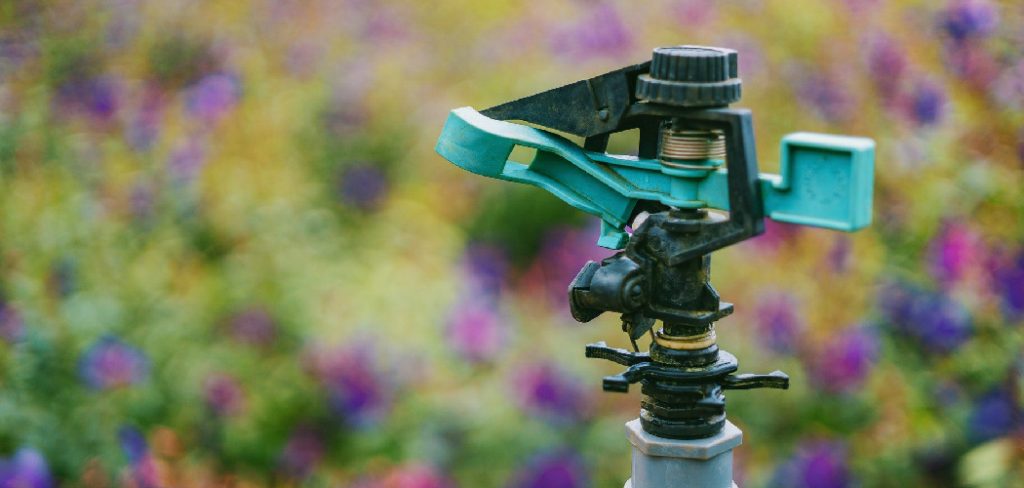
If you are dealing with these headaches, you need to know how to repair sprinkler valve issues quickly. Delaying the fix wastes water and spikes your utility bill.
Fortunately, this is a highly approachable DIY project. Homeowners and renters can easily tackle this without hiring an expensive technician.
Fixing it yourself saves you serious money and builds your home maintenance confidence. In this guide, we will walk through exactly how to diagnose and fix the problem.
Why Do Sprinkler Valves Fail?
Sprinkler valves are hard-working components. They sit underground, exposed to dirt, pressure, and constant moisture.
Eventually, parts wear out or get jammed. Understanding the root cause helps you fix the issue faster.
Here are the most common reasons your irrigation valve might stop working properly:
- Trapped debris: Small rocks, dirt, or sand can get stuck inside the valve body, preventing it from closing fully.
- A torn diaphragm: The rubber diaphragm inside the valve expands and contracts. Over time, it can crack or tear, leading to leaks.
- A faulty solenoid: This magnetic coil receives electrical signals from your timer. If it shorts out, the valve will not open.
- Cracked valve body: Freezing temperatures or physical damage can crack the hard plastic casing.
- Worn-out springs: The spring helps the diaphragm close. If it rusts or loses tension, the water will run constantly.
Essential Tools and Materials Needed
You do not need a massive toolbox to fix a broken irrigation valve. Most of these items are already sitting in your garage.
Gather these supplies before you get started. Having everything within reach will make the process smooth and frustration-free.
- Screwdriver: A standard Phillips-head or flat-head screwdriver (check your specific valve screws).
- Adjustable pliers: Channellock pliers work best for gripping the solenoid.
- Replacement parts: A new diaphragm, solenoid, or a complete valve rebuild kit matching your brand.
- Clean rag or towel: Essential for wiping away mud and drying the internal components.
- Small bucket or cup: Useful for bailing out muddy water from the valve box.
- Multimeter (optional): Handy for testing the electrical current in the solenoid.
Step-by-Step: How to Repair Sprinkler Valve Leaks
Ready to get your hands dirty? Follow these beginner-friendly steps.
Take your time, and do not rush the process. We will guide you through this repair from start to finish.
Step 1: Shut Off the Water Supply
Never open a valve while the system is pressurized. You will get soaked, and dirt will blast everywhere.
Locate your main irrigation water shut-off valve. This is usually near your water meter or attached to the side of your house.
Turn the handle so it sits perpendicular to the pipe. This confirms the water flow has stopped.
Next, unplug your sprinkler controller. You want to ensure no electrical signals fire while you work.
Step 2: Clean Out the Valve Box
Open the green lid of your underground valve box. You will likely find a mess of dirt, water, and maybe a few bugs.
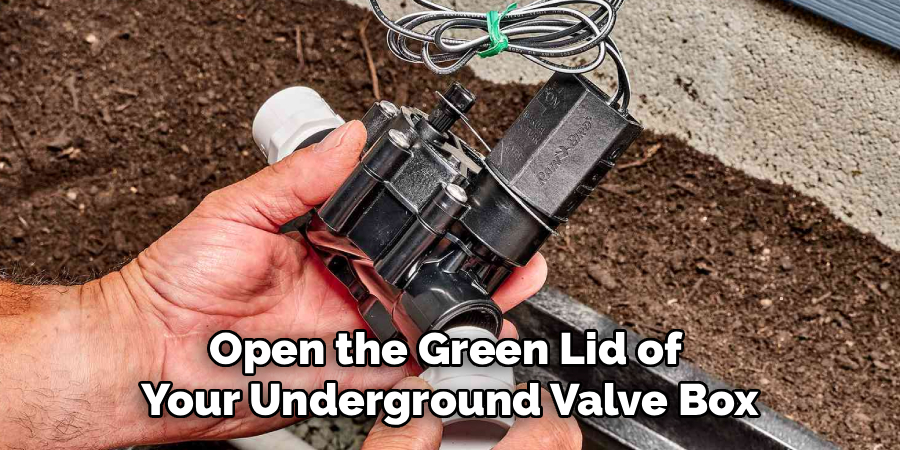
Use your hands, a small cup, or a shop vacuum to remove the sitting water. You need a clear view of the valve body.
Wipe down the outside of the broken valve with your rag. You must prevent loose dirt from falling inside when you open it.
Take a quick photo of the valve with your phone. This helps you remember exactly how the wires were connected.
Step 3: Remove the Solenoid
The solenoid is the cylinder-shaped piece with two wires sticking out of it. It sits on top of the valve.
Grip it firmly with your hand and twist it counter-clockwise. It should unscrew easily.
If it is stuck, gently use your adjustable pliers to loosen it. Be careful not to crack the plastic housing.
Set the solenoid aside in a clean spot. If water constantly ran while the system was off, the solenoid might just have been loose.
Step 4: Unscrew the Top Bonnet
Now it is time to open the main body of the valve. You will see several screws holding the top cover (the bonnet) in place.
Use your screwdriver to remove these screws carefully. Keep them in a safe place so you do not lose them in the grass.
Lift the bonnet straight up and off the valve body. Be gentle, as the internal spring might pop out.
Inspect the underside of the bonnet for any hidden cracks or damage.
Step 5: Inspect the Diaphragm and Spring
Remove the large rubber disc sitting inside the valve. This is the diaphragm.
Hold it up to the light and gently stretch the rubber. Look closely for tiny tears, holes, or warping.
Even a microscopic pinhole will cause the valve to fail. If you see any damage, toss it in the trash.
Check the metal spring as well. If it feels completely squishy or looks heavily rusted, you need to replace it.
Step 6: Flush the System
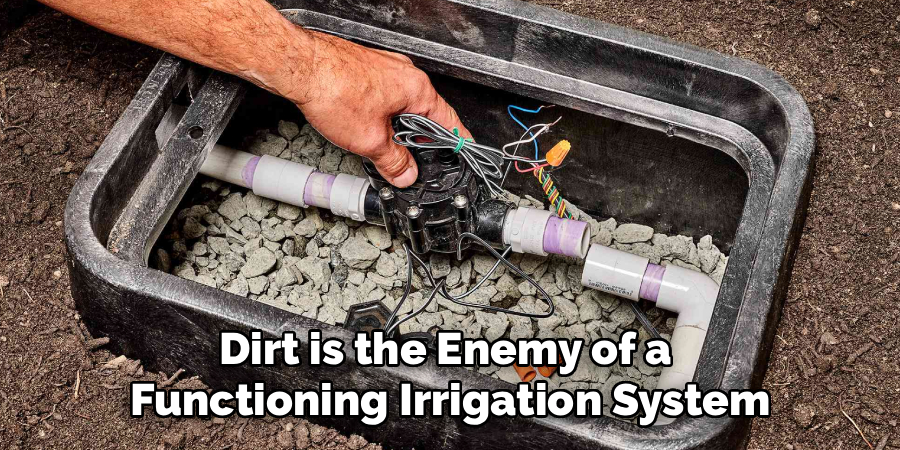
Dirt is the enemy of a functioning irrigation system. Before putting new parts in, you must flush the lines.
Remove all internal parts so only the empty bottom plastic bowl remains. Keep your face away from the opening.
Have a helper briefly turn the main water supply on for about five seconds. Then, have them shut it off immediately.
This quick burst of water will blast any trapped pebbles or grit out of the line. Wipe the inside of the bowl clean with your rag.
Step 7: Install the New Parts
Now, grab your replacement diaphragm and spring. Most home improvement stores sell “rebuild kits” for specific valve brands.
Place the new diaphragm flat into the valve body. Ensure it lines up perfectly with the designated grooves.
Set the new spring in the center of the diaphragm. Carefully place the bonnet back over the top.
Press down firmly against the spring tension. Hand-thread the screws back into place to secure it.
Step 8: Tighten Screws in a Star Pattern
Do not tighten one screw completely before moving to the next. This will warp the plastic and cause a leak.
Instead, tighten the screws in a star or crisscross pattern. Give each screw a few turns, moving back and forth across the valve.
Once they are snug, give them a final gentle twist. Do not over-tighten, or you might strip the plastic threads.
Step 9: Reattach the Solenoid and Wires
Take your new (or cleaned) solenoid and screw it back into the top of the valve. Hand-tighten it only.
Using pliers here can easily crack the unit. Reconnect the two wires exactly as they were before.
Use waterproof wire nuts to secure the connections. This prevents underground moisture from shorting out the system.
Step 10: Test the Repair
You are almost done! Turn the main water supply back on very slowly.
Opening the main line too fast can create a “water hammer” effect that shatters pipes.
Once the pressure is fully restored, check the valve box. You should not see any water leaking out.
Plug your sprinkler timer back in and run a manual test on that zone. Watch the sprinklers pop up and do their job!
Crucial Safety Warnings for Sprinkler Valve Repair
Working on irrigation systems is generally safe. However, you are mixing water and electricity.
Always disconnect the power to your sprinkler timer before touching the valve wires. This prevents mild electric shocks.
Never stand directly over the valve when flushing the lines. Debris can shoot upward and hit you in the eye.
Wear safety glasses to protect your vision. Finally, always double-check that the main water pressure is off before unscrewing the bonnet.
When to Call a Professional
DIY repairs are incredibly rewarding. However, some situations require a professional touch.
If the main PVC pipe leading to the valve is cracked, you will need to cut and glue new plumbing. This can be tricky for beginners.
If you have a complex anti-siphon valve that is hard-plumbed into copper pipes, call a plumber. Mistakes here can contaminate your drinking water.
If you have replaced all internal parts and the system still fails, you might have a severe electrical short. A professional irrigation technician has the tools to trace underground wire breaks.
Cost Estimate: DIY vs. Pro Sprinkler Valve Repair
Fixing this yourself is highly economical. It is one of the best ways to save money on lawn care.
If you buy a simple diaphragm or solenoid replacement, you will spend between $10 and $25. A complete valve rebuild kit usually costs around $30.
Hiring a professional is a completely different story. Most irrigation companies charge a standard service call fee just to show up.
This fee ranges from $75 to $150. Add in labor and markup on parts, and a simple valve repair can cost between $150 and $300.
By doing it yourself, you keep hundreds of dollars in your pocket.
Frequently Asked Questions
How do I know if my sprinkler valve solenoid is bad?
A bad solenoid will fail to click when the timer sends a signal. The zone will not turn on at all. You can test it with a multimeter; if the resistance reads outside of 20-60 ohms, the solenoid is completely dead.
Can I replace just the top of a sprinkler valve?
Yes, this is called rebuilding the valve. As long as the bottom plastic body is not cracked, you can replace the bonnet, diaphragm, spring, and solenoid. This is much easier than cutting the PVC pipes.
Why is my sprinkler zone running when the system is off?
This usually means debris is stuck under the diaphragm, holding it open. It can also mean the rubber diaphragm is torn. You need to open the valve, flush the debris, and inspect the rubber seal.
How tight should a sprinkler valve solenoid be?
You should only ever tighten a solenoid by hand. Give it a firm twist until it stops turning. Using wrenches or pliers will crack the thin plastic housing and create a permanent leak.
Do I need waterproof wire nuts for sprinkler valves?
Absolutely. Standard indoor wire nuts will allow moisture to seep into the copper connections. This causes corrosion and electrical shorts, ruining your new solenoid and shutting down your system.
Conclusion
Learning how to repair sprinkler valve issues is a fantastic skill for any homeowner. It stops annoying leaks and keeps your landscape healthy.
By following these simple steps, you can confidently diagnose the issue. You now know how to clean the parts, replace a bad diaphragm, and put everything back together safely.
Remember to take your time, keep dirt out of the system, and never skip the waterproof wire nuts. You just saved yourself a hefty repair bill!
Do you want to tackle more home improvement projects? Bookmark our site for more expert DIY repair guides, and never overpay for simple fixes again.