

If you own a home, you will eventually deal with plumbing issues. A dripping pipe is one of the most common headaches homeowners and renters face. Learning how to repair pvc pipe leak issues fast can save you a massive headache.
Water damage spreads quickly and ruins walls, floors, and personal items. Ignoring the problem only makes it worse. Plus, hiring a plumber for a simple fix costs a lot of money.
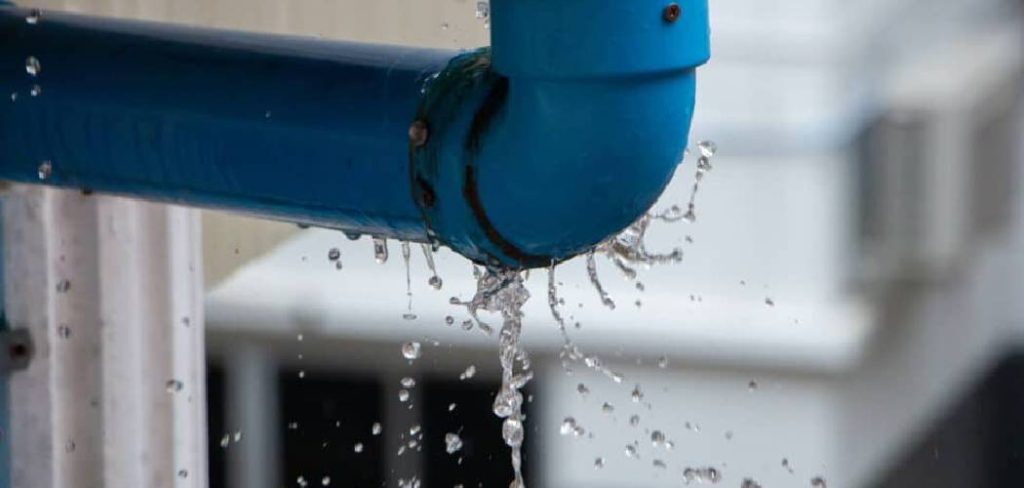
You can fix this problem yourself with a few basic tools. You do not need a plumbing license to stop a simple leak. Taking care of it on your own keeps cash in your pocket.
We are going to walk through this together. Grab your tools, and let us get that pipe fixed today.
What Causes This Problem?
Before we fix the leak, we need to understand why it happened. PVC is tough, but it is not invincible. Several things can cause these pipes to crack or drip over time.
Here are the most common culprits behind your plumbing woes:
- Improper installation: If the original joints lacked enough primer or cement, water will eventually push through the gaps.
- Freezing temperatures: Water expands when it freezes. This expansion puts immense pressure on the plastic and causes it to split.
- High water pressure: Constant, extreme pressure strains the joints and weakens the pipe walls over time.
- Old age and degradation: Even the best plastic gets brittle as it ages. Years of wear and tear can lead to hairline fractures.
- Physical damage: A heavy object hitting the pipe or an accidental bump during renovations can easily crack the plastic.
- Shifting foundations: As your house settles, the ground movement can bend and snap rigid plumbing lines beneath the floor.
Tools & Materials Needed
You cannot do a good job without the right supplies. Having everything ready before you start prevents panic halfway through the project. Gather these items before you turn off the water.
You will need the following tools for a permanent repair:
- A PVC pipe cutter or a fine-tooth hacksaw
- Clean, dry rags or paper towels
- Medium-grit sandpaper or a deburring tool
- A tape measure
- A permanent marker
You will also need these specific materials:
- A replacement section of PVC pipe (matching the exact diameter of the old one)
- Two PVC slip couplings (make sure they match the pipe size)
- Purple PVC primer
- PVC cement (glue)
- A bucket to catch leftover water
Step-by-Step Fix Guide: How to Repair PVC Pipe Leak Permanently
Patching a pipe with tape or putty is only a temporary band-aid. The best way to solve this issue is to cut out the bad section and replace it. This guarantees a watertight seal that lasts for years.
Follow these steps carefully. Take your time, and do not rush the gluing process.
Step 1: Turn Off the Main Water Supply
You must stop the water flow before doing anything else. Locate your home’s main water shut-off valve. Turn it completely off.
Step 2: Drain the Remaining Water
Even with the main valve off, water remains in the pipes. Open the lowest faucet in your house. Let the remaining water drain out completely.
Step 3: Place a Bucket Under the Leak
Place a bucket directly under the damaged area. When you cut into the plastic, some trapped water will spill out. Keep your dry rags nearby to wipe up any immediate messes.
Step 4: Mark the Cut Lines
Use your tape measure to find the center of the leak. Measure a few inches to the left and right of the damage. Use your permanent marker to draw two clear lines where you plan to cut.
Step 5: Cut Out the Damaged Section
Grab your pipe cutter or hacksaw. Carefully cut straight through the pipe at the marked lines. Keep the blade steady to ensure a clean, square cut on both sides.
Step 6: Measure the Replacement Piece
Take the damaged piece you just removed and measure it. Your new replacement piece needs to be slightly shorter than this original piece. This leaves room for the two couplings you will install.
Step 7: Cut the New Pipe
Measure your new section of plastic pipe and mark it. Use your cutter to slice the new piece to the exact length you calculated. Double-check your measurements before making the final cut.
Step 8: Sand and Clean the Edges
Rough edges prevent the glue from making a tight seal. Take your medium-grit sandpaper and smooth the inside and outside of all cut edges. Wipe away all the plastic dust with a clean rag.
Step 9: Dry Fit the Pieces
Before applying any glue, assemble the pieces dry. Slide the couplings onto the existing pipes, then insert the new replacement piece. Ensure everything fits snugly and perfectly aligns.
Step 10: Apply the Primer
Take the pipes apart again. Apply the purple PVC primer to the outside of the pipe ends and the inside of the couplings. The primer cleans the plastic and softens it for the glue.
Step 11: Apply the Cement
Work quickly once the primer is applied. Brush a generous layer of PVC cement over the primed areas. Make sure you cover the pipe ends and the inside of the couplings evenly.
Step 12: Assemble and Twist
Push the new pipe and couplings together immediately. As you push them in, give the fittings a quarter-turn. This twisting motion spreads the cement evenly and pushes out air bubbles.
Step 13: Hold Firmly
The glue starts to set in seconds, but it can push the pipe back out if you let go. Hold the connected pieces tightly together for at least 30 seconds. Wipe away any excess glue with a rag.
Step 14: Let the Cement Cure
Do not turn the water back on right away. Read the label on your cement to check the required curing time. Most glues need at least two hours to dry completely before handling water pressure.
Step 15: Test Your Repair
Once the curing time is up, slowly turn the main water valve back on. Go to the repaired section and watch it closely. If it remains bone dry, you have successfully fixed the leak!
Safety Warnings
Plumbing repairs are generally safe, but you still need to be careful. PVC primer and cement emit very strong fumes. Always work in a well-ventilated area to avoid dizziness or headaches.
Open nearby windows or set up a fan to keep the air moving. Wear safety glasses to protect your eyes from flying plastic shavings and splashing glue.
Consider wearing heavy-duty work gloves to protect your hands while sawing. Make sure your ladder is completely stable if you are working on pipes near the ceiling.
When to Call a Professional
DIY is great, but knowing your limits is even better. Some plumbing issues require a trained expert. Call a professional if the leak is located behind a finished wall or under a concrete slab.
You should also hire a plumber if the main water line coming into your house is cracked. If you feel overwhelmed or lack the right tools, stepping away is perfectly fine.
A pro can fix complicated issues quickly and ensure your home is protected from further water damage.
Cost Estimate: DIY vs. Pro
One of the biggest benefits of learning how to repair pvc pipe leak issues is the cost savings. A DIY repair is incredibly cheap.
Buying primer, cement, a replacement pipe, and couplings will usually cost between $15 and $30. If you need to buy a pipe cutter, add another $15 to your budget.
Hiring a professional plumber is a different story. Most plumbers charge a standard service fee just to show up. A basic leak repair can easily cost between $150 and $300, depending on your location.
Frequently Asked Questions
Can I use flex tape on a leaking PVC pipe?
Flex tape works well as a very short-term, temporary fix. However, it will not hold up to constant water pressure forever. You must replace the damaged section for a permanent solution.
How long does PVC cement take to dry?
The glue sets in just a few minutes, meaning you cannot move the pieces. However, it takes about two hours to fully cure. Always wait the full two hours before turning the water back on.
Does epoxy putty work on wet pipes?
Some specialized plumbing epoxies can bond to damp surfaces. However, for a reliable seal, it is always best to dry the pipe completely first. Moisture ruins the bond of most standard adhesives.
Why did my PVC joint leak after gluing?
Leaks happen if you do not use primer, or if you apply too little glue. Failing to push the pipe fully into the fitting is another common mistake. Dirt or rough edges can also break the seal.
Is PVC glue toxic?
The fumes from primer and cement are harmful if inhaled in large amounts. It can also irritate your skin and eyes. Always use these chemicals in a ventilated room and wash your hands afterward.
Conclusion
Plumbing problems do not have to drain your wallet or ruin your weekend. Knowing how to repair pvc pipe leak issues is a valuable skill for any homeowner.
By taking the time to cut out the bad section and glue in a new one, you protect your property. The permanent fix takes a little more effort than wrapping it in tape, but it is worth it.
You now have the knowledge and confidence to tackle this project safely. Grab your tools, pick up some supplies at the hardware store, and get your plumbing back in working order!