

A wobbly fence is more than just an eyesore for your yard. It can be a security risk for pets, children, and your property.
If a harsh storm or years of wear have left your fence leaning, do not panic. You do not always need to replace the entire fence structure.
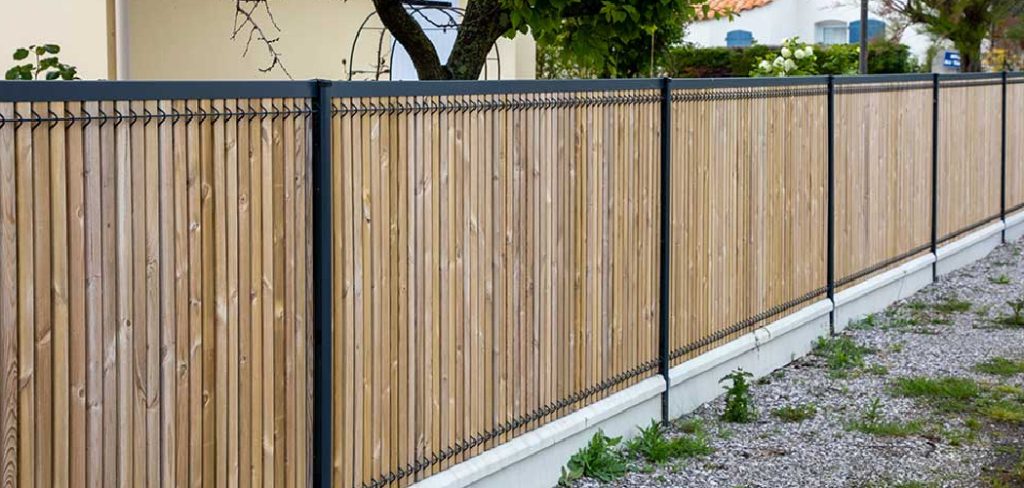
Learning how to repair loose fence post like a pro is a simple weekend project. Homeowners and DIY enthusiasts face this common issue all the time.
Fixing it yourself saves you serious money compared to hiring a costly contractor. You just need a little elbow grease and the right tools.
We will walk you through exactly what to do. Let us get that fence standing tall and strong again!
What Causes This Problem?
Before fixing the issue, we need to know why it happened. Several common culprits cause a fence post to lean or wobble.
Understanding the root cause prevents the issue from happening again. Here are the most frequent reasons your fence post is loose:
- Rotting wood: Moisture from the soil seeps into untreated wood posts, causing decay over time.
- Poor drainage: Standing water around the post base softens the ground and weakens the foundation.
- High winds: Severe weather places immense pressure on the fence panels, loosening the post in the ground.
- Shifting soil: Freeze-thaw cycles and natural ground movement cause dirt and concrete to shift.
- Improper installation: The original post hole may not have been dug deep enough to support the fence weight.
Tools & Materials Needed
Preparation is the secret to a stress-free DIY repair project. You need to gather all your supplies before digging into the dirt.
Having everything on hand saves you multiple frustrating trips to the hardware store. You can find most of these items in your garage or at a local home center.
Here is a clear list of what you need:
- Shovel or post hole digger: Essential for clearing out dirt and old concrete.
- Scrap wood (2x4s): Used to brace the fence and keep it plumb during the repair.
- Screws and drill: To attach the support braces temporarily to the fence structure.
- Level: A vital tool to ensure your post stands perfectly straight.
- Fast-setting concrete mix: The best material to secure the post quickly and permanently.
- Water and a bucket: For mixing the concrete, unless you use a dry-pour mix.
- Trowel: To smooth the concrete at the top so water drains away from the wood.
- Safety gear: Work gloves and safety glasses to protect your hands and eyes.
Step-by-Step Guide: How to Repair Loose Fence Post
Tackling a leaning fence might seem intimidating at first glance. However, taking it one simple step at a time makes it highly manageable.
This beginner-friendly guide breaks down the process into actionable phases. We will show you exactly how to repair loose fence post problems permanently.
Grab your tools, put on your gloves, and let us get to work.
Step 1: Assess the Damage
First, you need to closely inspect the wobbly post. Wiggle the post gently to see where the movement originates.
If the wood is soft, crumbly, or completely snapped at the base, it is rotten. A rotten post cannot be saved and must be completely replaced.
If the post is solid but the concrete footer is loose in the ground, you are in luck. You can secure the existing post without replacing the wood itself.
Clear away any tall grass or weeds around the base to get a better look. Knowing the exact condition of the wood determines your next moves.
Step 2: Brace the Fence Post
You must support the heavy fence before you start digging around the base. Letting it hang loose can damage the connected fence panels.
Take your scrap 2×4 wood pieces and use them as braces. Drive a wooden stake into the ground a few feet away from the post.
Rest one end of the 2×4 against the stake and screw the other end to the post. Create a triangle shape to hold the post firmly in place.
Use your level to check the post on two adjacent sides. Adjust your braces until the post is perfectly plumb (straight up and down).
Step 3: Dig Around the Base
Now it is time for the hardest physical work of the project. You need to expose the area around the underground portion of the post.
Take your shovel and dig a trench around the loose concrete or soil. Dig down at least a foot, or until you reach the bottom of the old concrete footing.
If the old concrete is completely shattered, remove the loose chunks entirely. You might need a heavy digging bar or a sledgehammer to break up large pieces.
If the old concrete plug is solid but loose in the soil, you can leave it. You will simply pour new concrete around the old plug to lock it in place.
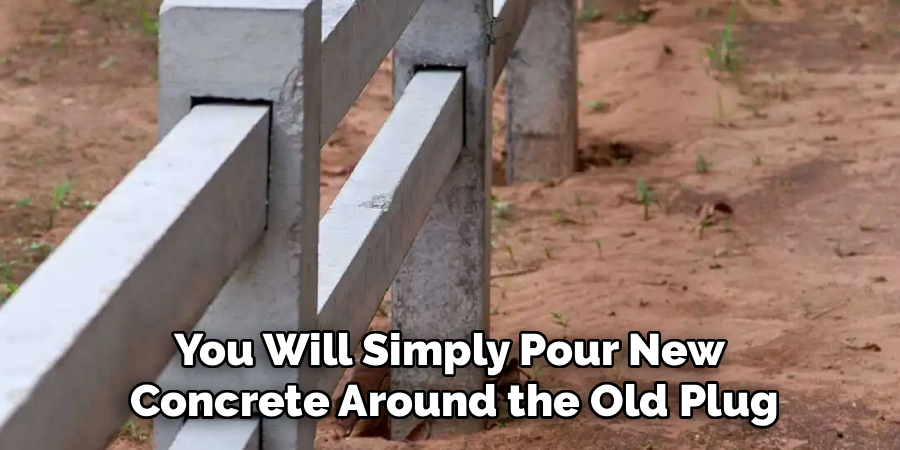
Make sure the hole is wide enough to pour new concrete easily. Clear out any loose roots or rocks that might get in the way.
Step 4: Pour the New Concrete
With the hole prepped and the post perfectly level, you can secure the foundation. Fast-setting concrete is ideal for this task because it cures rapidly.
Some fast-setting concretes allow you to pour the dry powder directly into the hole. If using this type, fill the hole with dry mix until it is a few inches below ground level.
Pour the required amount of water directly on top of the dry mix. Follow the manufacturer’s instructions on the bag for the exact water ratio.
If using standard concrete, mix it in a wheelbarrow or bucket first. Shovel the wet mixture into the hole around the post.
Use a stick to poke the wet concrete repeatedly. This removes trapped air bubbles and ensures a strong, solid bond.
Step 5: Slope the Surface for Drainage
Moisture is the biggest enemy of wooden fence posts. You must prevent water from pooling around the base of your repaired post.
As the concrete begins to set up and stiffen, grab your trowel. Shape the top of the wet concrete so it slopes gently away from the wood.
Think of it like a small hill or a pyramid around the post. This slope ensures rain runs off the concrete into the yard.
Leave the top of the concrete slightly above the normal soil line. Do not cover the fresh concrete with dirt just yet.
Step 6: Let It Cure and Remove Braces
Patience is key for a successful and long-lasting repair. Do not remove your wooden support braces immediately after pouring.
Fast-setting concrete hardens in about 30 to 40 minutes. However, it takes a full 24 to 48 hours to cure completely.
Leave the braces attached overnight to ensure the post does not shift. Moving it too soon will ruin the structural integrity of the fresh concrete.
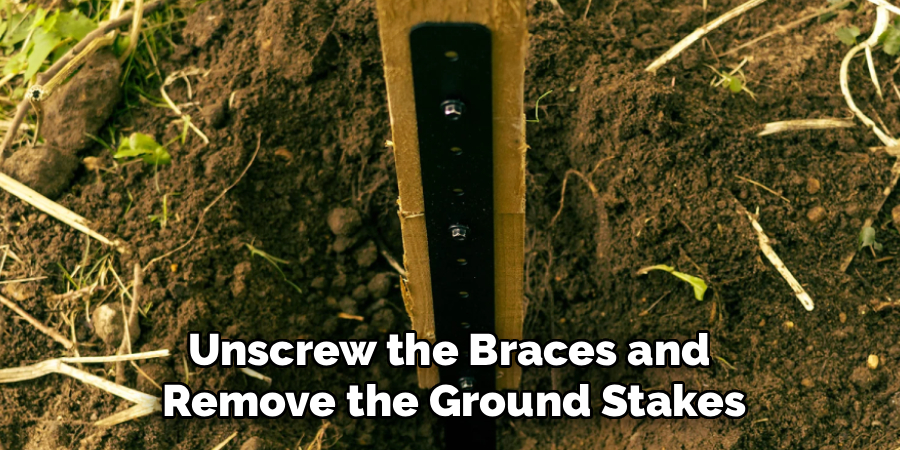
Once fully cured, unscrew the braces and remove the ground stakes. Give your post a firm shake to enjoy your rock-solid handiwork!
Essential Safety Warnings
DIY projects are incredibly rewarding, but safety must always come first. A falling fence panel can cause serious injury if you are not careful.
Always check for underground utilities before you dig deeply into your yard. Call your local utility marking service (like 811 in the US) a few days prior.
Hitting a buried gas, electrical, or water line is dangerous and very expensive. It is a simple step that you absolutely cannot skip.
Wear protective gear when handling dry concrete mix. The dust can irritate your lungs, and wet concrete can cause chemical burns on bare skin.
Use a dust mask and heavy-duty rubber gloves during the pouring phase. Keep children and pets away from the work area until the concrete cures.
When to Call a Professional
Knowing your DIY limits is just as important as knowing how to use tools. Most loose posts are easy to fix, but some situations require a pro.
If multiple posts are leaning over a long stretch, you have a bigger structural issue. A widespread problem might mean the entire fence line needs replacing.
If your fence is situated on a very steep hill, repairs become complicated. Professional contractors have the heavy equipment needed to safely grade and secure steep slopes.
Call a professional if your fence post is embedded in a retaining wall. Messing with retaining walls can cause massive soil erosion and property damage.
There is no shame in asking for help if the job feels overwhelming. Honest assessment saves you time, frustration, and potential injury.
Cost Estimate: DIY vs. Pro
One of the best reasons to tackle this repair yourself is the financial savings. Fixing a loose post is an incredibly budget-friendly weekend project.
If you already own basic tools like a shovel and a drill, costs are minimal. You only need to purchase concrete, scrap wood, and a few screws.
A DIY repair typically costs between $15 and $40 per post. Fast-setting concrete bags are cheap, usually running less than $10 each.
Hiring a professional contractor paints a very different financial picture. A professional company must charge for labor, travel time, and materials.
Professional fence post repairs generally cost between $150 and $300 per post. Doing it yourself easily saves you hundreds of dollars for a few hours of work.
FAQs on How to Repair Loose Fence Post
It is completely normal to have a few questions before starting your project. We want you to feel totally prepared before you grab your shovel.
Here are the most frequently asked questions from homeowners tackling this job.
Can I fix a loose fence post without concrete?
Yes, but it is not recommended for heavy privacy fences. You can use expanding foam designed specifically for fence posts, or tightly pack gravel and soil. However, concrete provides the strongest, longest-lasting hold against high winds.
How do I fix a post that has completely snapped off?
If the wood is snapped, you cannot just pour new concrete. You must dig out the old concrete footer completely and remove the broken wood. Then, insert a brand-new post and pour fresh concrete to set it.
Can I repair a loose fence post using metal spikes?
Metal repair spikes are a great temporary fix for slightly rotten posts. You drive the metal spike into the ground next to the post and screw them together. It is an easy fix, but digging and pouring concrete is a better permanent solution.
How deep should a fence post hole be?
A general rule of thumb is that one-third of the post should be underground. For a standard 6-foot fence, the hole should be at least 2 feet deep. Digging below the frost line in cold climates prevents the post from heaving in winter.
Will pouring new concrete over old concrete work?
Yes, as long as the old concrete is solid and not crumbling apart. Pouring fresh concrete around a solid, old plug locks it tightly into the surrounding soil. Just ensure the hole is wide enough for the new concrete to surround it entirely.
Conclusion
Fixing a wobbly fence does not have to be a stressful or expensive ordeal. You now have all the knowledge needed to restore your yard’s privacy and security.
By following the steps above, you can confidently master how to repair loose fence post problems. You save hundreds of dollars and gain a great sense of accomplishment.
Remember to take your time, level the post carefully, and let the concrete fully cure. Proper drainage and solid bracing are your best friends during this project.
Are you ready to tackle more money-saving weekend projects? Check out our other beginner-friendly home repair guides and keep your property in top shape!