

Nothing ruins a quiet rainy afternoon quite like a sudden drip of water coming from your ceiling. A leaking skylight can cause panic. You might immediately picture water damage, ruined drywall, and a massive bill from a professional roofing contractor.
You do not need to panic. Figuring out how to repair a leaking skylight like a pro is often much easier than you might think. Many common roof window leaks stem from simple wear and tear that you can fix yourself in a single afternoon.
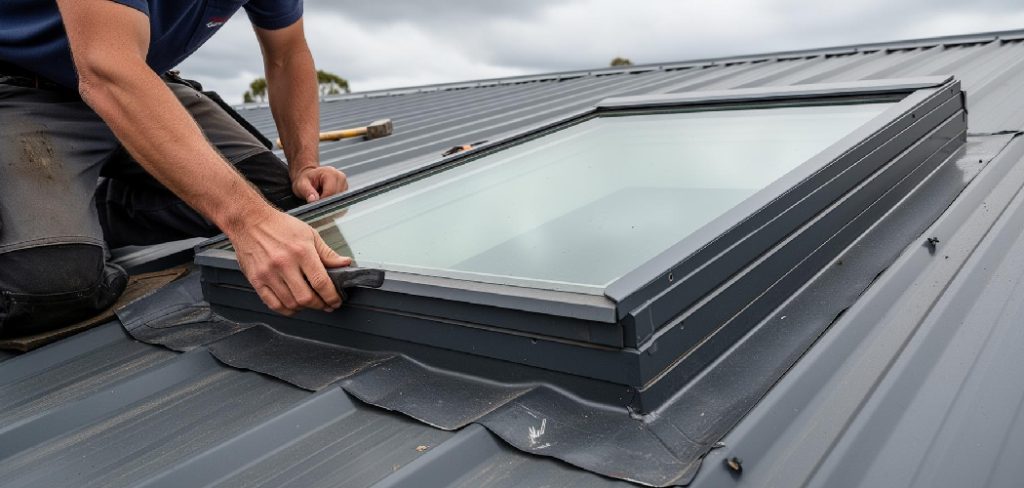
Taking the DIY route saves you a significant amount of money. Roofers often charge hundreds of dollars just to show up and diagnose the issue. By rolling up your sleeves and tackling this project, you keep that cash in your pocket.
We are going to walk through this process together. You will learn what causes the moisture, exactly what tools you need, and how to stop the water for good.
What Causes a Skylight to Leak?
Before you grab your ladder, you need to know what you are looking for. Leaks rarely happen for no reason. Over time, the elements break down the materials keeping your home dry.
Understanding the root cause helps you fix the actual problem rather than just putting a temporary band-aid on it. Here are the most common culprits:
- Damaged roof flashing: The metal pieces around the edge of the window can lift, bend, or rust over time.
- Degraded weather sealant: Sunlight and extreme temperatures cause silicone and rubber seals to dry out, crack, and peel away.
- Clogged weep holes: Many units have tiny holes designed to let condensation drain out. When debris blocks these, water spills inside.
- Cracked glass or acrylic: Falling branches, heavy hail, or extreme temperature swings can fracture the actual window pane.
- Condensation buildup: Sometimes, what looks like a leak is actually just warm indoor air hitting the cold glass and dripping down.
- Improper installation: If the unit was never fitted correctly to the roof deck, water will eventually find its way through the gaps.
Essential Tools and Materials Needed
You cannot do a good job without the right supplies. Luckily, everything you need for this repair is affordable and readily available at your local hardware store.
Gather these items before you climb up on your roof. Having everything within arm’s reach will make the job much safer and faster.
- 100% Silicone roof sealant: Make sure it is specifically designed for exterior roofing or window applications.
- Caulking gun: A basic, dripless model works perfectly.
- Putty knife or scraper: You need this to remove the old, cracked caulk.
- Stiff bristle brush: Use this to sweep away dirt, moss, and loose roofing granules.
- Rubbing alcohol and clean rags: These are essential for prepping the surface so the new caulk sticks properly.
- Roofing cement: This is helpful if you need to patch damaged shingles near the flashing.
- Sturdy extension ladder: Ensure it is tall enough to reach your roof safely.
- Safety harness and rope: Never skip this if you have a steep roof or a two-story home.
- Work gloves and rubber-soled shoes: You want maximum grip and protection while walking on shingles.
Step-by-Step Guide on How to Repair a Leaking Skylight
Now that we have our tools and understand the problem, it is time to get to work. Wait for a dry, sunny day to do this repair. You never want to walk on a wet roof, and your new sealants need dry conditions to cure properly.
Follow these simple steps. Take your time, work carefully, and do not rush the preparation phase.
Step 1: Inspect the Inside First
Before going outside, examine the situation from the inside of your house. Grab a flashlight and look closely at the drywall around the window frame.
Check for dark water stains, peeling paint, or damp spots. The location of the stain can give you a clue about where the water is entering.
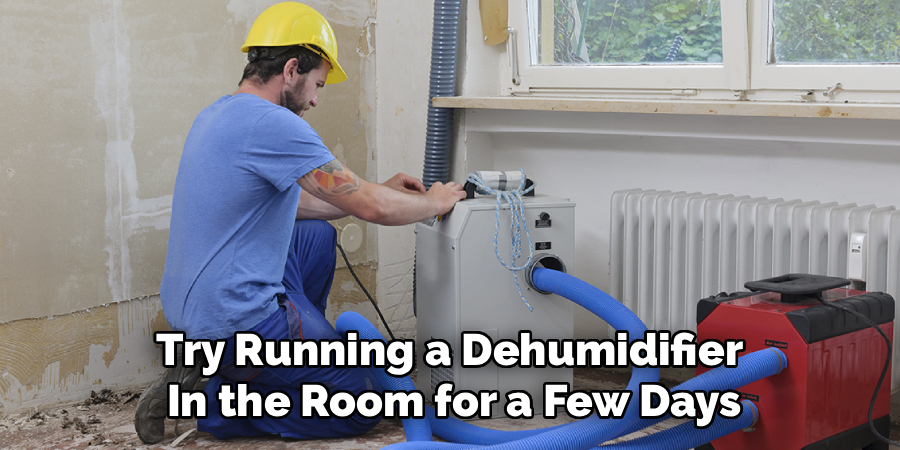
If the water only appears on very cold days, you might just have condensation. Try running a dehumidifier in the room for a few days to see if the problem disappears.
Step 2: Safely Access the Roof
Safety is your absolute priority here. Set your ladder on flat, stable ground. Ensure the ladder extends at least three feet above the roof edge so you can step off safely.
Wear shoes with soft rubber soles to grip the shingles without damaging them. If your roof has a steep pitch, secure yourself with a safety harness anchored to a solid roof truss.
Carry your tools in a bucket or wear a tool belt. You want both hands free while climbing the ladder.
Step 3: Clean the Surrounding Area
Once you are at the skylight, brush away any leaves, pine needles, or dirt. A clean surface makes it much easier to spot cracks and damage.
Check the tiny weep holes along the bottom edge of the frame. If they are packed with dirt, use a piece of stiff wire or a toothpick to clear them out.
Sometimes, simply clearing out this debris stops the water from backing up into your living room.
Step 4: Remove the Old Sealant
Look closely at the edges where the glass meets the metal frame. You will likely see cracked, peeling, or missing caulk.
Use your putty knife to scrape away all the old material. Do not try to put new silicone over old silicone. It will not bond, and the repair will fail quickly.
Be careful not to scratch the glass or gouge the metal frame while you scrape. Take your time to get it as clean as possible.
Step 5: Prep the Surface
After the old caulk is gone, wipe down the entire area with rubbing alcohol and a clean rag. This removes leftover adhesive, grease, and dirt.
Let the alcohol evaporate completely. The surface must be bone dry before you apply anything new.
This step is the secret to a long-lasting fix. Good preparation ensures your new weather-tight barrier will hold up against harsh storms.
Step 6: Apply the New Silicone Sealant
Load your 100% silicone roof sealant into the caulking gun. Cut the tip of the tube at a 45-degree angle, making a relatively small hole for better control.
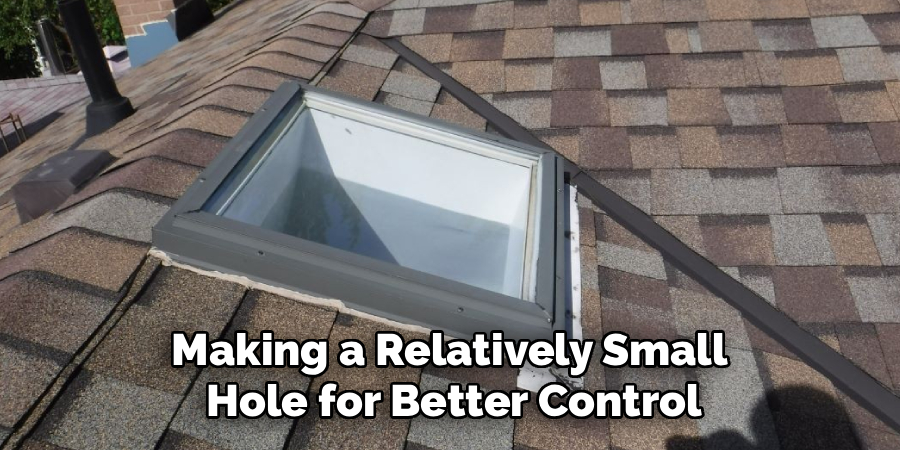
Run a smooth, continuous bead of silicone along the seam where the glass meets the frame. Keep a steady pace to avoid messy clumps or thin gaps.
Wet your finger or use a caulking tool to smooth the bead flat. This pushes the material into the gap and creates a watertight seal.
Step 7: Inspect and Patch the Flashing
Now, turn your attention to the metal flashing around the base of the unit. This metal integrates the window into your roof shingles.
Look for lifted shingles, exposed roofing nails, or gaps between the metal and the wood. If you see lifted shingles, apply a generous dab of roofing cement underneath them and press them down firmly.
Seal any exposed nail heads with a small drop of roofing cement to prevent water from rusting the metal and sneaking inside.
Step 8: Perform a Water Test
Wait at least 24 hours for all your new sealants and cements to cure completely. Check the back of your product tubes for specific drying times.
Once everything is fully cured, grab your garden hose. Have a helper stand inside the house while you gently spray water above the window on the roof.
Let the water run down over your repair for a few minutes. If your helper stays dry, your repair was a total success!
Crucial Safety Warnings for Roof Work
We cannot stress safety enough when it comes to exterior home repairs. A simple mistake up high can lead to severe injuries.
Never attempt this repair if it has rained recently or if there is morning dew on the shingles. Wet roofs are incredibly slippery and dangerous.
Watch out for overhead power lines when moving your ladder. Always maintain three points of contact when climbing up or down.
If you feel dizzy, unbalanced, or frightened once you get up there, stop immediately. No amount of money saved is worth a trip to the emergency room.
When to Call a Professional Contractor
While learning how to fix things yourself is rewarding, some situations require a professional touch. You need to know your limits.
If you inspect the unit and find that the wood frame underneath is completely rotten and soft, you have a structural issue. Caulking will not fix rotting wood.
If the glass pane itself is shattered, you will likely need a custom replacement unit ordered and installed by a glass specialist.

Finally, if your roof is extremely steep, higher than two stories, or made of fragile materials like slate or clay tiles, leave it to the pros. They have the specialized equipment to navigate these hazards without damaging your home.
Cost Estimate: DIY vs. Professional Repair
One of the best parts about being a homeowner is seeing how much money you can save through simple maintenance.
If you tackle this project yourself, your costs are incredibly low. A tube of high-quality silicone costs about $10. A putty knife and a caulking gun might add another $15.
Overall, a DIY repair will run you between $20 and $50.
If you hire a roofing contractor, you are paying for their expertise, travel time, and insurance. Most professionals charge a minimum service fee just to show up.
A professional repair usually costs between $300 and $800, depending on your location and the severity of the damage. By spending one hour on a Saturday, you can save hundreds of dollars.
Frequently Asked Questions
You likely still have a few questions about this process. Here are some of the most common things homeowners ask when dealing with roof moisture.
How do I know if it is a leak or just condensation?
Condensation usually happens in the winter when warm, moist indoor air hits the freezing cold glass. It looks like fog or a light sweat on the window. A true leak usually happens during or immediately after heavy rain, regardless of the temperature.
Can I use Flex Seal or similar spray products?
While spray sealants are popular on television, they are not a permanent solution for home exteriors. The sun’s UV rays will quickly break down these sprays. Always use a high-quality 100% silicone roof caulk for a permanent, weather-resistant bond.
How long does silicone take to dry?
Most standard products become dry to the touch in about 30 to 60 minutes. However, they need at least 24 hours to fully cure and become completely waterproof. Always check the manufacturer’s label for specific timing.
How long do skylights typically last?
A high-quality unit installed correctly will usually last between 15 and 20 years. After this point, the rubber gaskets naturally fail, and the flashing begins to rust. If yours is older than 20 years, it might be time for a full replacement rather than a simple patch.
Do I need to remove shingles to fix the flashing?
For minor gaps and lifted areas, roofing cement is enough. However, if the metal is heavily rusted or completely bent out of shape, you will need to pry up the surrounding shingles to replace the metal pieces entirely. This is a much larger job.
Final Thoughts on How to Repair a Leaking Skylight
Dealing with a dripping ceiling is frustrating, but it is rarely the end of the world. Now that you understand exactly how to repair a leaking skylight, you can approach the problem with confidence.
Remember to prioritize your safety above everything else. Take your time scraping away the old material, clean the surface thoroughly, and apply a high-quality silicone barrier. By following these straightforward steps, you can protect your living room from water damage and keep your hard-earned money in your bank account.
Have you successfully sealed up your roof recently? Leave a comment below and let us know what worked best for you, or check out our other DIY home maintenance guides to keep your property in top shape!